Maintaining and Extending the Computing Unit
Release 04/02
4-20
Panel PC 670 Computing Unit, Equipment Manual
4.5.3
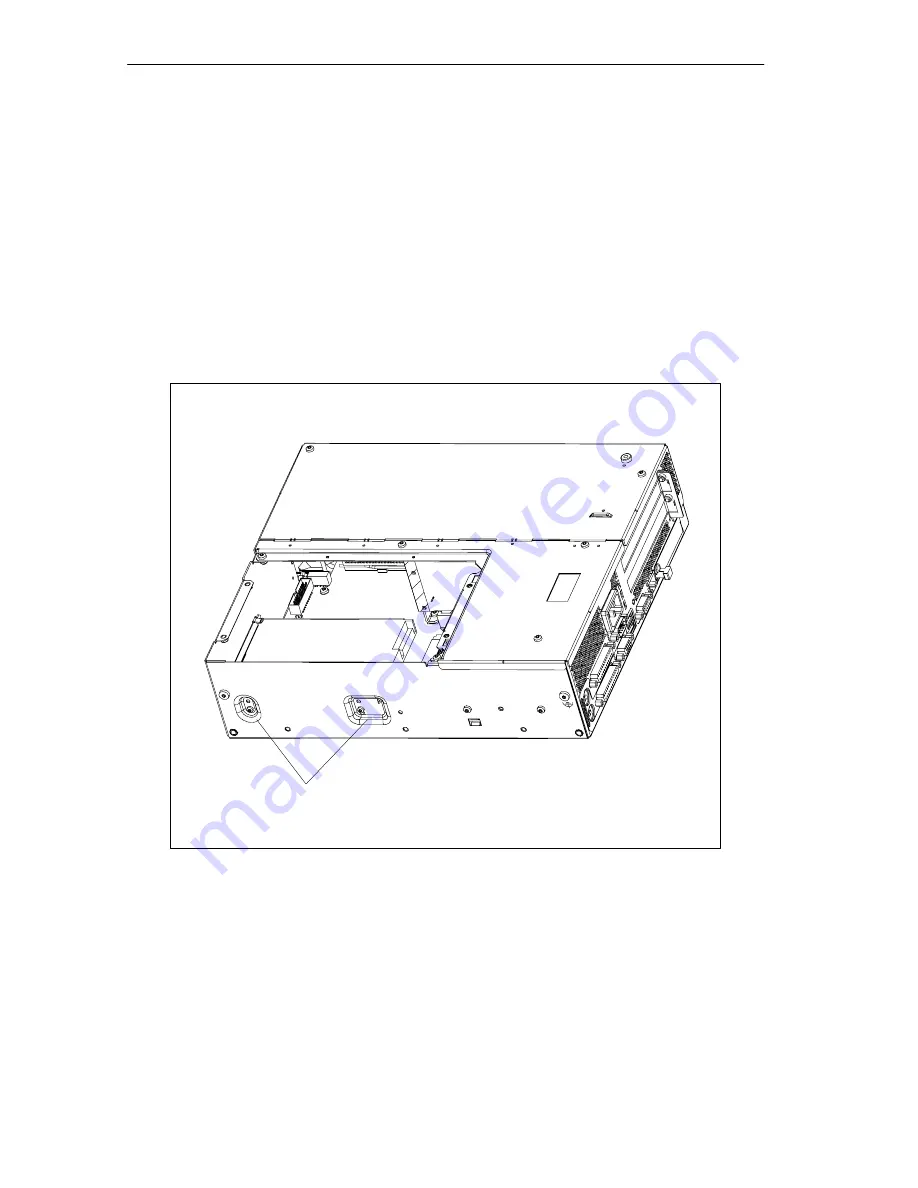
Removing and installing the disk drive
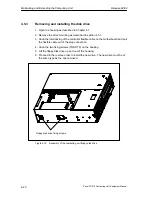
1. Open the housing as described in Chapter 4.1.
2. Remove the drive mounting as described in section 4.5.1.
3. Undo the interlocking of the controller flexible cable on the motherboard and pull
the flexible cable out of the plug connection.
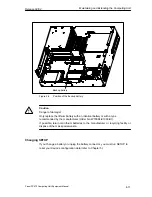
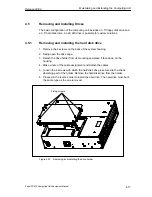
4. Undo the two fixing screws (TORX T8) on the housing.
5. Lift the floppy disk drive up and out of the housing.
6. Proceed in the reverse order to install the new drive. The new drive must be of
the same type as the one removed.
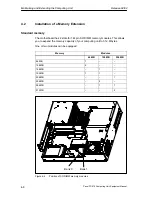
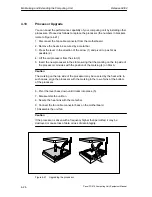
Floppy disk drive fixing screws
Figure 4-15
Assembly of the computing unit floppy disk drive
Summary of Contents for SIMATIC PC 670
Page 4: ...For your notes ...
Page 12: ...Contents Release 04 02 xii Panel PC 670 Computing Unit Equipment Manual ...
Page 132: ...Fault Diagnosis Release 04 02 6 12 Panel PC 670 Computing Unit Equipment Manual ...
Page 176: ...Distributed configuration Release 04 02 8 6 Panel PC 670 Computing Unit Equipment Manual ...
Page 194: ...Glossary Release 04 02 Glossary 6 Panel PC 670 Computing Unit Equipment Manual ...
Page 200: ...Index Release 04 02 Index 6 Panel PC 670 Computing Unit Equipment Manual ...

