Maintaining and Extending the Computing Unit
Release 04/02
4-17
Panel PC 670 Computing Unit, Equipment Manual
4.5
Removing and Installing Drives
The basic configuration of the computing unit includes a 3.5” floppy disk drive and
a 3.5” hard disk drive. An LS 240 drive is possible for custom solutions.
4.5.1
Removing and installing the hard disk drive
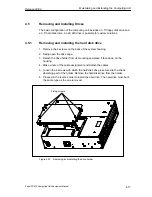
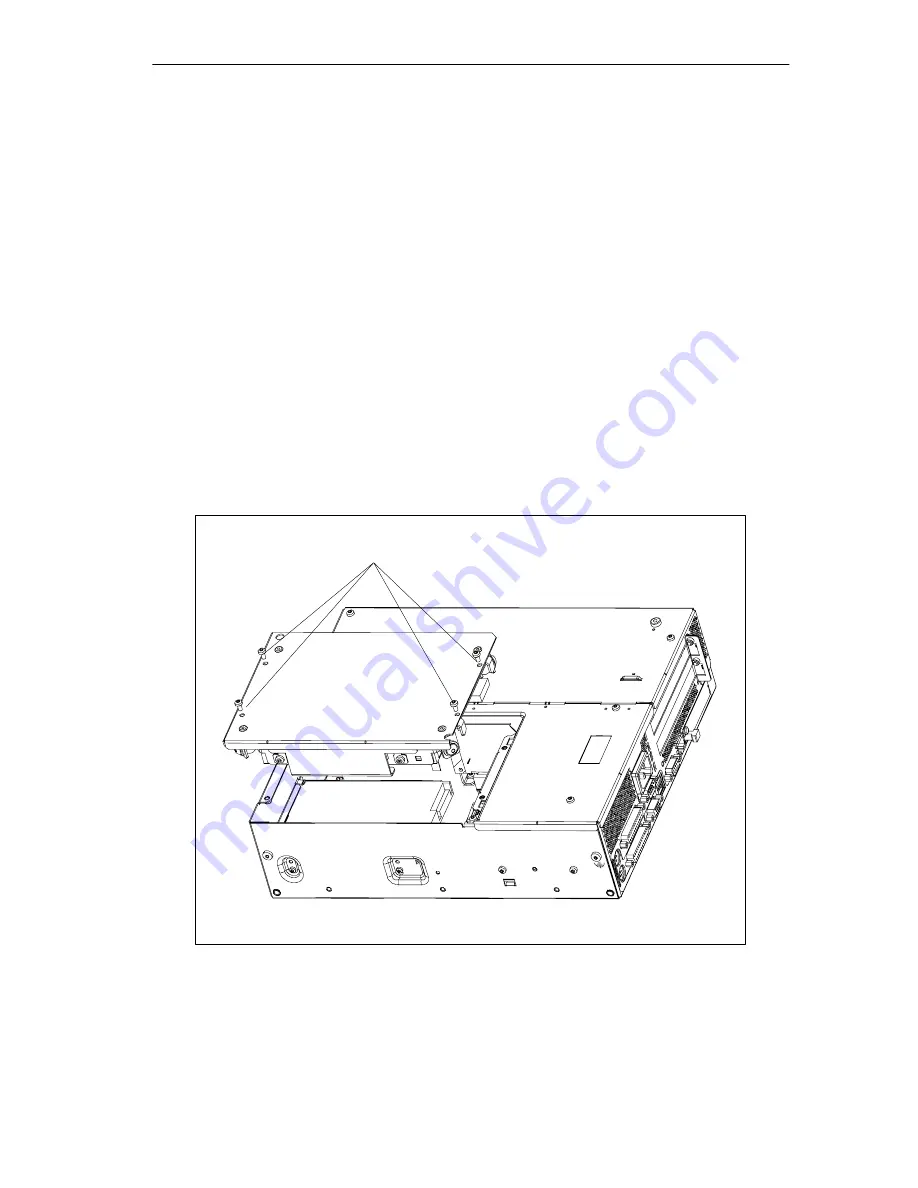
1. Remove the 4 screws on the back of the system housing.
2. Swing open the drive cage.
3. Detach the drive holder from its mounting and place it face down on the
housing.
4. Make a note of the cable assignment and detach the cables.
5. Loosen the 4 screws with which the hard disk drive is secured to the shock
absorbing part of the holder. Remove the hard disk drive from the holder.
6. Proceed in the reverse order to install the new drive. The new drive must be of
the same type as the one removed.
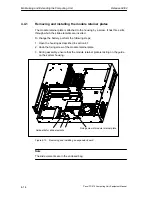
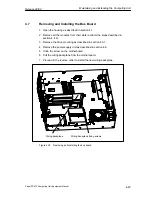
Fixing screws
Figure 4-12
Removing and installing the drive holder
Summary of Contents for SIMATIC PC 670
Page 4: ...For your notes ...
Page 12: ...Contents Release 04 02 xii Panel PC 670 Computing Unit Equipment Manual ...
Page 132: ...Fault Diagnosis Release 04 02 6 12 Panel PC 670 Computing Unit Equipment Manual ...
Page 176: ...Distributed configuration Release 04 02 8 6 Panel PC 670 Computing Unit Equipment Manual ...
Page 194: ...Glossary Release 04 02 Glossary 6 Panel PC 670 Computing Unit Equipment Manual ...
Page 200: ...Index Release 04 02 Index 6 Panel PC 670 Computing Unit Equipment Manual ...

