


99
User Manual
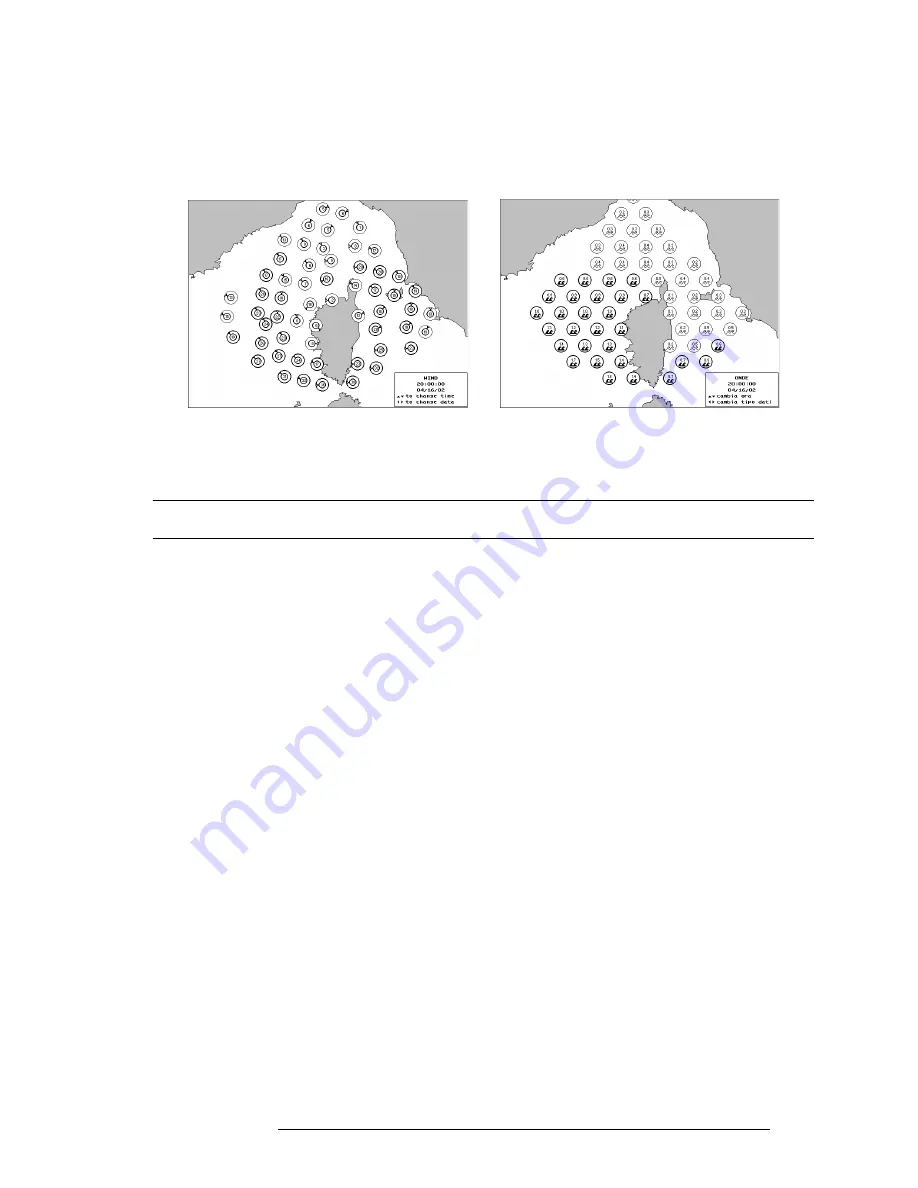
To activate the Browse mode, simply choose in the menu - preview. As soon
as the user has activated Browse mode, the cartography centers on the point to which
weather information have been collected and saved. It is possible to use the cursor to
move the view around the area covered by the 6 hours weather forecast and change
the view between wind and waves.
Fig. A.1.1.2 - Mode Browse: icons for wind (left) and icons for waves (right)
A.2 SYSTEM SET UP C-FORECAST
To set-up and access the C-Forecast weather forecasting system a serie of
steps must be completed, please read the following carefully:
- Sign up for subscription with C-Forecast. Contact the local reseller or contact
directly your local C-MAP office.
- Connect the chart plotter with the C-COM module.
- Insert the GSM SIM cart into the C-COM module (SIM-card not included).
- The chart plotter has two serial connections ports for exchange of data. Choose
one of these to make the connection to the C-COM module.
- Open set-up in the menu of the chart plotter and insert the identification code of
the subscription, included in the subscription documentation received from
C-MAP.
- Insert also the telephone number for the C-Forecast server, included in the sub-
scription documentation received from C-MAP.
- Remember to insert the SIM PIN number (received together with the SIM-card).
When the above steps have been completed, it will immediately be possible
to receive weather information from the C-Forecast server in the following way:
- Insert the position from where the boat will depart (manually or by use of the
GPS).
Summary of Contents for trawl plot 12
Page 14: ...16 User Manual...
Page 28: ...30 User Manual...
Page 52: ...54 User Manual...
Page 84: ...86 User Manual...
Page 85: ...87 User Manual 6 For the Technician 6 1 DIMENSIONS...
Page 86: ...88 User Manual 6 2 INSTALLATION AND REMOVING...
Page 92: ...94 User Manual...