


2-40
COPIER
Contents
Enter the paper size of the bypass tray
When the [Custom Size] key is touched, the paper size entry screen appears.
Touch the [X] key and enter the horizontal dimension of
the paper with the
keys, and then touch the [Y]
key and enter the vertical dimension. When finished,
touch the [OK] key.
7
Select the bypass tray.
(1) Touch the paper size key of the bypass tray.
(2) Touch the [OK] key.
8
Press the [START] key.
Scanning begins.
• If the originals were placed in the document feeder tray, the originals are copied.
• If you placed the originals on the document glass, scan each page one page at a time.
When using sort mode, change originals and press the [START] key. Repeat until all pages have been scanned and then
press the [Read-End] key.
To cancel scanning of the original and copying...
Press the [STOP] key (
).
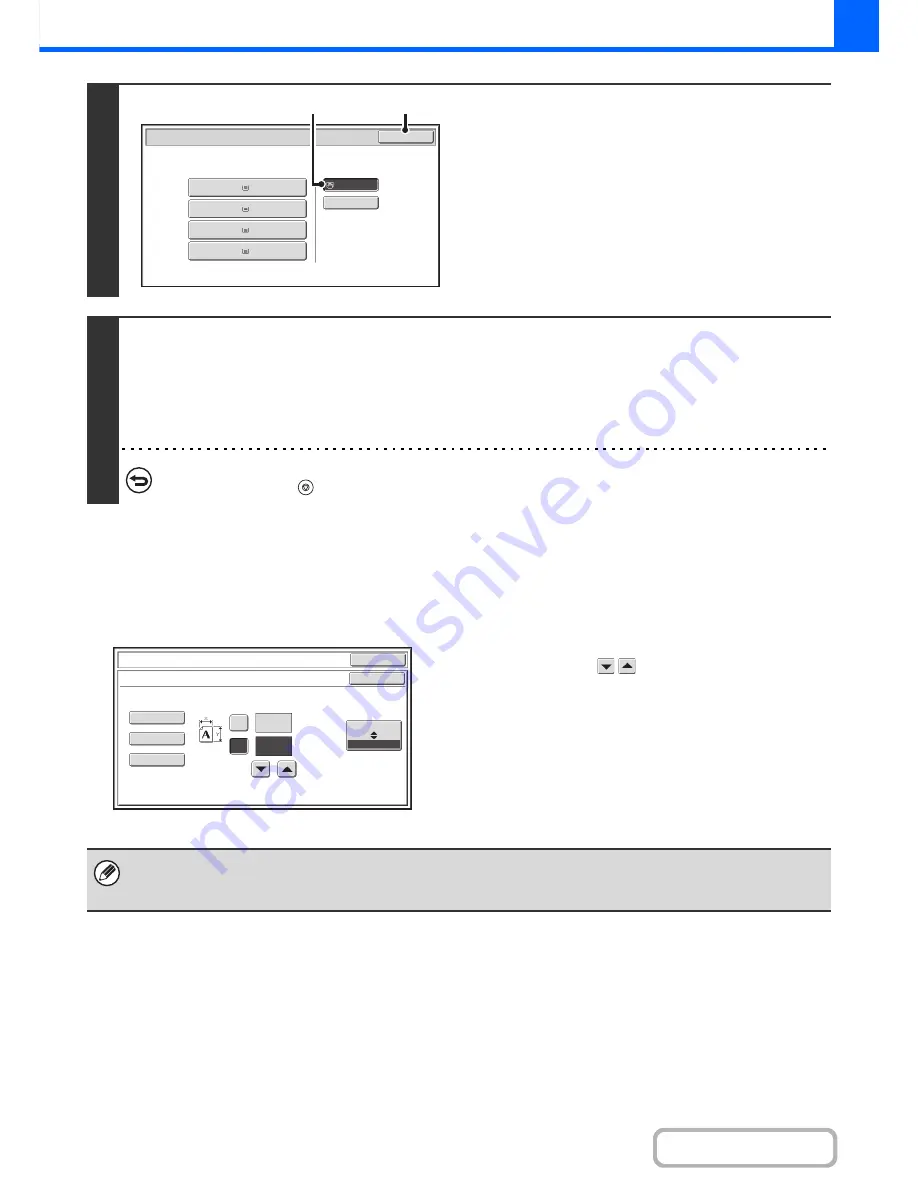
Paper Select
Paper Tray
Bypass Tray
OK
Plain
Plain
Plain
2. 8
½
x11R
8
½
x11
3. 8
½
x14
4. 11x17
1.
Plain
8
½
x11
Plain
(1)
(2)
OK
OK
(5
1/2~17)
inch
(5
1/2~11
5/8)
inch
17
X
Y
11
Bypass
Tray
Type/Si
z
e
Setting
Si
z
e
Input
X17
Y11
X17
Y11
X17
Y11
AB
Inch
Stored custom paper sizes appear in the keys on the left side of the screen. Custom paper sizes are stored in the system
settings. For details, see "
Paper Tray Settings
" (page 7-13) in "7. SYSTEM SETTINGS". If the key for the size that you wish
to enter appears, touch that key.
Summary of Contents for MX-M283N
Page 11: ...Conserve Print on both sides of the paper Print multiple pages on one side of the paper ...
Page 35: ...Organize my files Delete a file Delete all files Periodically delete files Change the folder ...
Page 277: ...3 18 PRINTER Contents 4 Click the Print button Printing begins ...
Page 850: ......
Page 851: ......
Page 882: ......
Page 883: ......