•
You can connect an extension phone to the machine to make and
receive calls like any other extension phone on your line. Even if
you pick up the extension phone and hear a fax tone, the machine
will automatically cut in and take over the line. Note, however, if
you also have a PC modem on the same line, you must turn on the
Remote Reception function, and deactivate the Fax Signal Receive
function.
Note: The Remote Reception function is initially set to "ON".
(1) Using the Machine with an Answering Machine
a. Quiet Detect Time
Quiet Detect Time is the function that enables the machine to be used
along with an answering machine for both phone messages and
faxes. After the answering machine has answered, any duration of
silence longer than a certain threshold time will prompt the machine
to take over the line and prepare to receive a fax. The Quiet Detect
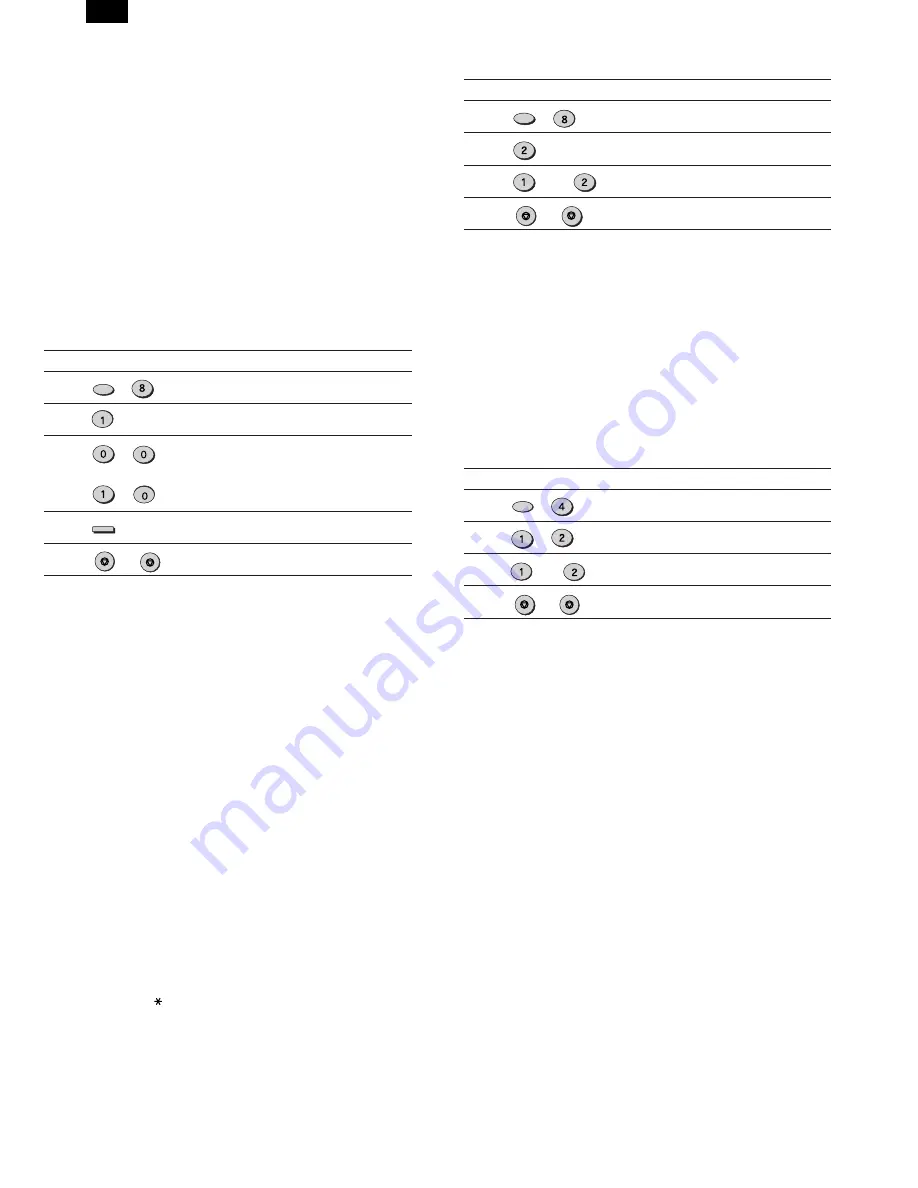
Time can be set from 00 to 10 seconds, following the procedure
below.
Notes:
•
The machine has been set at the factory for a Quiet Detect Time of
5 seconds, which gives the best performance for most answering
machines. However, you may have to adjust the Quiet Detect Time
depending on your answering machines disconnect time, the time
before the machine disconnects the line after a period of silence. If
your machine has a short disconnect time, you may have to short-
en the Quiet Detect Time. However, if the machine is interrupting
callers in the middle of messages, you should set a longer Quiet
Detect Time.
•
If there is a pause at the end of your answering machine message,
make sure that the Quiet Detect Time is longer than this pause.
•
Setting Quiet Detect Time to 00 turns the function off. However,
the machine will not be able to receive faxes sent using manual
dialing (picking up the receiver, dialing the number, and pressing
the FAX START key when the fax tone is heard).
b. If Quiet Detect Time is not working properly...
With some answering machines, there is simply no Quiet Detect
Time that will allow both reception of faxes and uninterrupted voice
messages. Even in this case, however, you can set up the machine to
receive both phone and fax messages from callers on touch-tone
lines. Follow this procedure:
1. Set the Quiet Detect Time to 00.
2. Using the Remote Reception Number (factory set to 5) to start fax
reception, change your answering machine message to include
the following information. "If you want to send a fax press 5 and
then press the (
) key twice, after you hear the fax tone press
your FAX START key".
c. Answering Machine Backup
There may be times when the tape on your answering machine be-
comes full, or when the answering machine itself malfunctions. It is
still possible to receive faxes even under these conditions, however,
by turning on the Auto Receive function. The machine will automat-
ically answer all calls after five rings. To use this function, follow the
procedure below.
Note: If you are using Auto Receive, make sure that your answering
machine is set to answer on four rings or less. Otherwise, the
machine will take over all calls, preventing callers from leaving
voice messages.
(2) Setting Up the Machine for Use with a PC Modem
The machine is set to automatically begin reception if you pick up
from an extension telephone and the machine detects a fax tone.
However, if you are using a modem on the same line, you must
deactivate this function: otherwise the machine will mistakenly at-
tempt to receive the transmission from your computer. To turn off the
Fax Signal Receive function, follow the procedure below.
Note: If you turn off the Fax Signal Receive function, be sure to
activate the Remote Reception function.
7. Note for transport
When transporting this machine, follow the following packing proce-
dures before moving.
•
To transport this machine, be sure to use the original packing case
and the protective material.
If another packing case is used, the machine may be damaged.
•
Be sure to remove the developer cartridge before transport.
1. Turn off the power switch and disconnect the power cord.
2. Remove the interface cable from the machine.
3. Gently press the both sides and open the front cover.
4. Remove the developer cartridge from the machine.
5. Remove paper from the paper feed tray.
6. Remove the paper feed tray from the machine.
7. Return the paper feed tray slowly to the bottom.
8. Attach the fixing screw (which is keep inside the machine) to the
left side of the machine.
9. Close the front cover.
10. Attach the protective material and tapes which were removed
when unpacking.
11. Put the machine in the packing case.
Factory setting: 05
Step
Press these keys
Comments
1
“A.M. MODE” will appear in the
display.
2
“QUIET DETECT TIME” will appear in
the display.
3
Enter the Quiet Detect Time in
seconds, from 00 to 10.
(Setting “00” turns off Quiet Detect
Time)
4
“STORED” will appear in the display.
5
Press the STOP key twice to exit.
FUNCTION
TUV
ENTER
STOP
STOP
to
Factory setting: 2 (OFF)
Step
Press these keys
Comments
1
“A.M. MODE” will appear in the
display.
2
“SELECT AUTO RECEIVE” will
appear in the display.
3
Press 1 to turn Auto Receive on, or
2 to turn it off.
4
Press the STOP key twice to exit.
FUNCTION
TUV
ABC
STOP
STOP
ABC
or
or
FUNCTION
GHI
ABC
ABC
STOP
STOP
Factory setting: 1 (ON)
Step
Press these keys
Comments
1
“OPTION SETTING” will appear in the
display.
2
“FAX SIGNAL RCV.” will appear in the
display.
3
Press 1 to turn Fax Signal Receive
on, or 2 to turn it off.
4
Press the STOP key twice to exit.
FO-3800M
4 – 7


