7.
Press the [ ] or [ ] key to enter the horizontal value, and then press the [OK] key.
Custom Size:
Horiz. 216.0 mm
8.
Press the [ ] or [ ] key to enter the vertical value, and then press the [OK] key.
Custom Size:
Vert. 356.0 mm
9.
Press the [Menu] key.
• If the [Auto Continue] setting under [System] is enabled, the printer ignores the paper type and size
settings and prints on whatever paper is loaded. Printing stops temporarily when the error is
detected, and restarts automatically after about ten seconds using the settings made on the control
panel.
Specifying a paper type for Tray 1 and Tray 2
Improve printer performance by selecting the optimum paper type for the tray.
You can select from the following paper types:
• [Thin Paper], [Plain Paper], [Middle Thick], [Thick Paper 1], [Recycled Paper], [Color Paper],
[Preprinted], [Prepunched], [Letterhead]
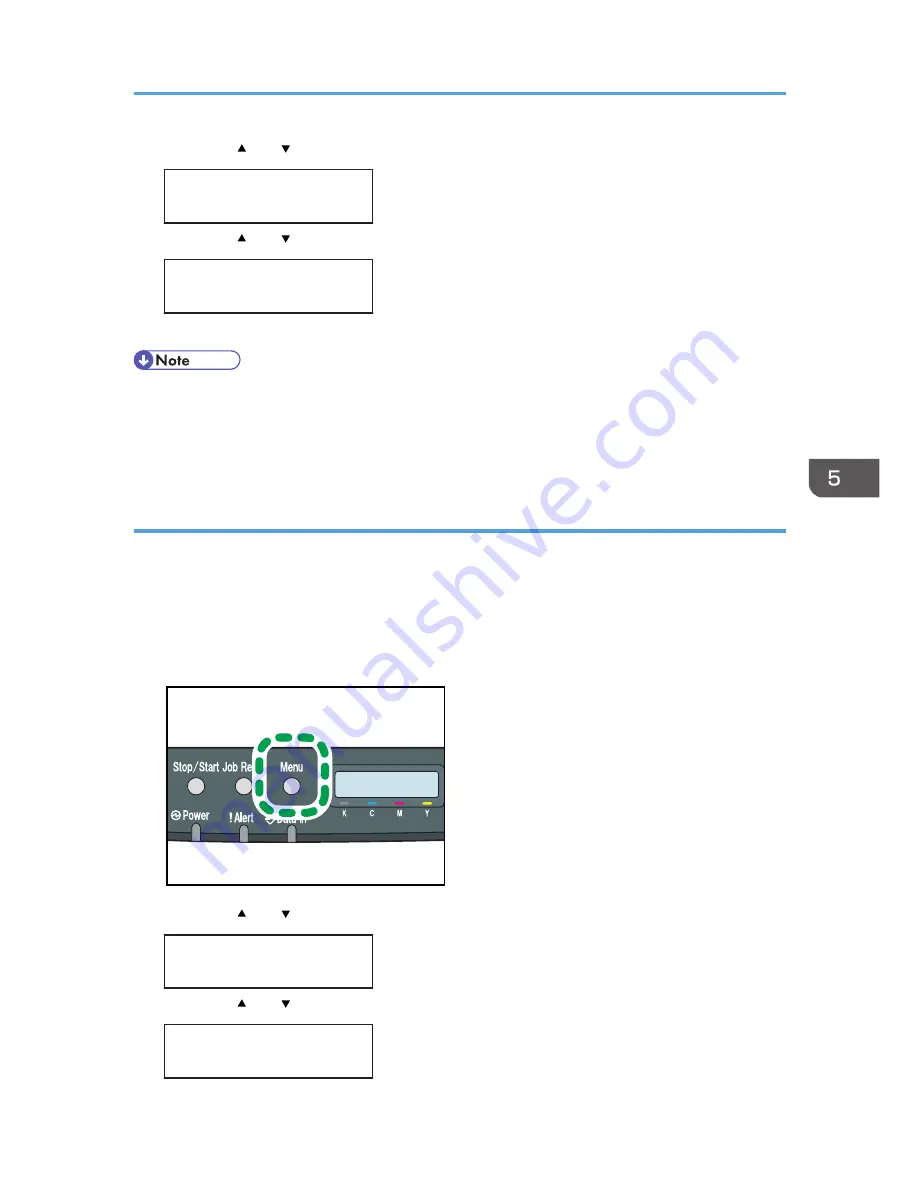
1.
Press the [Menu] key.
CER408
2.
Press the [ ] or [ ] key to display [Paper Input], and then press the [OK] key.
Menu:
Paper Input
3.
Press the [ ] or [ ] key to display [Paper Type], and then press the [OK] key.
Paper Input:
Paper Type
Loading Paper
77
Summary of Contents for DX-C200P Operation
Page 39: ...2 Green comes on when the printer is properly connected to the network Network Connection 37 ...
Page 42: ...3 Connecting the Printer 40 ...
Page 94: ...5 Paper and Other Media 92 ...
Page 146: ...9 Removing Misfed Paper 144 ...
Page 160: ...10 Appendix 158 ...
Page 164: ...MEMO 162 ...
Page 165: ...MEMO 163 ...
Page 166: ...MEMO 164 M1007700 ...
Page 167: ... 2012 ...
Page 168: ...Operating Instructions Hardware Guide M100 7700 DX C200P ...


