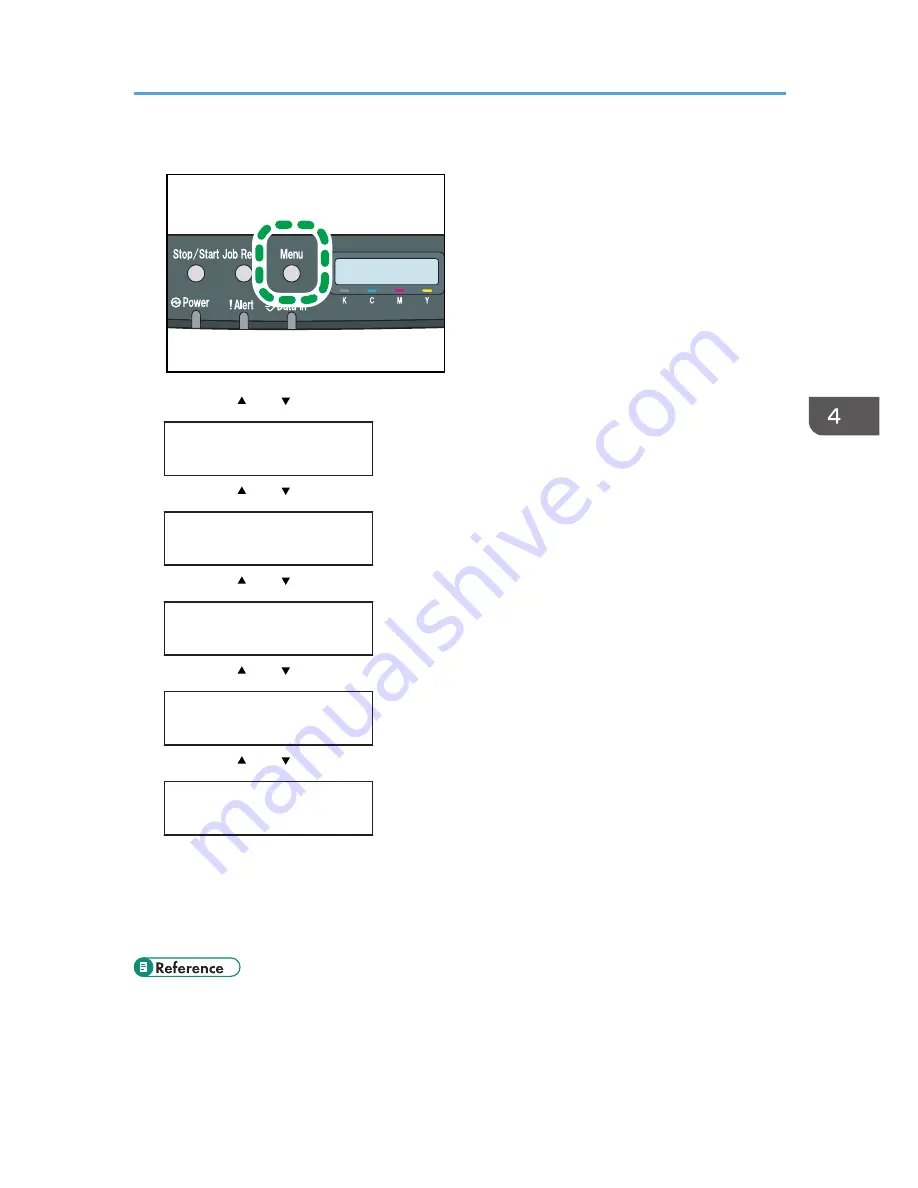
1.
Press the [Menu] key.
CER408
2.
Press the [ ] or [ ] key to display [Host Interface], and then press the [OK] key.
Menu:
Host Interface
3.
Press the [ ] or [ ] key to display [Network Setting], and then press the [OK] key.
Host Interface:
Network Setting
4.
Press the [ ] or [ ] key to display [IPv4 Config.], and then press the [OK] key.
Network Setting:
IPv4 Config.
5.
Press the [ ] or [ ] key to display [DHCP], and then press the [OK] key.
IPv4 Config.:
DHCP
6.
Press the [ ] or [ ] key to select [Active], and then press the [OK] key.
DHCP:
Active
The address will be detected by the printer
7.
Press the [Menu] key.
8.
If you are requested to restart the printer, turn off the printer, and then turn it back on.
9.
Print a configuration page to confirm the settings made.
• For details about printing the configuration page using control panel, see p.30 "Test Printing".
Ethernet Configuration
45
Summary of Contents for DX-C200P Operation
Page 39: ...2 Green comes on when the printer is properly connected to the network Network Connection 37 ...
Page 42: ...3 Connecting the Printer 40 ...
Page 94: ...5 Paper and Other Media 92 ...
Page 146: ...9 Removing Misfed Paper 144 ...
Page 160: ...10 Appendix 158 ...
Page 164: ...MEMO 162 ...
Page 165: ...MEMO 163 ...
Page 166: ...MEMO 164 M1007700 ...
Page 167: ... 2012 ...
Page 168: ...Operating Instructions Hardware Guide M100 7700 DX C200P ...


