80
EN
Changing the Setup menu
Audio setting (cont’d)
5
Press [SETUP] to exit.
DISPLAY
SETUP
TOP MENU MENU/LIST
CLEAR
SPACE
0
ENTER
RETURN
{
B
K
L
5
Video setting
1
In stop mode, press [SETUP].
2
Select “Playback” using [Cursor
K
/
L
], then press [ENTER].
3
Select “Video” using [Cursor
K
/
L
], then press [ENTER].
4
Select the desired item using [Cursor
K
/
L
], then press [ENTER].
Note
• An individual picture on TV
screen is called as Frame,
which consists of two
separate images called as
Field. Some pictures may be
blurred at the “Auto” setting
in still mode due to their data
characteristics.
DISPLAY
SETUP
TOP MENU MENU/LIST
REC MODE
REC/OTR
PAUSE
SKIP
SKIP
PLAY
CM SKIP
FWD
REV
CLEAR
SPACE
0
H
G
ENTER
RETURN
B
C
{
B
K
L
h
g
F
STOP
RAPID PLAY
1
2
3
4
Select a setting using [Cursor
K
/
L
], then press [ENTER].
Your setting is activated.
The Dynamic Range Control
function is effective only with
analogue audio connection.
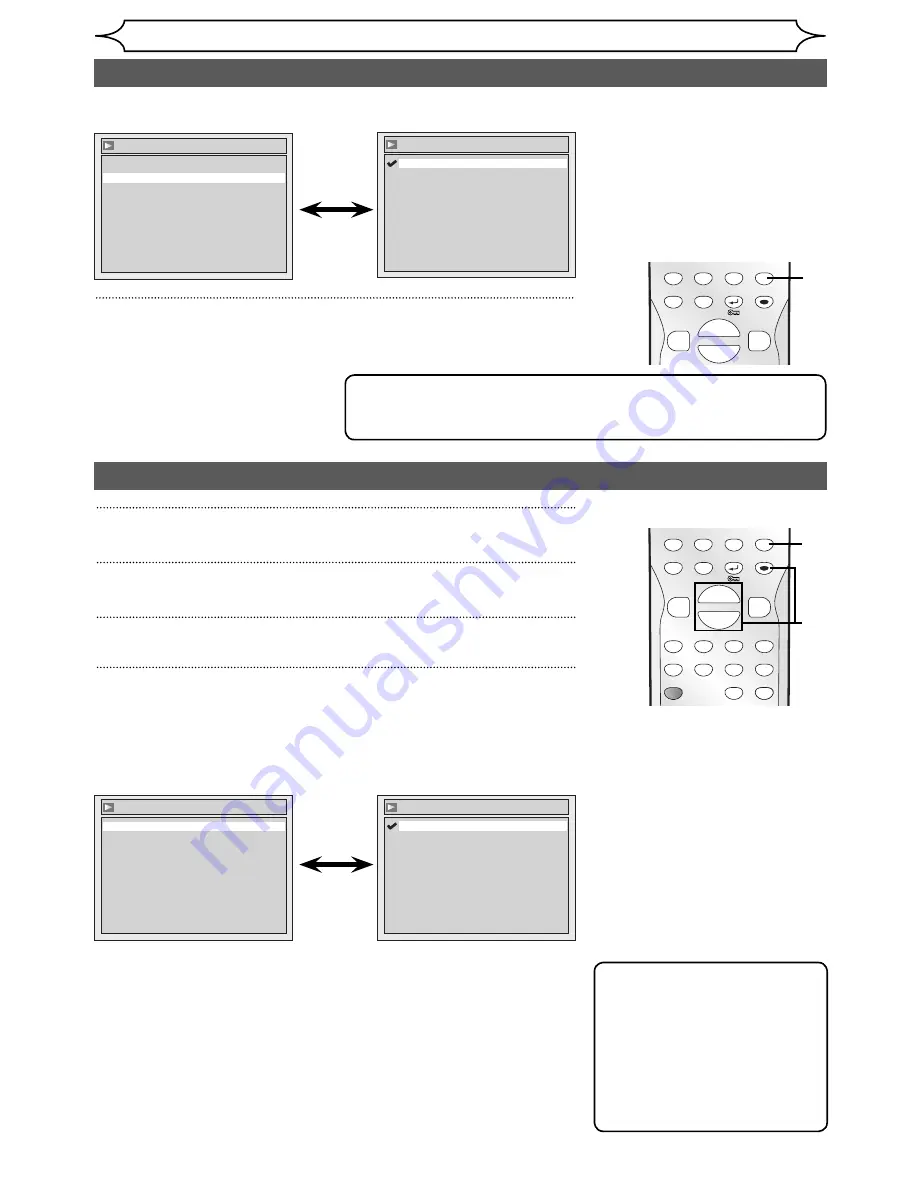
Dynamic Range Control (Default: ON)
Set to “ON” to make the dynamic range narrower.
Audio - Dynamic Range Control
OFF
ON
Audio
Digital Out
Dynamic Range Control
ON
Video
TV System
PAL
Video Out
SCART(RGB)
Still Mode
Auto
Still Mode (Default : Auto)
Set the type of still image in pausing playback.
Select a setting using [Cursor
K
/
L
], then press [ENTER].
Your setting will be activated.
Video - Still Mode
Field
Frame
Auto
Auto : Automatically select the best resolution setting (“Frame” or
“Field”) based on the data characteristics of the pictures.
Field : Select “Field” when the pictures are still unstable even if
“Auto” is selected. “Field” stabilizes the pictures, although
the picture quality may become coarse due to the limited
amount of data.
Frame : Select “Frame” to display relatively motionless pictures in
higher resolution. “Frame” improves the picture quality,
although it may unstabilize the pictures due to simultaneous
output of two Field data.
Note
• The Dynamic Range Control function is available only on discs
recorded in the Dolby Digital format.


