[3] INSTALLING PROCEDURE
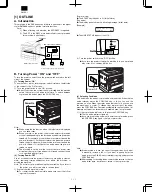
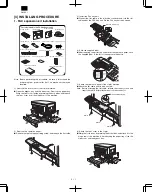
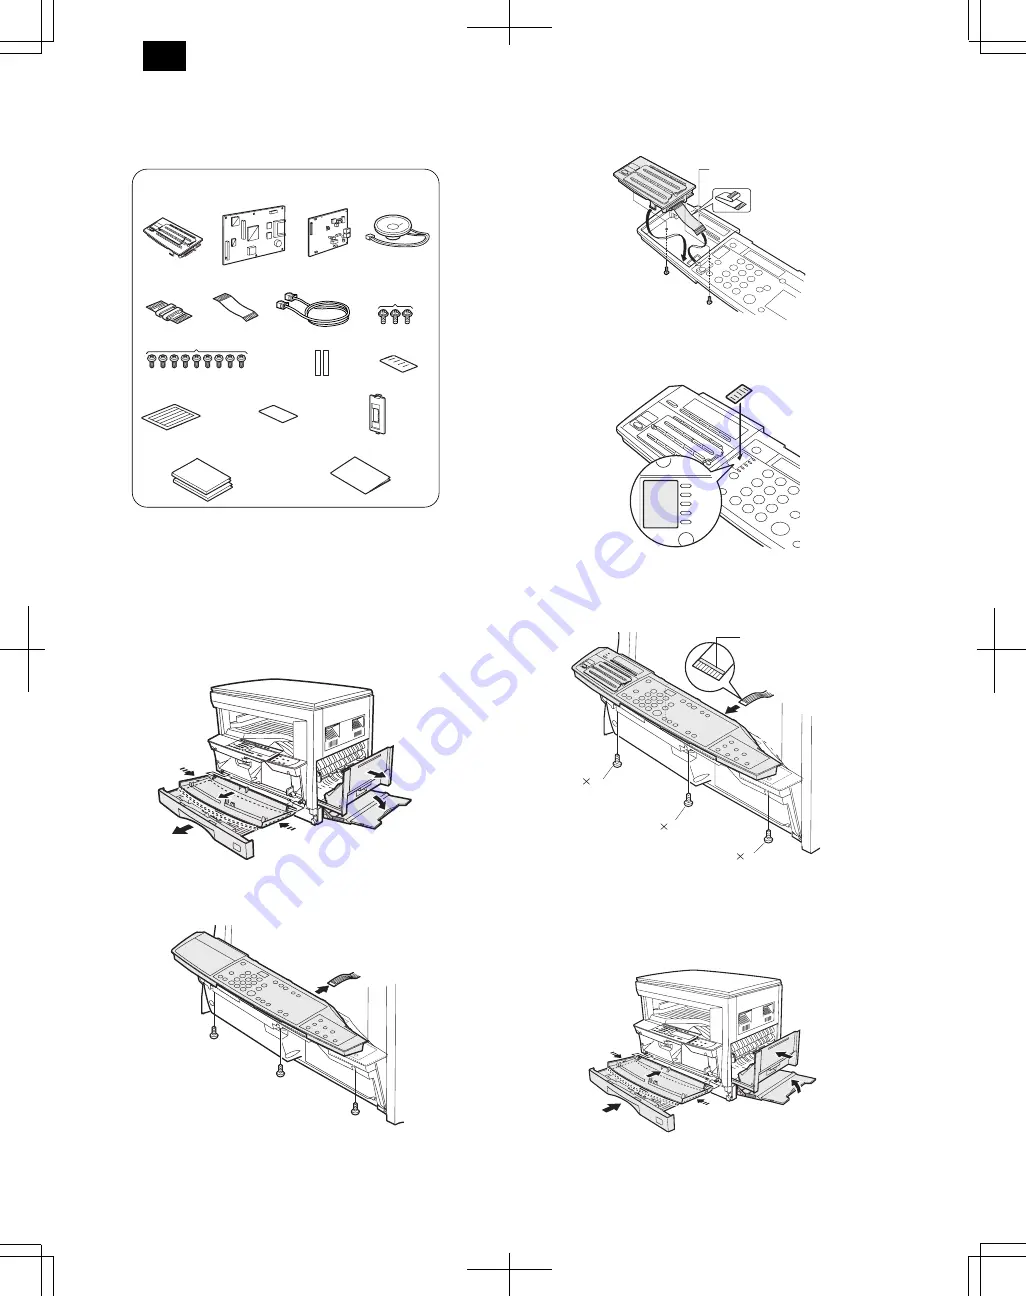
1. FAX expansion kit installation
Note: Before performing this procedure, be sure to disconnect the
power plug from power outlet. If not, an electric shock may be
resulted.
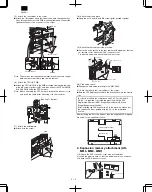
1) Remove the front cover of the copier machine.
●
Open the bypass tray and the side cover. Remove the paper tray.
Warp the front cover inside by pressing the both sides, and remove
the front cover from the hinge arm of the machine.
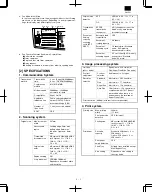
2) Remove the operation panel.
●
Remove the operation panel fixing screw, and remove the flat cable.
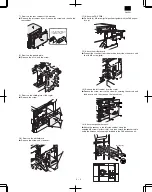
3) Install the Fax key unit.
●
Connect the flat cable to the machine connector and fold the flat
cable under the FAX key unit. Fix the Fax key unit with screws.
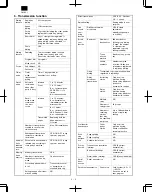
4) Stick the supplied label.
●
After removing the protective sheet from the operation panel, stick
the supplied label to the left of the exposure indicators.
5) Attach the operation panel of the copier machine.
●
Attach the flat cable and fix with a screw.
Note: Before attaching the flat cable, release the connector lock and
insert the cable. After attachment, lock the connector.
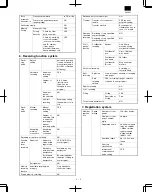
6) Attach the front cover to the copier.
●
Warp the front cover by pressing the both sides, and attach it to the
hinge arm of the machine. After attaching the paper tray, close the
side cover and the bypass tray.
Parts included in the FAX expansion kit
(13) FCC Registration Label
(1) FAX key unit
(2) FAX PWB
(3) TEL/LIU PWB
(4) Speaker unit
(5) FFC harness
(6) FAX harness
(7) Line harness (8) M3 screws (gold color)
(9) M3 screws (gold color)
(10) Harness securing tape (11) Supplied label
(12) Label for note
(14) FAX connector cover
(15) Operation manual
(16) Installation manual
AUOT
STANDARD
FINE
SUPER FINE
ULTRA FINE
HALF TONE
MANUAL
PHOTO
Blue line-must be up
M3 8
M3 8
M3 8
Blue line-must be up
DM-FX1
3 – 1


