10
Configuring the device
Set up the fixture using the control panel and OLED display at the yoke of the fixture.
After powering on the G-4 Series, the display shows the currently selected operating mode. Navigate through the menus using the
arrows and select items using the ENTER button.
Please note: In POI versions there is no display mounted in the fixture. The adjustments are made through RDM.
See page 22 to know more.
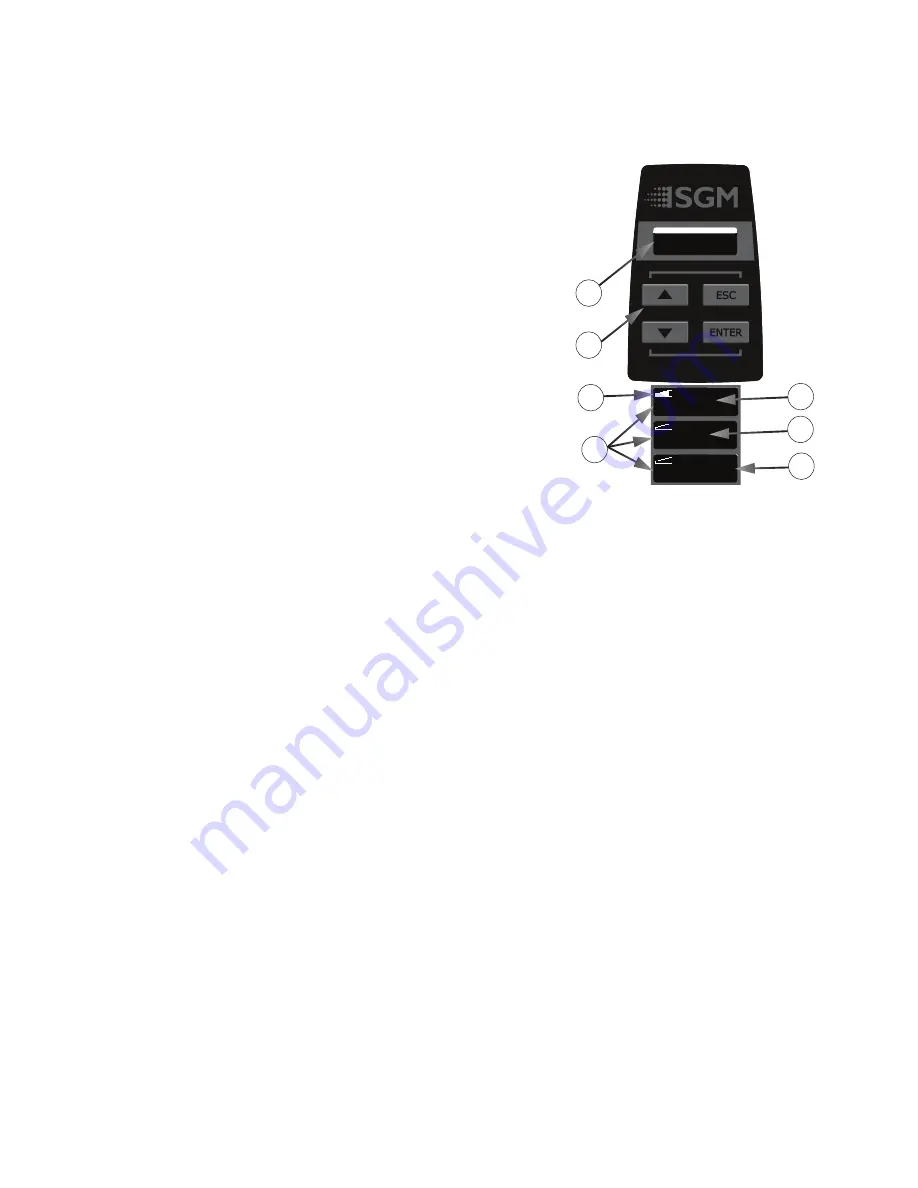
OLED Display (A)
The OLED multiline display is the human interface of the fixture. It displays the
current status and menu of the fixture. The display panel can be used to configure
individual fixture settings, checking the fixture’s wireless status, firmware version,
and error messages. The complete list of the menu and all commands available
are listed in
”Control menu” on page 15
.
Using the keyboard (B)
•
Press the ‘ENTER’ button to enter a menu or make a selection.
•
Press the arrows to scroll up and down the menus.
•
Press the ‘ESC’ button to take a step back.
•
Press any button to disable pan/tilt - it generates time out for 10 sec.,
after which it will return to the correct position.
Wireless signal strength (C
)
Displays the signal strength of the wireless CRMX connection. The wireless signal
strength symbol will be flashing if the paired transmitter is out of range.
If no transmitter is paired the symbol will be off.
Active input type (D)
The active input is displayed for quick and simple verification of the input status.
Error indicator (E)
If any errors are detected, the message ‘ERR’ will be flashing in the display for easy detection.
To read the error message go to: MENU → INFO → ERRORS
DMX address (F)
Displays the current DMX address. The DMX address can be changed directly from this view. The next available DMX address is
displayed to the right. The DMX address will flash on the display if no data input.
Next fixture address (G)
Showing the next available DMX address depending on the fixture’s DMX footprint.
113
DMX
(131)
INFO
SETTINGS
TEST
RESET
113
DMX
(131)
113
INTE
(131)
ERR
CRMX
(131)
A: OLED Display E: Error indicator
B:
Keyboard
F:
DMX
address
C: Wireless signal strenght G: Next fixture address
D: Active input type
B
D
A
F
G
E
C
Figure 7: Control panel
Flipping the OLED display
If the fixture is hanging upside down, it might be useful to flip the display for easy reading.
To flip the display select “ENTER → SETTINGS → DISPLAY FLIP” in the menu, or press the ‘UP’ and ‘DOWN’ arrows simultaneously
in the control panel.
Setting the OLED display saver
By default, the OLED display dims down after a short period of time whenever the control panel is not in use, but it can also be set to
turn off completely. Pressing any key will turns on the display or restore it to normal brightness.
To change the display saver, select “ENTER → SETTINGS → DISPLAY OFF” in the menu. This can also be changed via RDM.
See
“RDM functions” on page 16
.
NOTE: To avoid the risk of display deterioration caused by long term use in permanent installations, it is recommended to
use the “DISPLAY OFF” setting.
Display settings


