Conquest 100
Line Scan
61
•
View
- press this button to review the previously collected line.
•
Delete
- pressing this will delete the line. It will prompt you to confirm before deleting.
6.2 Acquiring Data
From the Line Scan menu in Figure 6-1, there are 3 ways to start collecting data:
•
Press
Start
on the Display Unit
•
Press the
Enter
button on the Sensor Head
•
Press the
Bluetooth Trigger
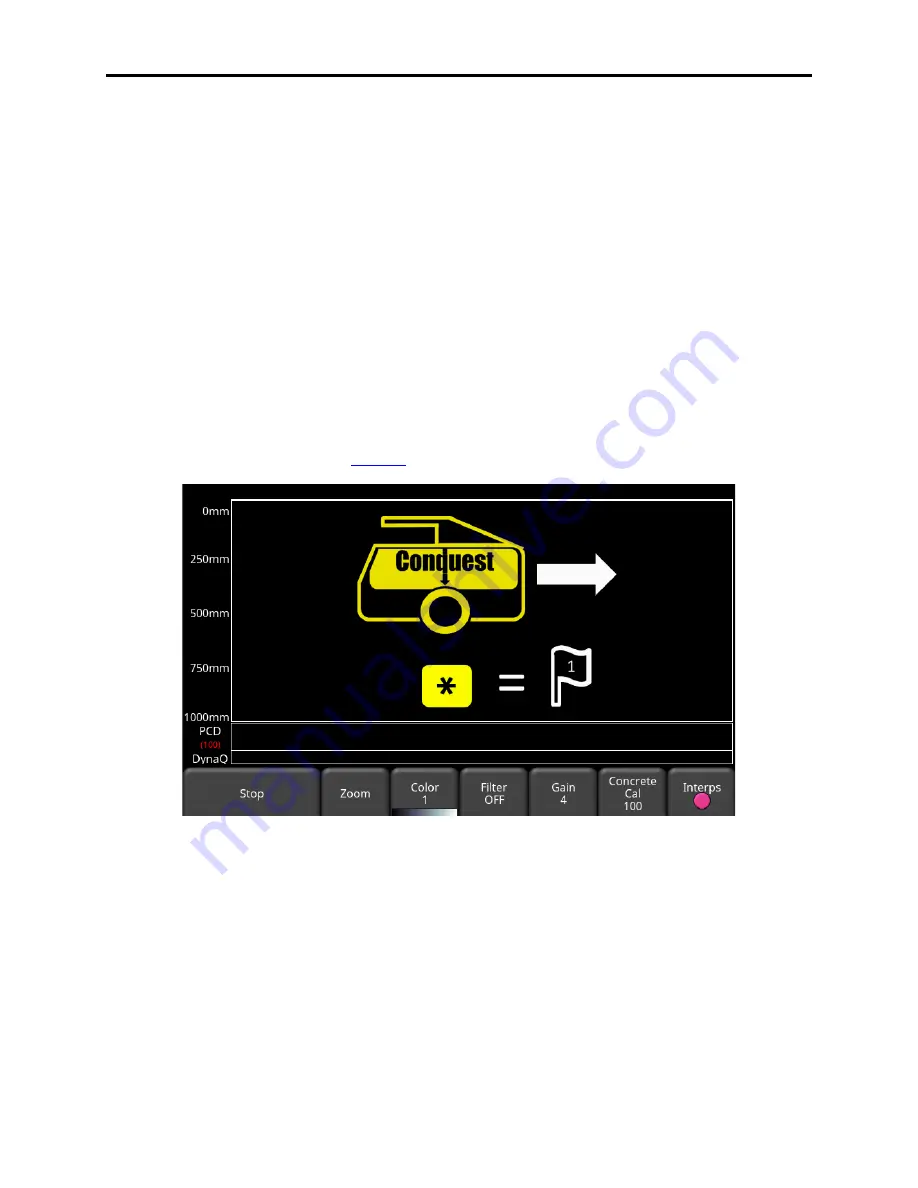
The screen will change to the Line Scan data acquisition screen (Figure 6-4). The system
beeps once and the red light by the star key on the Sensor Head turns on. You will see a depth
scale along the left side of the screen. The position scale will be on the top once acquisition
begins. The measurement units on these axes (Metric or US Standard) are based on the
setting in the Preferences menu (
Figure 6-4: Commencing data acquisition
As the Sensor Head is pushed along a straight line, the GPR Line image scrolls onto the screen
from the right and moves to the left (Figure 6-5). The data will scroll as fast as you move. It is
best to go at a uniform speed because irregular motion may reduce data quality.
Summary of Contents for CONQUEST 100
Page 1: ... Copyright 2015 Sensors Software Inc 2015 00049 05 ...
Page 2: ......
Page 4: ......
Page 10: ......
Page 16: ...Conquest 100 Overview 6 ...
Page 46: ...Conquest 100 Main Screen 36 ...
Page 84: ...Conquest 100 Line Scan 74 ...
Page 104: ...Conquest 100 SliceView 94 ...
Page 114: ...Conquest 100 Transferring Data to a PC 104 ...
Page 116: ...Conquest 100 Transferring Data to a PC 106 ...
Page 120: ...Conquest 100 Troubleshooting 110 ...
Page 124: ...Conquest 100 Care and Maintenance 114 ...
Page 128: ...Conquest 100 Technical Specifications 118 ...
Page 130: ...Conquest 100 Appendix A Health Safety Certification A2 ...
Page 140: ...Conquest 100 Appendix C Instrument Interference C2 ...
Page 142: ...Conquest 100 Appendix D Safety Around Explosive Devices D1 ...


