


Chapter 2
Getting Started
User Guide
2-15
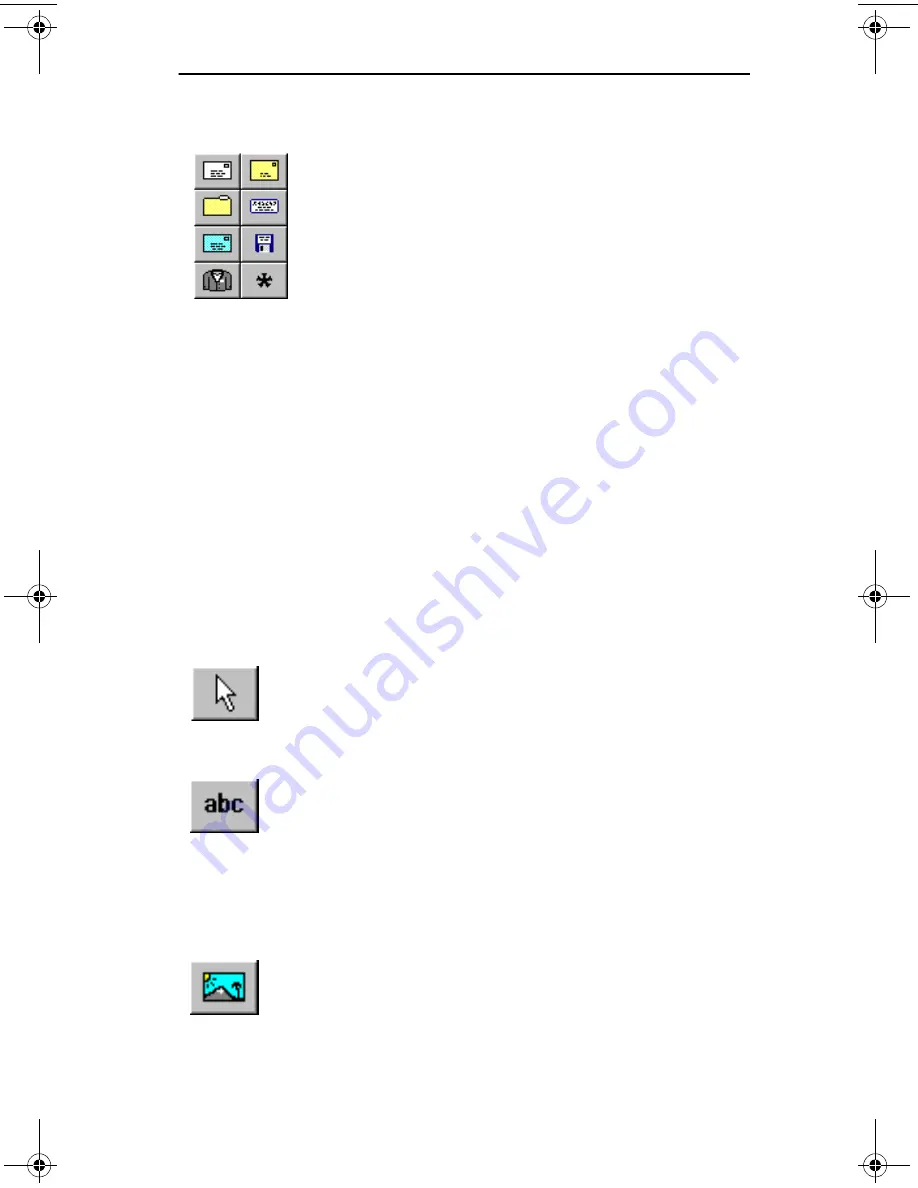
Smart Label Icons
Object Buttons
Select and add objects to the label. To open the Properties
dialog box, click the right mouse button and select
Properties
or choose
Properties
from the Object menu.
Clicking one of the Smart Label Icons immediately
changes the label format to the format assigned to
that icon. Initially the Smart Label Icons are
assigned the following formats and icons.
■
Address label with U.S. POSTNET code
■
Shipping label with return address
■
General purpose label
■
File folder label
■
Invitation mailer label
■
3-1/2” backup disk label
■
Name badge label
The Smart Label Icons can be customized to suit
your specific needs.
Select
This button is used to select objects
and text. To select objects, click the
object. To select text, click and drag
across text.
Add Smart Text
Since a label can only have one
Smart Text object, this button is
only available when the initial Smart
Text object has been deleted. Click
this button and drag in the label to
add the Smart Text object. Type text
into the object.
Add Picture
Click this button and drag in the
label to add a Picture object. Select
the picture source from the dialog
box that appears.
slp120-2.bk Page 15 Friday, March 3, 2000 12:40 PM
Summary of Contents for SLP120
Page 1: ...USA User Guide for Windows 95 98 and Windows NT 4 0 Models 220 and 120...
Page 11: ...Chapter 1 User Guide 1 1 Introduction About Your Smart Label Printer 1 2 Software Features 1 3...
Page 49: ...Appendix B User Guide B 1 Commonly Asked Questions and Answers...
Page 52: ...Appendix C User Guide C 1 Technical Support and Service...
Page 57: ...Appendix D User Guide D 1 Ordering Labels and Parts...
Page 60: ...User Guide Index 1 Index...


