8
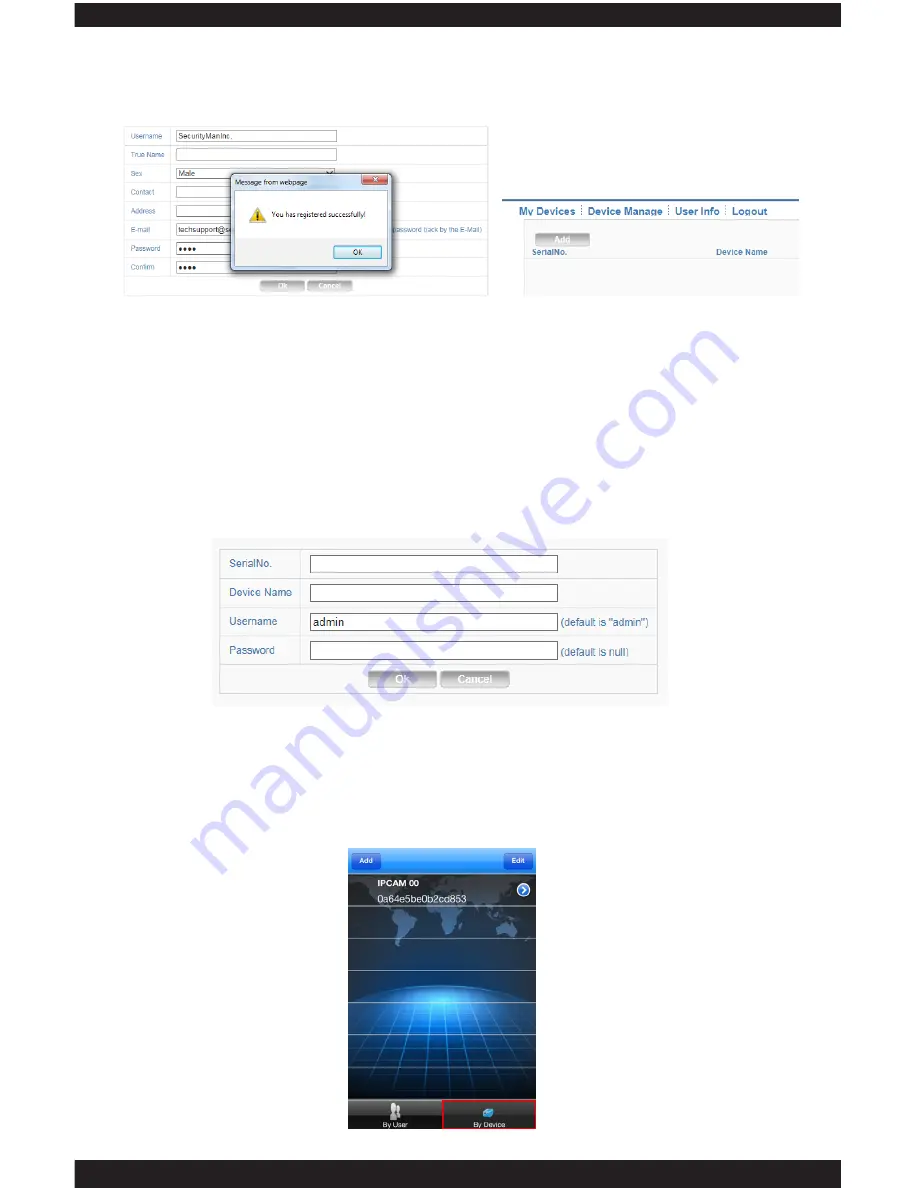
3: Once you have filled out the information, press OK. A prompt showing “You have
registered successfully!” will be displayed (fig. 1.3)
4: Go back to the login page and login using your registered ID and PW.
5: Select “Device Manage” and select “Add” (fig.1.4)
6: The SerialNo. is the serial ID of the IP camera which you can obtain by scanning
the QR Code located on the device (please refer to the QSG for instructions on
how to scan the QR Code). Provide a Device Name for your device (fig. 1.5).
Note:
Username is admin and the password is left blank.
7: With the device being registered to your XMEye account, you may use your phone
to login “By User” and the registered device will automatically display.
Fig. 1.3
Fig. 1.4
Fig. 1.5
By Device (Recommended):
Summary of Contents for ClockCam-WiFi
Page 1: ...CLOCKCAM WIFI User s Manual Wall Clock iSecurity Camera with Micro SD Recorder 12 6 9 3...
Page 43: ...39...
Page 154: ......


