JPEG2000 Stand alone DVR User Guide
-
41
-
5. [RECORD IN ALARM]
Set the recording speed when an alarm is triggered.
6. [RECORD IN MOTION]
Set the recording speed when motion is detected.
7. [CONTINUOUS RECORD]
Set the recording speed under the continuous recording mode.
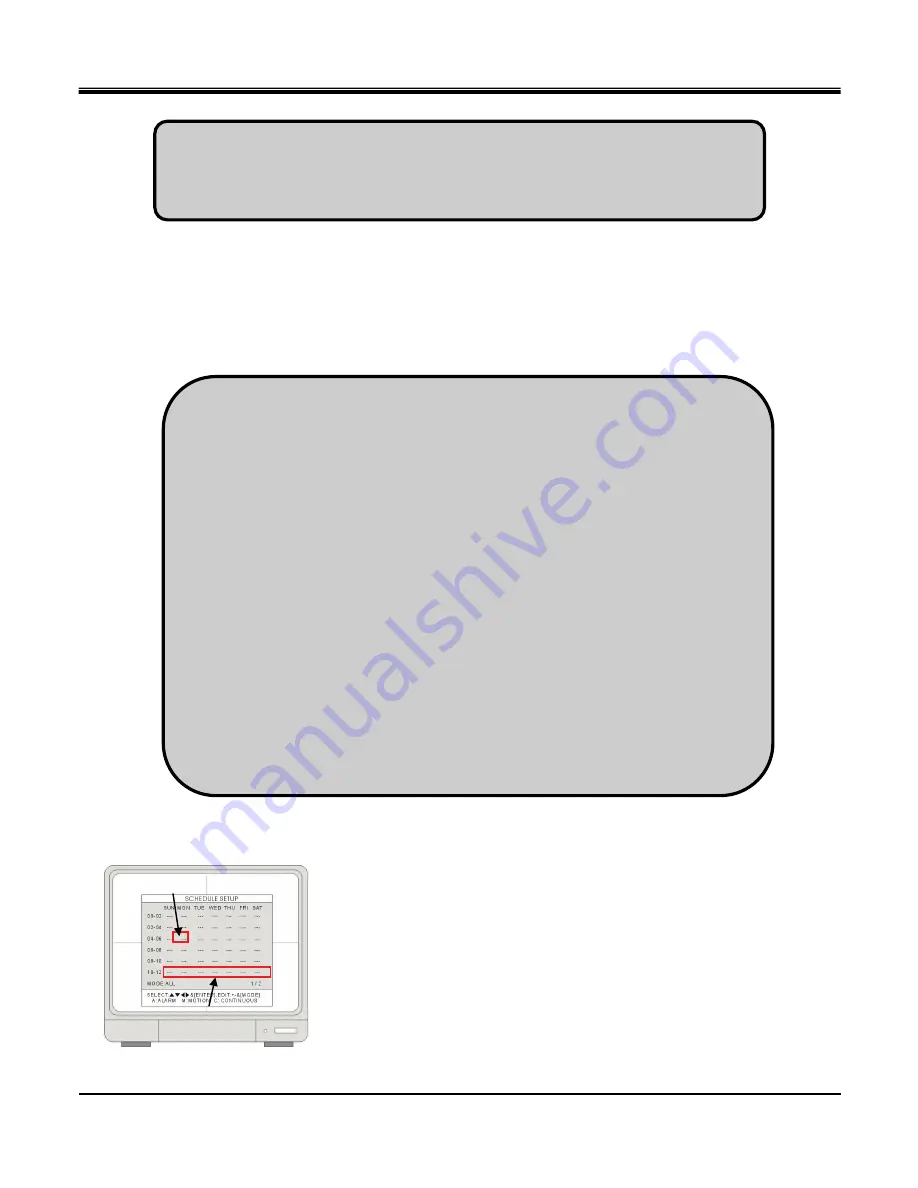
4-4-2 Schedule record
Program a recording schedule throught out the week.
MODE
: Press MODE to select an editing mode. Use the direction keys
to move the cursor, and then press [+] and [-] to select a recording
mode.
The editing modes are as below:
TIME CELL
: Program the schedule at a two-hour interval.
TIME ZONE
: Program the schedule by time zone. There are 12 Time Zones in
the setting. A time zone is a two-hour interval from Sunday to Saturday.
WEEK
: Program the schedule day by day.
1. The recording speed is expressed in fractions. 1/ 1 is to record at the full recording
speed, which you set in RESOLUTION. 1 / 2 is to record at half of the recording
speed. 1 /3 is to record at one third of the recording speed. You can set up the
parameter from 1/1, 1/2, 1/3, 1/4,… to 1/999.
2. By lowering the recording speed, the DVR records less frames but gains a longer
recording duration. If you set the DVR’s recording speed at 1/2, the recording duration
will be two times longer. 1/3 will make the recording duration three times longer, and
so on.
3. When the RESOLUTION is set to QUAD Mode, the selection of the recording speed
is limited to 1/1, 1/2, and 1/3.
4. All active cameras share the recording speed. To turn off recording on a specific
channel, please refer to [SYSTEM MENU]
[CONFIGURATION]
[CAMERA SETUP]
[CAMERA ACTIVE SETUP]. Please note that channels showing “Video Loss” are
still active and recording blank space on the HDD.
1. Changing the RESOLUTION will NOT change the recording time on DVR.
2.
To change the DVR’s recording duration, please adjust the DVR’s recording speed in the
following three settings.
Time Cell
Time Zone


