18
Using PaperPort
Using Thumbnails
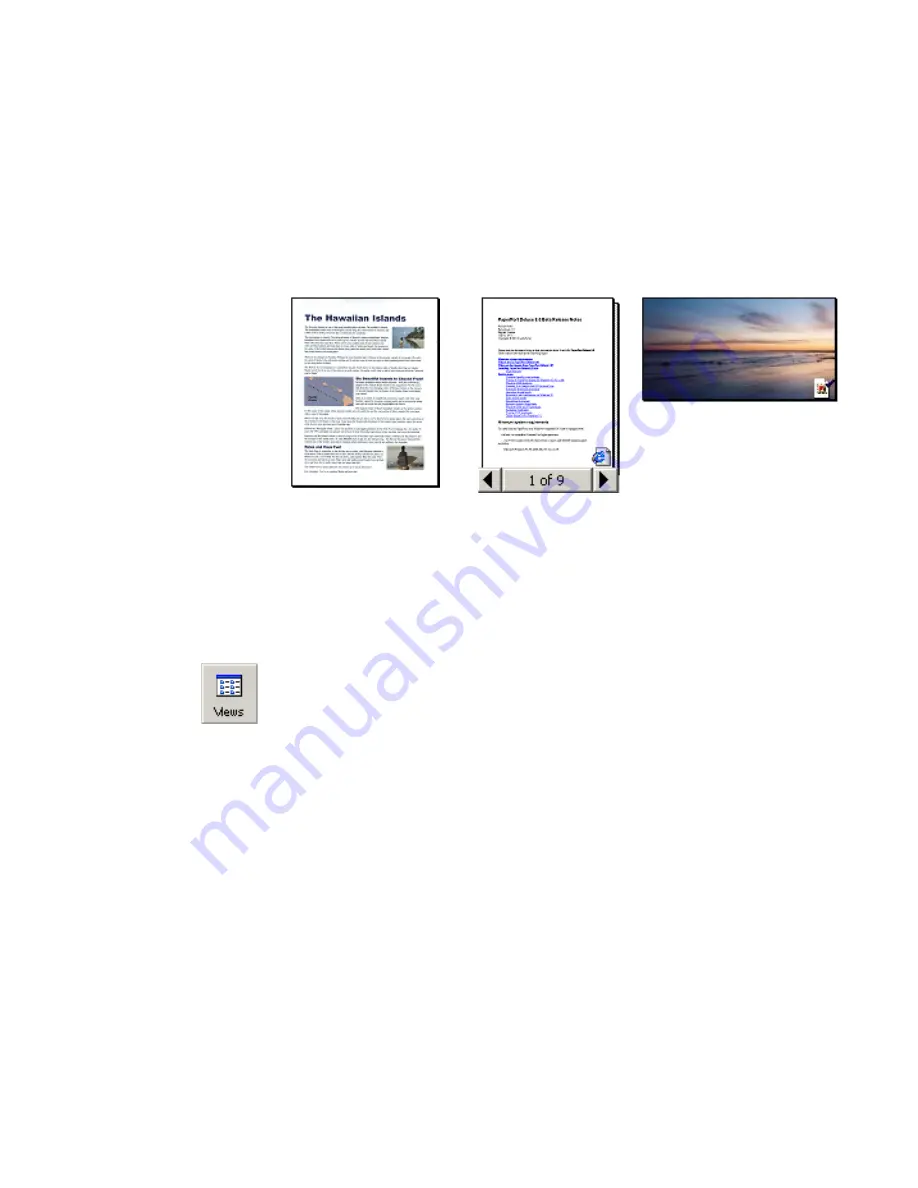
One quick way to locate your PaperPort items is to visually browse through the
thumbnails on your Desktop. Each thumbnail is a small, graphic representation of
your document or photo (Figure 6).
Figure 6.
PaperPort Thumbnails
PaperPort shows large, clear thumbnails of all your documents and photos.
With the exception of PaperPort image items (.max) files, each thumbnail appears
with an icon that identifies the program in which it was created or is currently
associated. This makes it easy and convenient to quickly see and find all different
types of items on your computer.
To display thumbnails, on the
Command
bar, click the
Views
button and then click
Thumbnails
.
Before you can work with an item, you must first select its thumbnail on the
Desktop. A red line appears around an item to indicate that it is selected.
While working with thumbnails, you can:
◆
Click a thumbnail to select it.
◆
Drag a thumbnail to reposition it on the Desktop.
◆
Drag a thumbnail to a folder to move the item to that folder.
◆
Double-click a thumbnail to view the item.
◆
Press the
Ctrl
key and double-click a thumbnail to open the item in its source
program.
◆
Right-click a thumbnail to display the item's shortcut menu.
◆
Drag a thumbnail to the Send To bar to send a copy of the item to another
program.


