Alarm Settings
External Alarm Sensor Setting
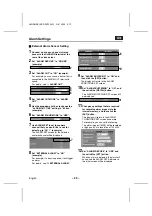
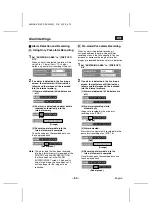
1
Connect a device such as an infrared
sensor to the ALARM IN terminal at the
rear of the video server.
2
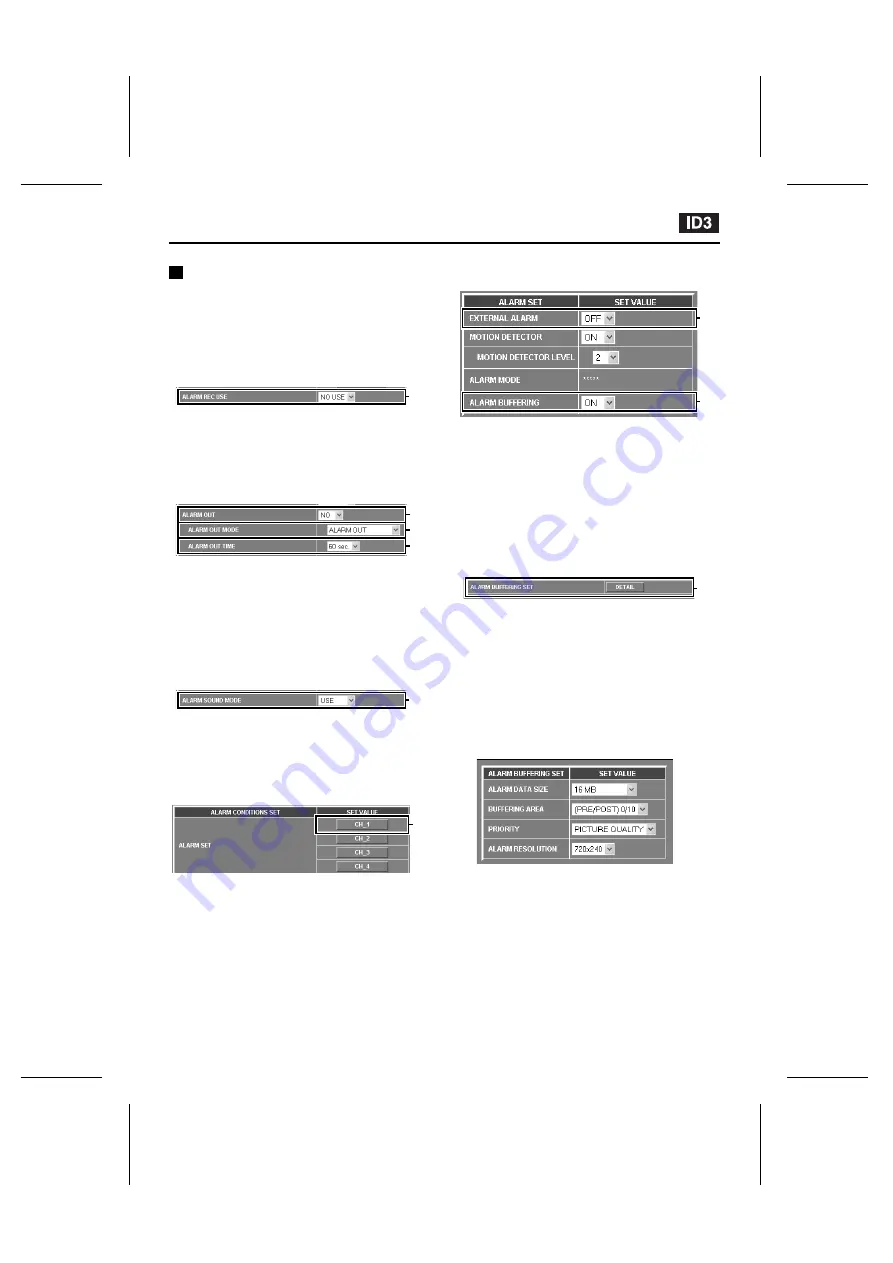
Set “ALARM REC USE” to “NO USE”
(example).
3
Set “ALARM OUT” to “NO” (example).
For example, you can cause a buzzer that is
connected to the ALARM OUT terminal to
sound.
For details, see “
3
ALARM OUT”.
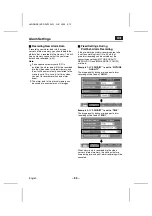
4
Set “ALARM OUT MODE” to “ALARM
OUT”.
5
Use the drop-down list box to change the
“ALARM OUT TIME” setting to “60 sec.”
(example).
6
Set “ALARM SOUND MODE” to “USE”.
7
Use ALARM SET to set the camera
channel that you would like to use for
detecting to “CH_1” (example).
The ALARM SET screen for the selected
camera channel will be displayed.
8
Set “EXTERNAL ALARM” to “NO”
(example).
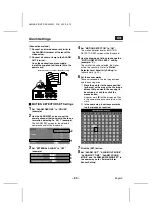
For example, if a door is opened, it will trigger
an alarm.
For details, see “
8
EXTERNAL ALARM”.
9
Set “ALARM BUFFERING” to “ON” and
then click the [SET] button.
The display will return to the ALARM
CONDITIONS SET screen.
10
Set “ALARM BUFFERING” to “ON”, and
then click the [DETAIL] button.
The ALARM BUFFERING SET screen will
be displayed.
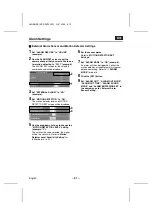
11
Change any settings that are required
for recording alarm images into the
internal memory, and then click the
[SET] button.
The display will return to the ALARM
CONDITIONS SET screen once more.
For example, you can set the following.
The alarm images (16MB) will be recorded
at high quality at a resolution of 720x240.
12
Set “ALARM REC USE” to “USE” and
then click the [SET] button.
When an alarm is detected, the alarm will
sound and the ALARM DATA indicator in
the initial screen will be displayed.
2
3
4
5
6
7
8
9
10
L8NAA/XE
(VSP-SV2000P) GB 2003,
5,
12
English
– 29 –

