The configured settings are applied in common to all the camera views.
1
Click [PRIVACY MASK] in the sub menu.
The PRIVACY MASK SETTINGS screen appears.
2
Click
PTZ
to view the PTZ controller.
3
Use the controller to adjust the orientation of the camera lens while monitoring live video
displayed on the monitor.
4
Click the mask number button you want to configure.
5
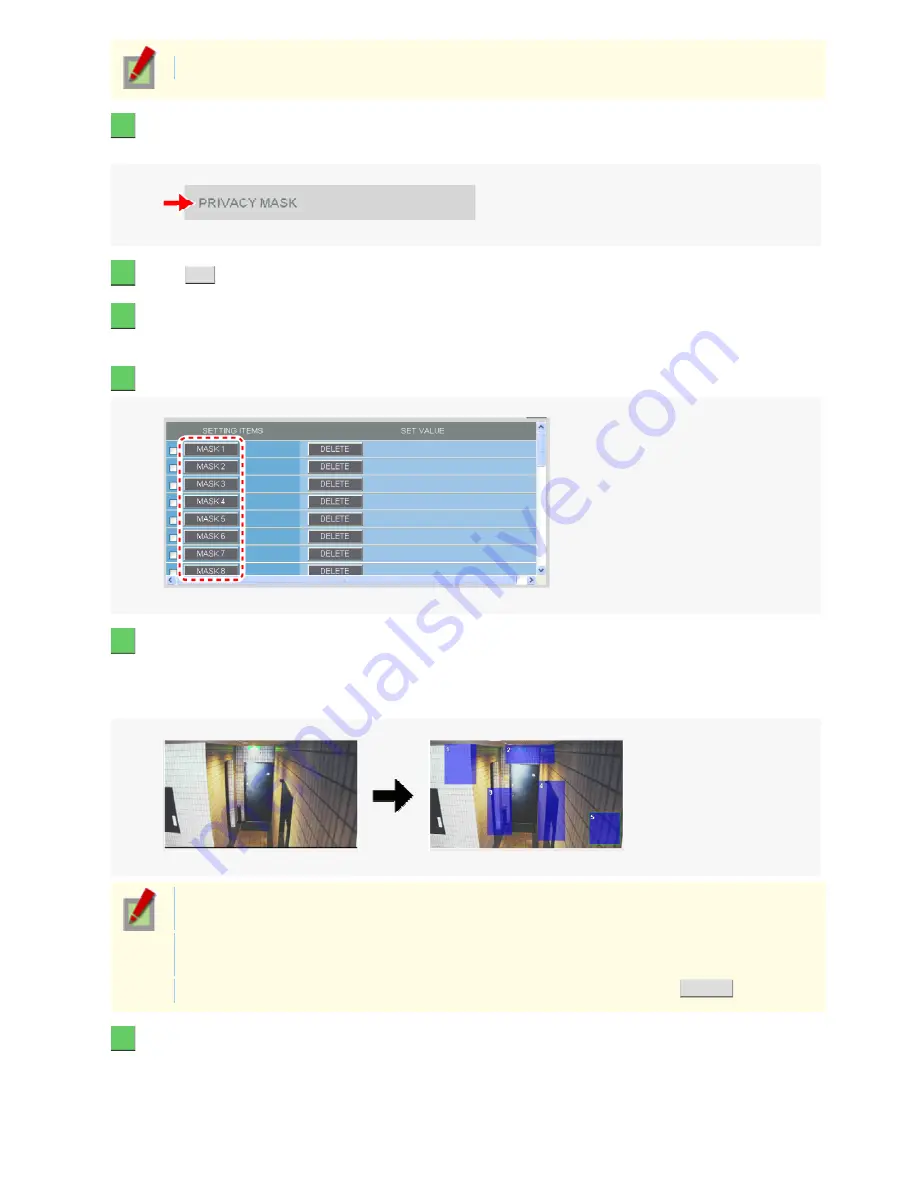
Drag the mouse over the live video image to select the area you want to mask.
A mask pattern appears over the selected area.
While changing the orientation of the camera lens, you can apply up to 32 mask patterns to anywhere within the
whole monitored area (eight spots at the maximum for a single screen).
To select a mask pattern, just click on it. The selected mask pattern is shown with a yellow green
border.
To move a mask pattern, select it and then drag the mouse. To resize a mask pattern, place the
mouse pointer over its border and then drag the mouse.
To delete a mask pattern, select an appropriate mask number button and click
DELETE
.
6
Check the boxes you want to configure.
Each mask pattern for which you selected the check box appears on the live screen.
You may select two or more check boxes.
Working with Administrator Configuration Screens 39/77


