50
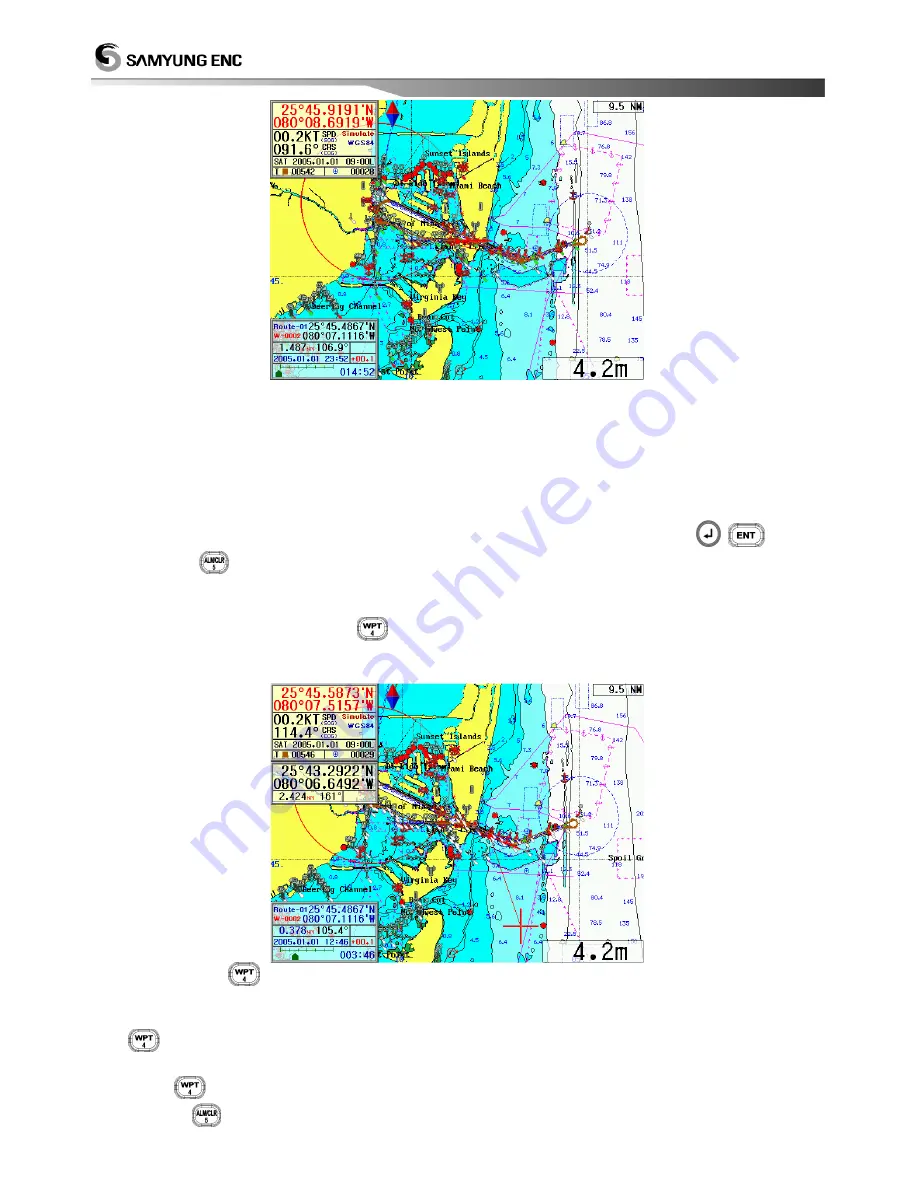
The red line is shown from a current position to a first route position and the rest positions
registered into a route navigation is shown with a bright-grey line. The Lat/Lon, distance,
direction, estimated time, approach speed and navigation time of the navigating route point are
shown in a bottom-left of the plotter screen. (
Refer to
☞
'Chapter 3 - 5.
■
GPS Plotter
Display' )
In order to Navigation Cancellation, move
[2.SET]
[1.NAVIGATION SET]
[4.EXIT WPT/RTE/ANCHOR] and press
(
) button
or press (
) button. (
Ref
☞
er to ‘2.1.4 EXIT WPT/RTE/ANCHOR (Navigation
Cancellation)’ )
How to set up a Route Navigation by using a course button.
Register a new waypoint by using (
) button and set up a route-navigation at the same time. It
can be used in order to set up a new route-navigation in a plotter screen with ease.
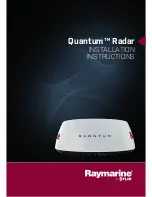
When press (
) button in a Plotter, the coordinates CURSOR connected to own-ship with
a red line is shown.
After move the coordinates CURSOR to a waypoint set up by using a direction button, press
(
) button to show the waypoint and set up a route-navigation.
After move the coordinates CURSOR to next waypoint set up by using a direction button,
press (
) button. You can repeat this method whatever you want to set up waypoints.
If press (
) button, the coordinates CURSOR is disappeared and while, the rout-navigation
Summary of Contents for Navis 3800
Page 6: ...7 This chapter provides an overview of the GLOBAL POSITIONING SYSTEM GPS 1 1 1 1 GPS PLOTTER...
Page 16: ...17 3 Power ON OFF Power ON Press Power OFF Press and hold approximately 2 sec...
Page 19: ...20 GPS Plotter Display C MAP Plotter Display 31...
Page 23: ...24 Fish finder Combo Display Fish finder Display...


