


Media and tray
36
2. Basic Setup
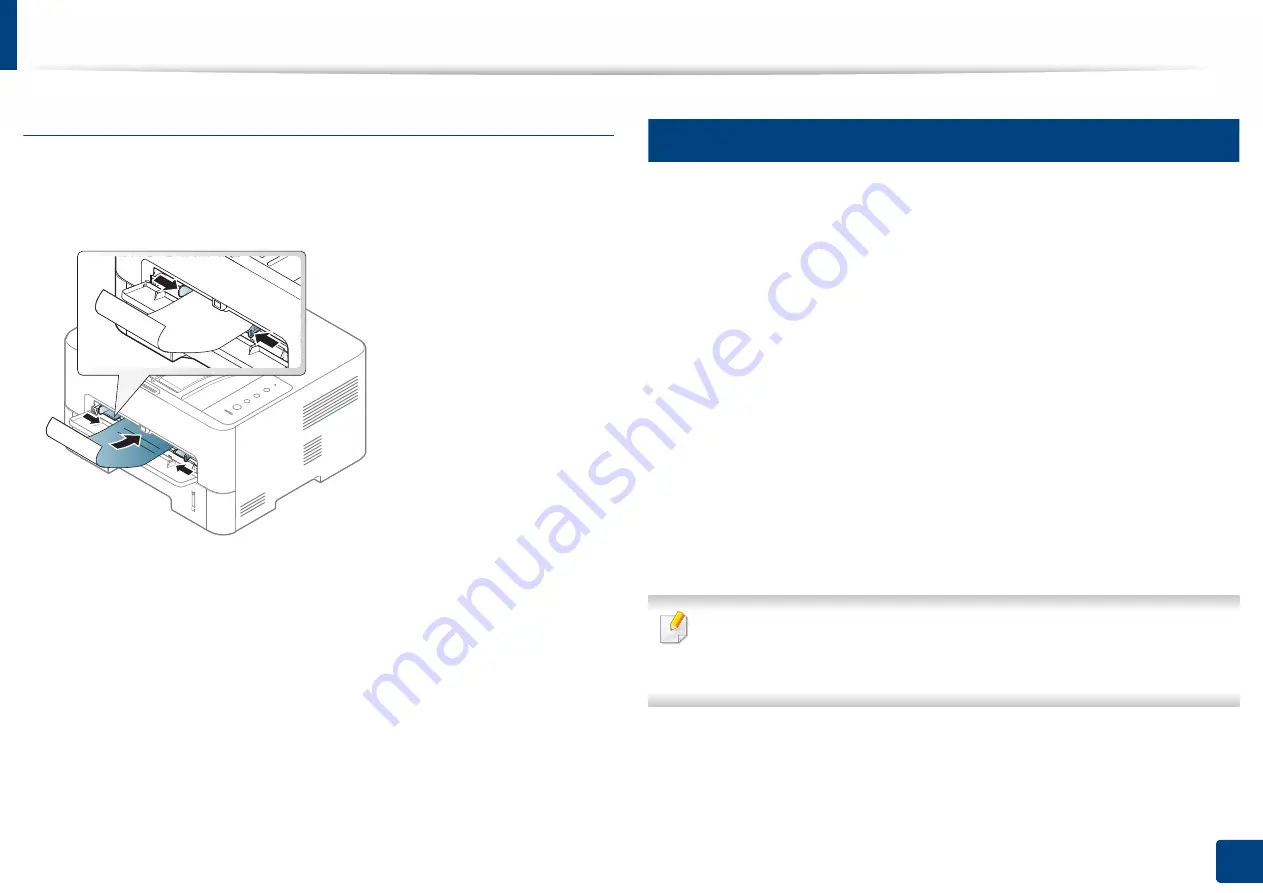
Preprinted paper
When loading preprinted paper, the printed side should be facing up with an
uncurled edge at the front. If you experience problems with paper feeding, turn
the paper around. Note that print quality is not guaranteed.
•
Must be printed with heat-resistant ink that will not melt, vaporize, or
release hazardous emissions when subjected to the machine’s fusing
temperature for 0.1 second (about 170°C).
•
Preprinted paper ink must be non-flammable and should not adversely
affect machine rollers.
•
Before you load preprinted paper, verify that the ink on the paper is dry.
During the fusing process, wet ink can come off preprinted paper, reducing
print quality.
6
Setting the paper size and type
After loading paper in the paper tray, set the paper size and type using the
display screen. For computer printing, select the paper size and type in the
application program you use on your computer.
The paper setting in the machine and driver should match to print without a
paper mismatch error.
•
You change the paper setting set in the machine from Samsung Easy Printer
Manager program or SyncThru™ Web Service.
-
If you machine is connected to the local, you can set the machine’s
setting from
Samsung Easy Printer Manager
>
Advanced Setting
>
Device Settings
(see "Using Samsung Easy Printer Manager" on page
-
If your machine is connected to the network, you can set the machine’s
setting from
SyncThru™ Web Service
>
Settings
tab >
Machine
Settings
(see "Using SyncThru™ Web Service" on page 170).
If you want to use special-sized paper such as billing paper, select
Custom
in the
Paper
tab in the
Printing Preferences
(see "Opening printing
Summary of Contents for XPRESS M301 SERIES
Page 31: ...Media and tray 31 2 Basic Setup ...
Page 49: ...Redistributing toner 49 3 Maintenance ...
Page 53: ...Replacing the imaging unit 53 3 Maintenance 1 2 1 2 ...
Page 56: ...Cleaning the machine 56 3 Maintenance 1 2 2 1 1 2 2 1 ...
Page 58: ...Cleaning the machine 58 3 Maintenance 1 2 1 2 ...
Page 63: ...Clearing paper jams 63 4 Troubleshooting 2 In the manual feeder ...
Page 65: ...Clearing paper jams 65 4 Troubleshooting 1 2 1 2 2 1 ...
Page 66: ...Clearing paper jams 66 4 Troubleshooting 4 In the exit area ...
Page 68: ...Clearing paper jams 68 4 Troubleshooting 5 In the duplex area ...
Page 96: ...96 ADVANCED Printing quality problems 195 Operating system problems 203 ...
Page 228: ...Index 228 Index network cable 125 ...


