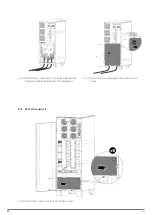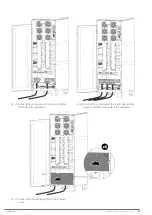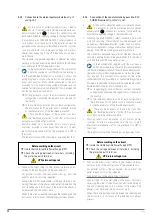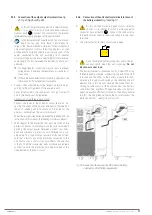
44
SALICRU
6.
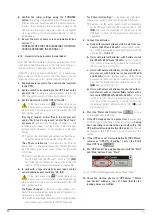
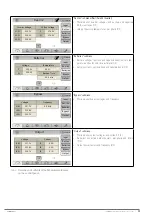
Confirm the initial settings using the "CONFIRM"
button.
The settings implemented in point
are confirmed.
Even if no changes have been made, it is always necessary
to press this confirmation button in order to move to the
UPS start-up and access the main screen. In subsequent
start-ups of the unit (after complete shutdown), it will no
longer appear.
7.
Access the main or home screen automatically (see
CONTINUE THE START-UP ACCORDING TO THE INDI-
6.1.3. Generic start-up procedure (normal mode).
If you find the UPS completely shut down (see section
it had been operating previously in the installation where it is
located, to restart it, proceed as indicated in this section.
If the UPS is simply in bypass mode (see
plying power to the loads but via the static bypass, you can
follow the instructions in this section starting from point
.
1.
Supply general power to the control panel (external
to the UPS).
2.
Set the switch corresponding to the UPS input on the
panel to "On"
. If there is a separate bypass line for the
UPS, also set this switch on the control panel to "On".
3.
Set the input switch of the UPS to "On" (Q1)
.
If the main menu icon
flashes red (and you
hear an acoustic alarm), press it, check the existing
alarms and verify if there is an alarm that prevents the UPS
from starting, such as:
"Rec Inp.V. ranges", and/or "Rec R Inp not present",
and/or "Rec S Inp.V. not present", and/or "Rec T Inp.V.
not present"
(and possibly "Inv Bypass Ranges")
→
the
rectifier input voltage is outside of the tolerance ranges
(voltage and/or frequency), or not present in some input
phases.
Solution: check voltages and connections from the ex-
ternal control panel to connection to the UPS input.
“Rec Phase rotation Inp”
(and possibly "Inv Rotation
phases Byp.")
→
the phase sequence of the rectifier input
(and the bypass input) is not correct, it does not follow the
R-S-T order.
Solution: set the control panel switch corresponding to
the UPS input and the UPS input switch to "Off"
(Q1)
,
and swap the connections of two phases to the UPS
input, or on the external control panel, as applicable.
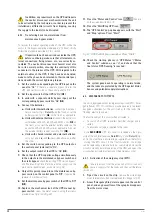
4.
In units with a separate static bypass input, set the
corresponding bypass switch to "On" (Q4).
If the main menu icon
flashes red (and you
hear an acoustic alarm), press it, check the existing
alarms and verify if there is an alarm that prevents the UPS
from starting, such as:
"Inv Bypass Ranges"
→
the bypass input voltage is out-
side of the tolerance ranges (voltage and/or frequency), or
not present in some input phases.
Solution: check voltages and connections from the external
control panel, up to connection to the UPS bypass line.
"Inv Phase rotation Byp."
→
the bypass input phase se-
quence is not correct, it does not follow the R-S-T order.
Solution: set the control panel switch corresponding
to the UPS bypass and the UPS bypass switch to "Off"
(Q4)
, and swap the connections of two phases to the
UPS bypass line, or on the external control panel, as
applicable.
5.
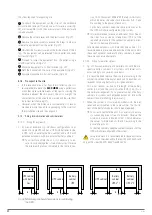
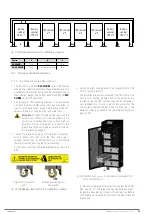
Connect the batteries:
a.
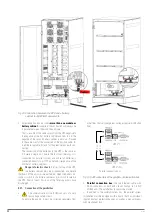
Units with internal batteries, with 3-pole front con-
nectors (30 kVA and 40 kVA)
: connect these connec-
tors, which are accessed by opening the front door of the
unit (see
Detail A
).
b.
Units with internal batteries, with battery switch
Q6 (50 kVA, 60 kVA and 80 kVA)
: set this switch to
“On”, which is accessed by opening the front door of
the unit (see
).
c.
Units with external batteries (or shared with in-
ternal ones), with 3-pole rear connectors (30 kVA
and 40 kVA)
: connect these connectors, which can be
accessed via the back of the unit (see
).
Also, set the external battery cabinet switch to "On"
(Q8)
,
(see
).
d.
Units with external batteries (or shared with in-
ternal ones), with an internal (
Q6
) or external bat-
tery switch (
Q3
) (50 kVA, 60 kVA, 80 kVA)
: set these
switches to "On", which are accessed by opening the
front door of the unit (see
. Also, set
the external battery cabinet switch to "On"
(Q8),
(see
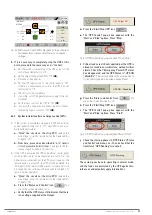
6.
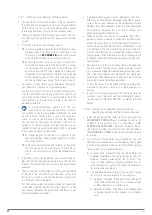
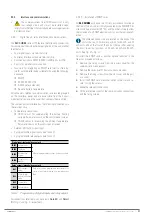
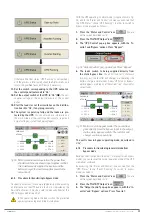
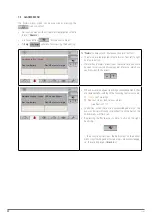
Press the "Status and Control" icon
You are
on the screen described in
7.
If the UPS stopped due to a power loss
(disconnection
of the AC input and batteries, or end of autonomy),
having
been operating in normal mode just before this, the
UPS will restart automatically at this point
, and this can
be checked in the "UPS Status" box: go to point 8 of this
section.
8.
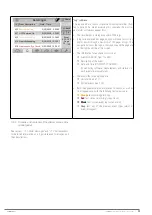
If the UPS does not start automatically ("UPS Status"
remains as "UPS ON / Pending” ), press the "Start/
Stop UPS" icon
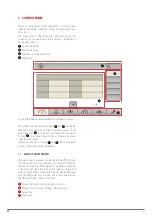
9.
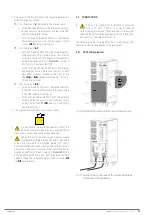
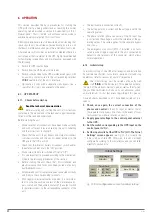
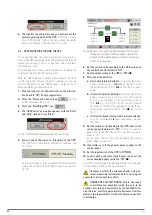
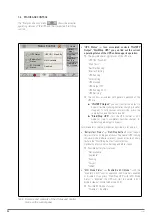
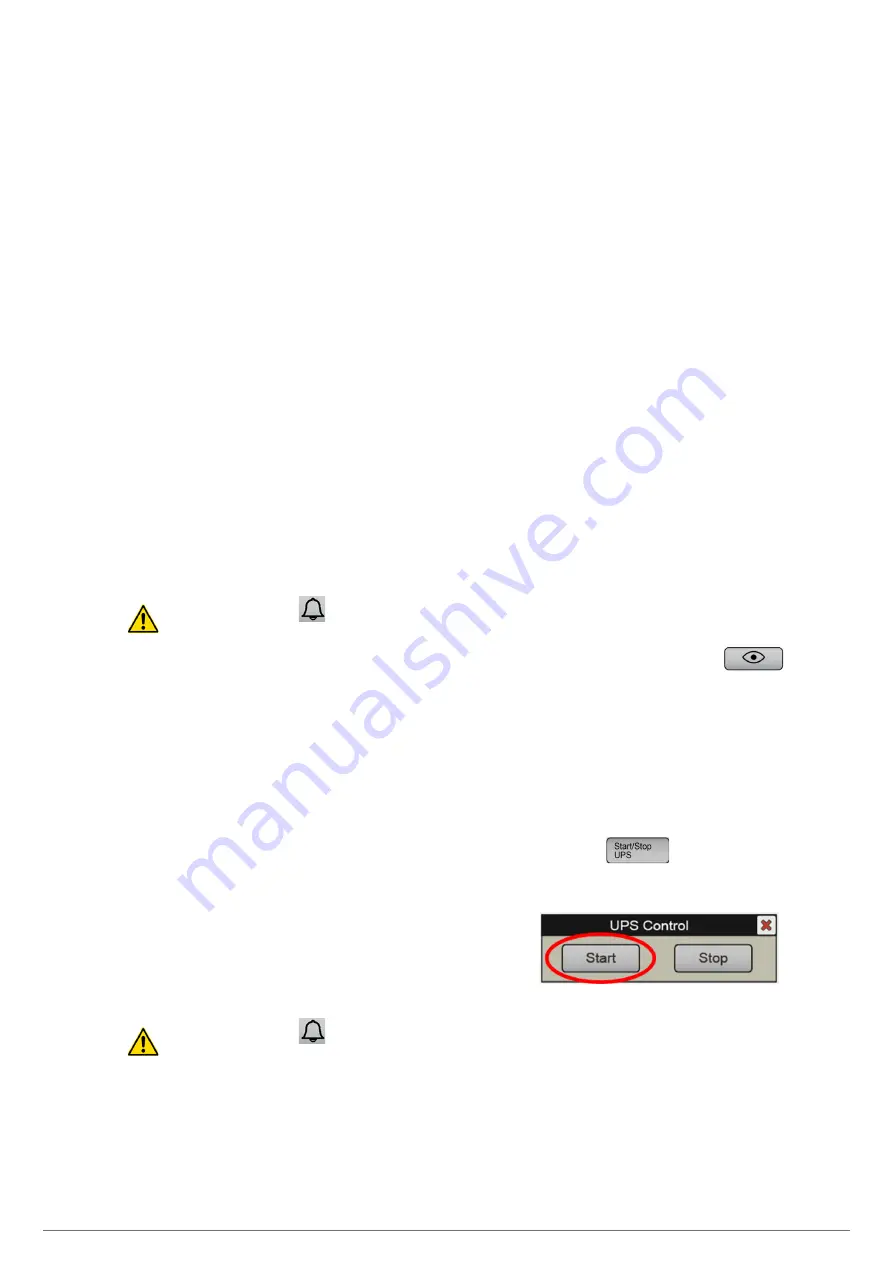
The "UPS Control" pop-up box appears, with the "Start"
and "Stop" options. Press “Start”.
Fig. 54.
"UPS Control" pop-up window. Press "Start"
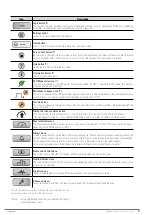
10.
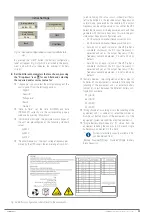
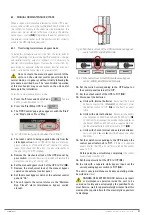
Check the start-up phases in "UPS Status" ("Status
and Control" submenu, see
). Check that the fol-
lowing phases are fulfilled.


