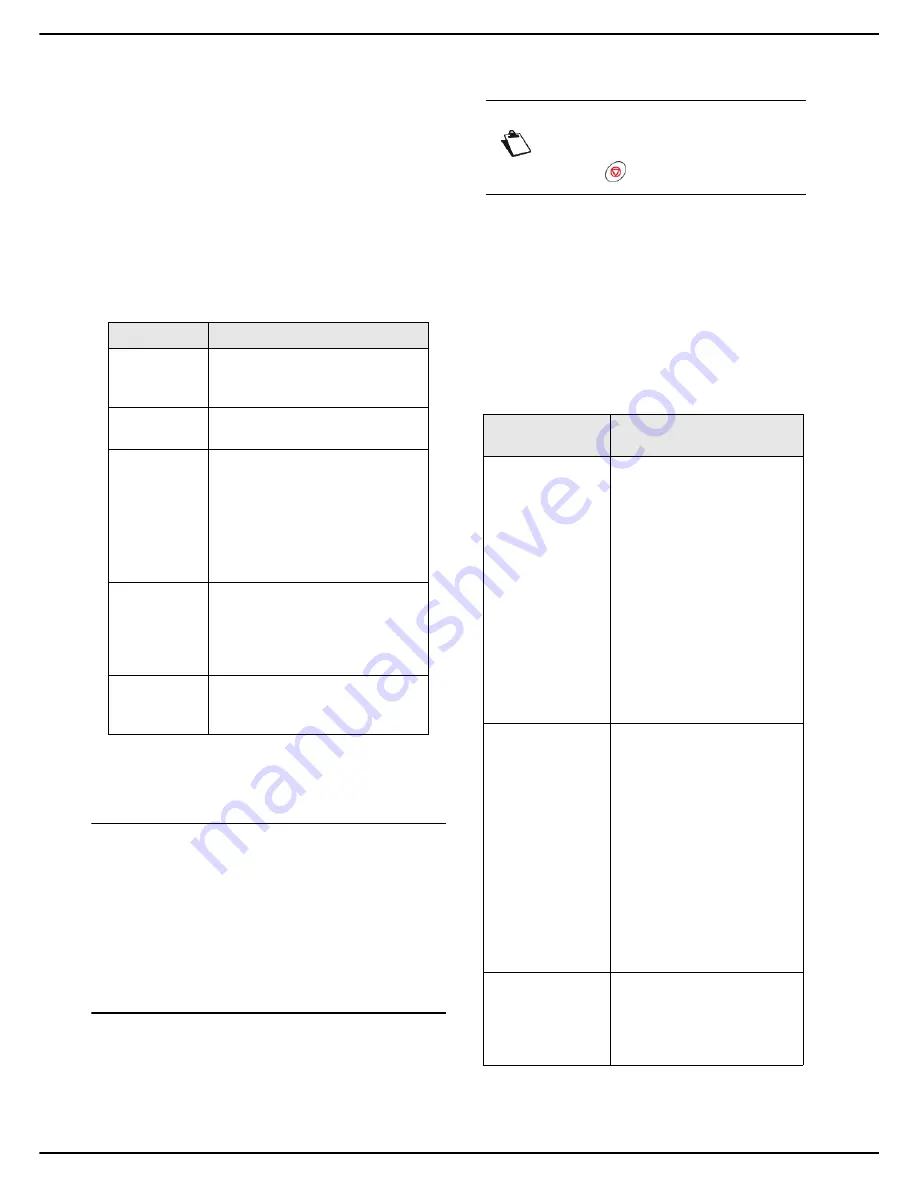
MF 5990dn - Agoris M943dn
- 63 -
10 -
Scanning and sending documents
Scanning and
sending
documents
You machine allows you to scan and send paper
documents in a single operation.
The scan and send function includes several
Scan to
actions, depending on the media used:
You can also configure numerous settings to scan and
send documents according to your needs.
Scan to Key
The
Scan to Key
function allows you to scan a document
and save it on a USB key connected to the machine.
For the detailed procedure, and for information about
compatibility and recommendations for using USB
peripherals, see the section Using a USB memory key
[
59].
Scan to Mail
The
Scan to Mail
function allows you to scan a document
and send it as an attachment to an email address, in
JPEG, PDF or Secure PDF format.
To scan a document and send it as an attachment to an
email address:
Cancelling an operation
1
Insert the document to scan (see section Inserting
original documents [
17]).
2
Press the
SCAN
key.
3
Select
SCAN TO MAIL
.
>
The first settings appear on the screen. Use
OTHER PARAMETERS
to access all available
settings.
4
Press
RECIPIENT
. Enter the email address of the
recipient using the virtual keyboard or select the re-
cipient as follows:
Function
Description
Scan to Key
Scan a document and save it on a
USB key connected to the
machine.
Scan to Mail
Send an email with the scanned
document as an attachment.
Scan to File
Save a scanned document in a
file and place it directly:
on an FTP server (Scan to
FTP) ;
in a shared directory on a com-
puter connected to the local
network (Scan to SMB).
Scan to PC
Scan a document and save it
directly on a computer via the
document manager associated
with the Companion Suite Pro
software.
Scan to
Archive
Scan a document and save it
directly in the fax server archiving
system.
Note
You may cancel an operation at any time by
pressing .
To select a recipi-
ent...
then...
from the address
book
Press
ADR BOOK
then:
Select the contact or list of
contacts required from the
address book entries. Use
the up and down arrows to
view all entries in the ad-
dress book.
OR
Enter the first few letters of
the name of your corre-
spondent using the virtual
keyboard, and add letters
until the full name of the re-
quired correspondent is
displayed.
from the address
book favourites
Press
FAVOURITE
then:
Select the contact or list of
contacts required. Use the
up and down arrows to
view all favourites in the
address book.
OR
Enter the first few letters of
the name of your corre-
spondent using the virtual
keyboard, and add letters
until the full name of the re-
quired correspondent is
displayed.
from the 10 last
recipients saved.
Press
BIS
.
Select the required recipient.
Use the up and down arrows
to view all recipients in the
memory.


