MF 5990dn - Agoris M943dn
- 61 -
9 -
Using a USB memory key
7
If you have selected documents to print on both
sides, you can use the options
DUPLEX
and
BINDING EDGE
. To activate/deactivate duplex
document printing, press
DUPLEX
. Check the box
to select the required option. Press
OK
to confirm.
8
To change the binding type, press
BINDING
EDGE
. Select the required option from the list (see
section Binding [
46]). Press
OK
to confirm.
9
To change the paper type, press
PAPER TYPE
.
Select the required option in the list and press
OK
to confirm.
10
To define the output document format, press
PAPER FORMAT
. Select the required option in the
list and press
OK
to confirm.
11
To activate toner-saving printing, press
TONER
SAVE
and select the required status. Press
OK
to
confirm.
12
Press
to print the files.
User rights
Saving a document on a USB key
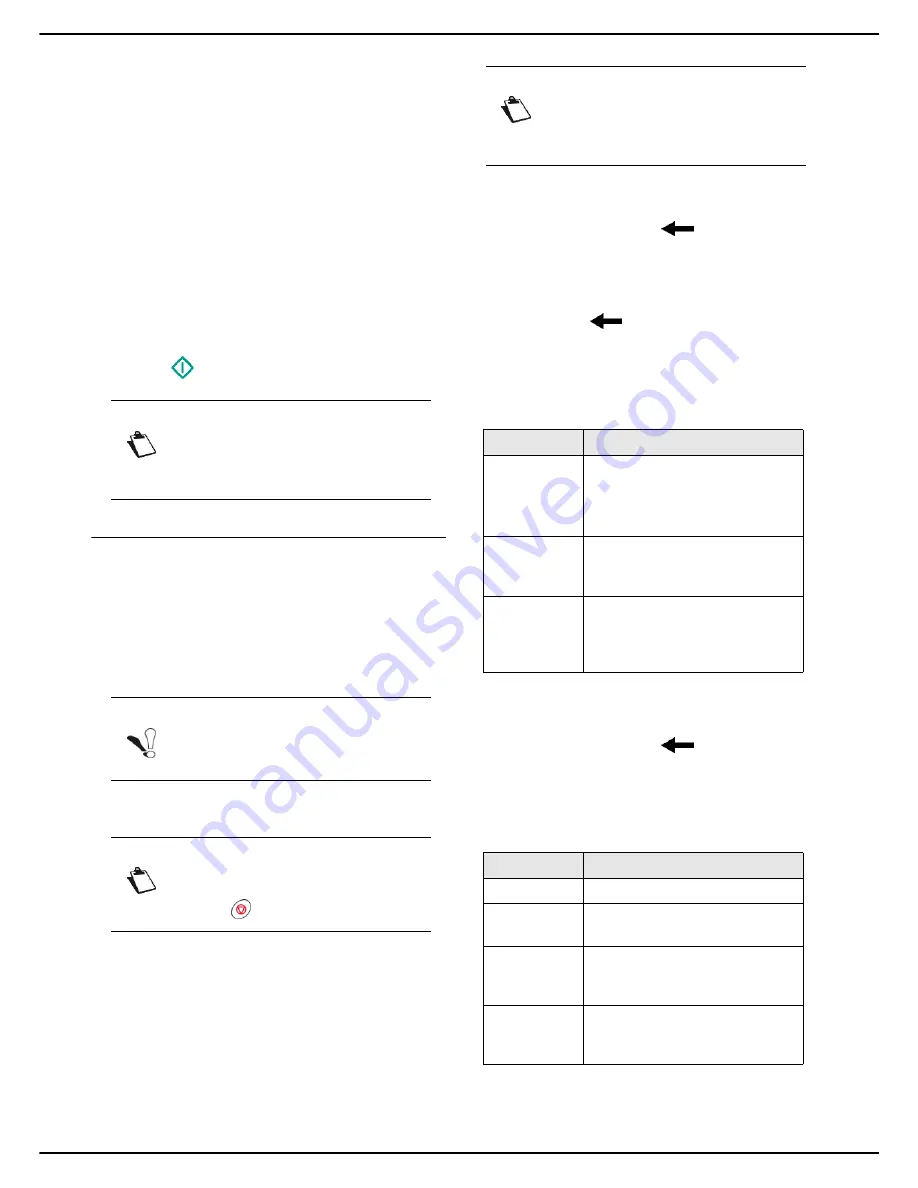
This function enables you to scan and save a document
directly to a USB key, in JPEG, PDF or Secure PDF
format.
By default, the machine saves documents in the
My Scan
folder on USB keys. The
My Scan
folder is created by the
application.
To scan a document and save it to a USB key, proceed as
follows:
Cancelling an operation
1
Insert the document to scan (see section Inserting
original documents [
17]).
2
Insert your USB key into the machine respecting
the insertion direction.
>
The USB key is analyzed. When the analysis is
complete, the
USB KEY
menu is displayed.
3
Press
SCAN TO KEY
.
>
The first settings appear on the screen. Use
OTHER PARAMETERS
to access all available
settings.
4
To change the destination directory on the USB
key, press
DIRECTORY PATH
. Enter the file des-
tination directory (maximum 80 characters). In the
event of an error, use the
key to delete a char-
acter. Press
OK
to confirm.
5
To customize the name of the scanned file, press
FILE NAME
. Enter the name using the virtual key-
board (maximum 20 characters). In the event of an
error, use the
key to delete a character. Press
OK
to confirm.
6
To customize the format of the scanned file, press
DOCUMENT FORMAT
. Select the format from the
available options and press
OK
to confirm.
7
If you have selected
PROTECTED PDF
format,
press
PASSWORD
. Enter the password using the
virtual keyboard (maximum 20 characters). In the
event of an error, use the
key to delete a char-
acter. Press
OK
to confirm.
8
To change the resolution, press
QUALITY
. Select
the resolution the best suited to your document
from the options available and press
OK
to confirm.
9
To scan the document in colour, press
COLOUR
.
Check the box to activate the required option.
Press
OK
to confirm.
Note
Access to functions depends on your user
rights. To know which rights you have, con-
sult your machine administrator.
Note
Before scanning a document, check that
there is sufficient space on your USB key.
Note
You may cancel an operation at any time by
pressing .
Note
You can also access this function by pres-
sing
SCAN
then by selecting
SCAN TO
KEY
.
Format
Description
IMAGE
The scanned file is in format:
TIFF (black and white docu-
ment)
JPEG (colour document)
The file is scanned in PDF format
(black and white or colour
document).
PROTECTED
PDF
The file is scanned in PDF format
(black and white or colour),
protected by a password which
you can define.
Resolution
Description
LIGHT
Low resolution.
TEXT
Resolution suitable for documents
containing text.
HYBRID
Resolution suitable for documents
containing text and colour
images.
PHOTO
Resolution suitable for documents
containing colour images,
photographs.


