46
4
2
5
3
1
2
5
7
6
2
4
REARWHEEL
Removing the rear wheel
CAUTION
Do not damage brake disc and linings during removal!
Protect the wheel bearings from dirt and moisture!
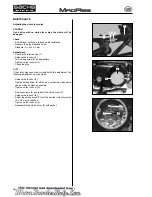
- Prop up the motorbike so that the rear wheel can turn freely
and that the motorbike is secure.
- Hold the full fl oating axle (4) and release the axle nut (1).
- Unscrew the lock nuts (2) on the left and right-hand sides of
the chain adjuster all the way.
- Remove the drive chain.
NOTE
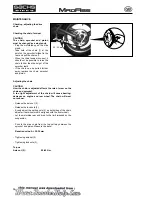
When taking off the rear wheel, make sure that the bush (3) to
the left of the wheel hub is not lost.
- Raise the rear wheel, remove the full fl oating axle (4) with
brake support (5) and brake calliper and take off the rear
wheel to the back.
Installing the rear wheel
CAUTION
Do not damage brake disc and linings during installation!
- Clean and grease the full fl oating axle (4).
- Introduce full fl oating axle, chain adjuster (2), brake support
(5) with brake calliper into rear suspension.
NOTE
Insert brake support into the guide (7) of rear suspension.
- Install the drive chain (6).
- Install rear wheel with spacer bush (3) and full fl oating axle
(4).
- Insert left chain adjuster (2) and reassemble with axle nut
(1).
- Adjust the drive chain.
- Tighten axle nut (1).
Torque
Axle nut (1): 50-60 Nm
MAINTENANCE
Summary of Contents for madass
Page 53: ...50 LUBRICATION SYSTEM...
Page 111: ...10 12 Nm 10 14 Nm 108 CYLINDER PISTON...
Page 112: ...109 ZYLINDER KOLBEN...
Page 129: ...1 2 126 CLUTCH GEARSHIFT LINKAGE Remove the primary drive clutch 1 and clutch center guide 2...
Page 191: ...PICK UP KILL SWITCH RPM STOP B R G G G Bl W 188 IGNITION SYSTEM SCHEMA...
Page 192: ...PICK UP KILLSCHALTER DREHZAHLBEGRENZER Z NDANGLEICHER B R G G G Bl W 189 Z NDSYSTEM DIAGRAM...


