9
3
Getting Started
This chapter details the connecting to the instrument, installation of the software and working with
the instrument. We strongly recommend you read all of the provided documentation to learn the full
capabilities of your HASCP.
3.1
Connecting to an HASCP
The procedure for communicating to an HASCP is described below. The steps are listed below
sequentially and RTI recommends that the user follows the steps below in this order.
Note: The RTI HASCP Software is designed for a Windows operating system.
3.1.a
Step1
: Installing Driver
The first step before connecting to the HASCP is to make sure that the driver for the serial
communications between the between the PC and the HASCP is installed. The driver can be found
on the small CD provided in the shipping case or at the following link:
Follow the instructions provided on the screen to install the driver.
3.1.b
Step 2
: Verify COM port
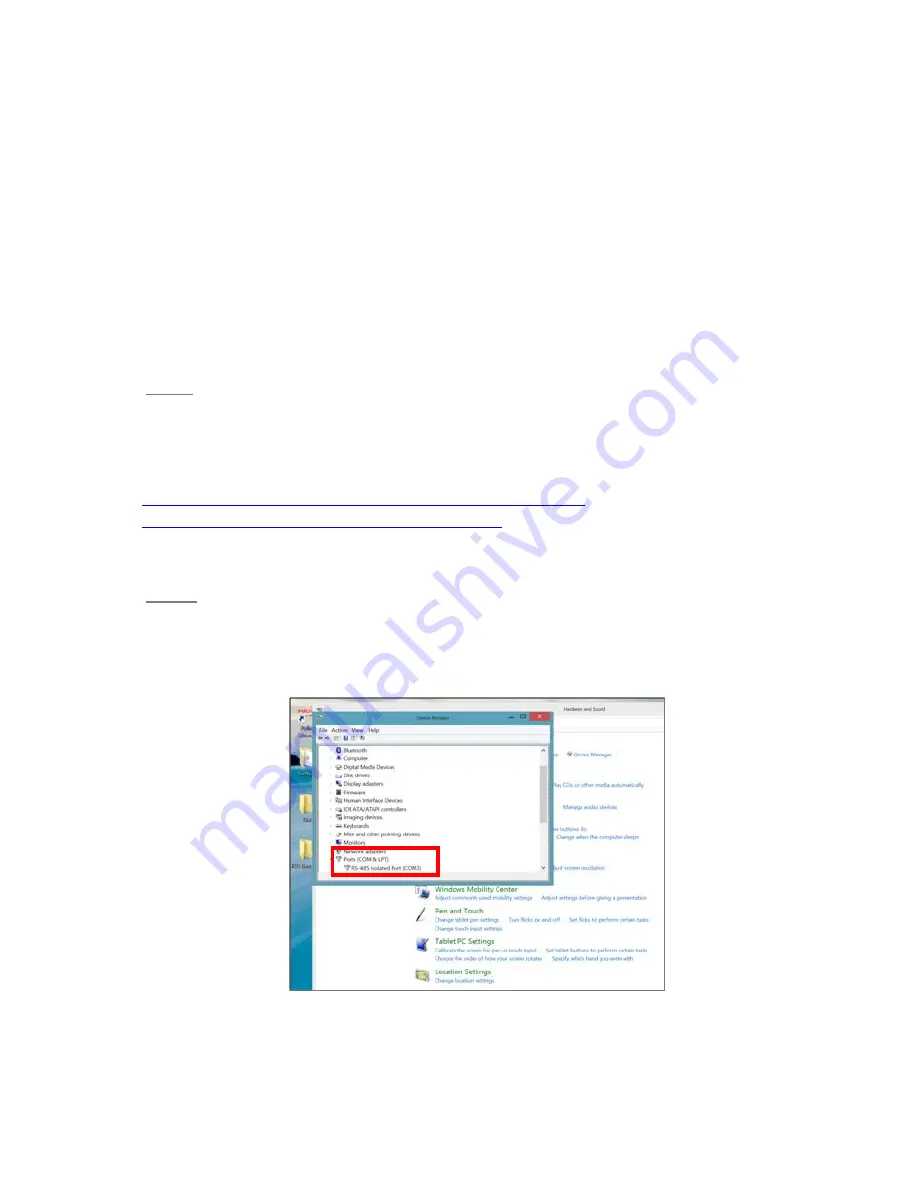
To verify, insert the USB - Serial Converter into a USB port. Next go to the Control Panel and in the
Device Manager menu expand the Ports menu to the COM port. The USB to serial converter should
be identified as the following:
Figure 3. RS 485 Isolated COM Port setup.
Summary of Contents for HASCP
Page 26: ...26 Figure 15 Firmware Tab in the RTI HASCP software...
Page 68: ...68 8 Cable Wiring Diagrams This section outlines the HASCP communication cable wiring...
Page 73: ...73 10 Mechanical Drawings and Assembly Figure 23 Outline drawing of the HASCP unit MCBH 10M...
Page 74: ...74 Figure 24 Location of transducer beams in the HASCP unit...
Page 76: ...76 Figure 26 Exploded view of the HASCP unit showing the details of the hardware used...
Page 78: ...78 Figure 28 HASCP mounted on a pole used for internal testing at RTI...


