15
Video Operations
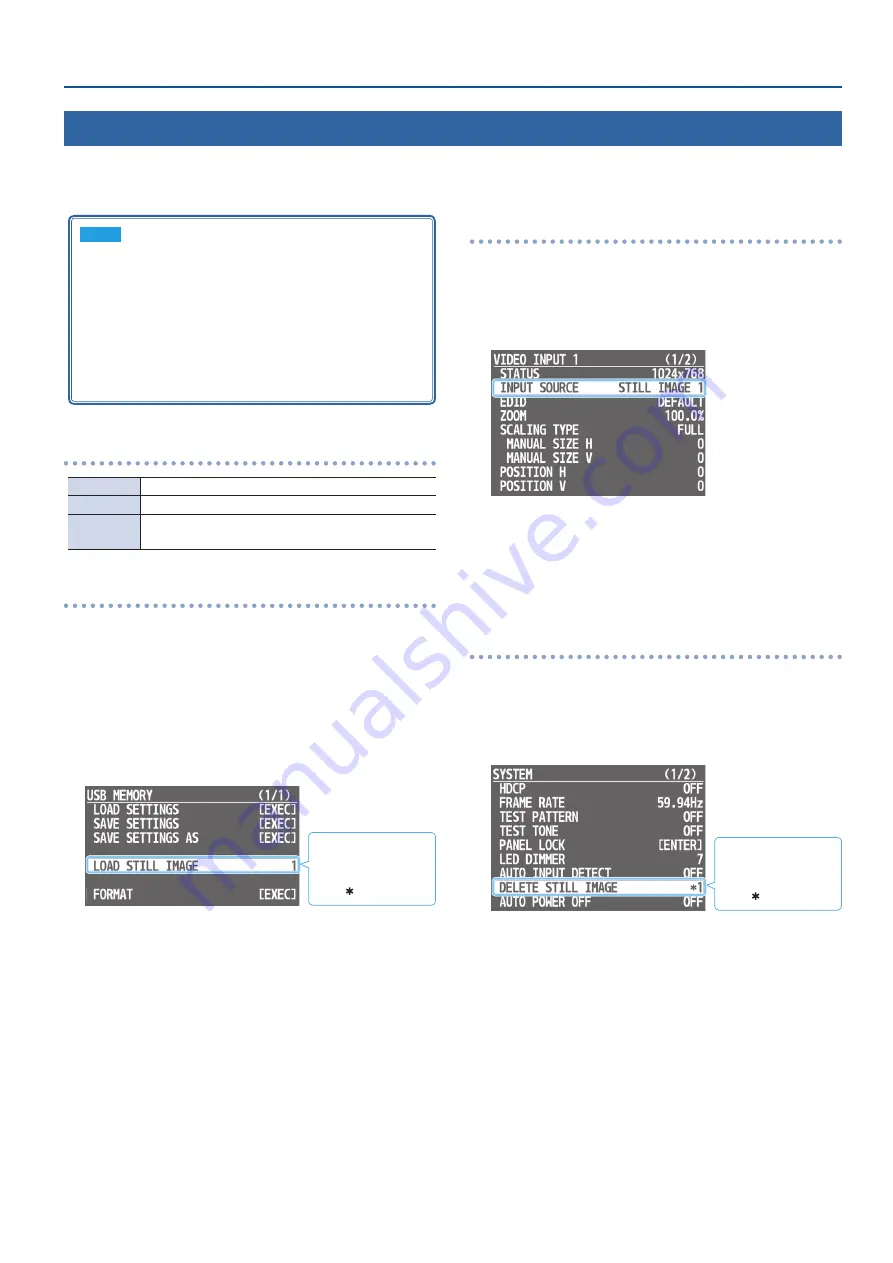
Outputting a Loaded Still Image
A still image that you loaded from a USB flash drive can be output in the same way as a video.
You can also use it as a source for key compositing (p. 14).
NOTE
5
Up to two still images can be temporarily saved in this unit’s
internal memory. When you turn off the power, the still
images are deleted.
5
When using a USB flash drive for the first time, you must
format it using the VR-1HD (p. 27).
5
Depending on the USB flash drive, recognition of the flash
drive might take some time.
5
Never turn off the power or remove the USB flash drive while
the message “PROCESSING...” is shown.
Formats supported for loading
Format
Windows Bitmap File (.bmp), 24-bit color, uncompressed
Resolution
Maximum 1920 x 1200 pixels
File name
Up to eight single-byte alphanumeric characters
* The extension “.bmp” must be added.
Loading a still image
Here’s how to load a still image from a USB flash drive into this unit.
1
Save the still image in the root directory of the USB flash
drive.
2
Connect the USB flash drive containing the still image to
the USB MEMORY port.
3
[MENU] button
0
“USB MEMORY”
0
select “LOAD STILL
IMAGE.”
An internal memory
in which a still image
is loaded is indicated
by a “ ” symbol.
4
Turn the [VALUE] knob to select the loading destination
for the still image (internal memory 1 or 2), and press to
confirm.
A list of the still images in the USB flash drive is shown.
5
Turn the [VALUE] knob to select the still image that you
want to load, and press to confirm.
A confirmation message appears.
If you want to cancel the operation, press the [MENU] button.
6
Turn the [VALUE] knob to select “YES,” and press to
confirm.
The still image is loaded into the unit. When the operation is
finished, the message “COMPLETED” appears.
7
Press the [VALUE] knob to close the message.
8
Press the [MENU] button several times to close the menu.
Assigning a Still Image to an INPUT Button
Here’s how a still image loaded into the unit can be assigned to an
INPUT button.
1
[MENU] button
0
“VIDEO INPUT”
0
“INPUT 1”–“INPUT 3”
0
select “INPUT SOURCE.”
2
Turn the [VALUE] knob to select “STILL IMAGE 1” or “STILL
IMAGE 2,” and press to confirm.
3
Press the [MENU] button several times to close the menu.
Deleting a Still Image
Here’s how to delete a still image that’s temporarily stored in the
internal memory of the unit.
1
[MENU] button
0
“SYSTEM”
0
select “DELETE STILL
IMAGE.”
An internal memory
in which a still image
is loaded is indicated
by a “ ” symbol.
2
Turn the [VALUE] knob to select the internal memory
that you want to delete, and press to confirm.
A confirmation message appears.
If you want to cancel the operation, press the [MENU] button.
3
Turn the [VALUE] knob to select “YES,” and press to
confirm.
The still image is deleted. When the operation is finished, the
message “COMPLETED” appears.
4
Press the [VALUE] knob to close the message.
5
Press the [MENU] button several times to close the menu.


