9. Maintaining the Machine
Replacing the Print Cartridge
• If "Out of Toner" / "Print Cartridge" is displayed in the control panel, replace the print cartridge by
following the procedure described below. However, this message will not be displayed if [Toner
End Option] has been set to [Continue Printing]. Replace the print cartridge if the printed image
becomes pale or blurred.
• Toner levels are not displayed for Type 3 models. Replace the print cartridge if the printed image
becomes pale or blurred.
• Store print cartridges in a cool dark place.
• Actual printable numbers vary depending on image volume and density, number of pages printed
at a time, paper type and size, and environmental conditions such as temperature and humidity.
Toner quality degrades over time.
• For good print quality, the manufacturer recommends that you use genuine toner from the
manufacturer.
• The manufacturer shall not be responsible for any damage or expense that might result from the use
of parts other than genuine parts from the manufacturer with your office products.
1.
Open the front cover, and then carefully lower it.
2.
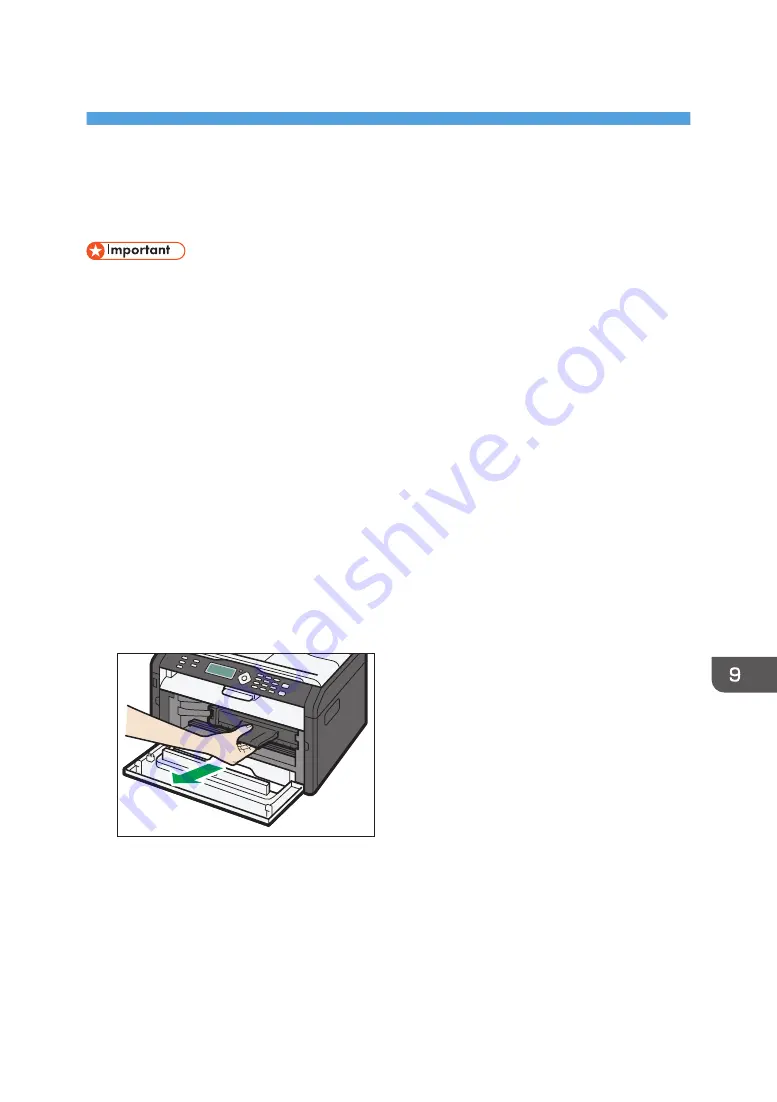
Carefully pull out the print cartridge horizontally, holding its center.
CTT045
3.
Take the new print cartridge out of the box, and then take it out of the plastic bag.
4.
Hold the print cartridge and shake it from side to side five or six times.
Shake the print cartridge horizontally in the direction. The first few printed pages may appear
blurred or smeared if the cartridge has not been shaken properly.
157
Summary of Contents for SP 202 SN
Page 2: ......
Page 18: ...16 ...
Page 34: ... Bypass Tray 1 sheets 70 g m2 19 lb 2 Loading Paper 32 ...
Page 52: ...2 Loading Paper 50 ...
Page 58: ...3 Printing Documents 56 ...
Page 112: ...6 Sending and Receiving a Fax 110 ...
Page 140: ...7 Configuring the Machine Using the Control Panel 138 ...
Page 158: ...8 Configuring the Machine Using Utilities 156 ...
Page 192: ...10 Troubleshooting 190 ...
Page 205: ...MEMO 203 ...
Page 206: ...MEMO 204 EN GB EN US EN AU M143 8633 ...
Page 207: ......
Page 208: ...EN GB EN US EN AU M143 8633 2013 ...


