Copier Problems
Problem
Solution
Photocopied paper is blank.
The original was placed with the front and back reversed.
See p.24 "Placing Originals".
Copied pages are too dark or too
light.
Adjust the image density.
Copied pages do not look the same
as the originals.
Select the correct scan mode according to the type of original.
Black spots appear when
photocopying a photographic print.
The original may have stuck to the exposure glass due to high
humidity.
Place the original on the exposure glass, and then place two
or three sheets of white paper on top of it. Leave the exposure
glass cover open when copying.
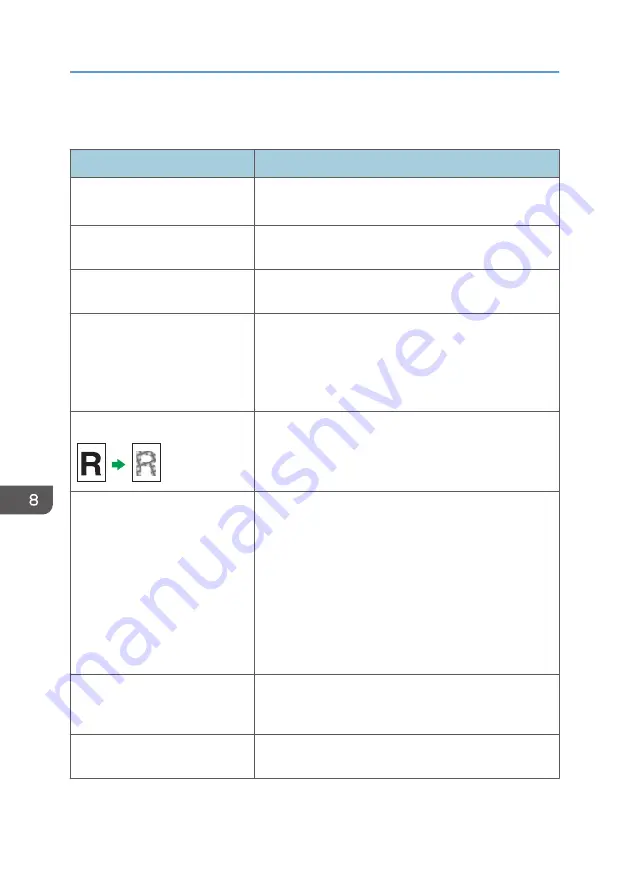
A moire pattern is produced.
The original probably has heavily lined or dotted areas.
Switching the setting for image quality between [Photo] and
[Text/Photo] may eliminate the moire pattern.
Photocopied paper is dirty.
• Image density is too high.
Adjust the image density.
• Toner on the printed surface is not dry.
Do not touch printed surfaces immediately after copying.
Remove freshly printed sheets one by one, taking care
not to touch printed areas.
• The scanning part is dirty.
• Before placing originals on the exposure glass, make
sure that toner or correction fluid is dry.
When copying from the exposure
glass, the print area of the copy is
out of alignment with the original.
Place the original copy side down, making sure that it is
aligned to the rear left corner and pressed flat against the
exposure glass.
The paper size setting does not
match the paper loaded.
Check whether the paper size specified on the machine
matches that of the loaded paper.
8. Troubleshooting
64
Summary of Contents for SP 200S
Page 2: ......
Page 6: ...4...
Page 16: ...Bypass Tray 1 sheets 70 g m2 19 lb 2 Loading Paper 14...
Page 28: ...2 Loading Paper 26...
Page 32: ...Canceling a print job while printing 1 Press the key CTT083 3 Printing Documents 30...
Page 42: ...4 Copying Originals 40...
Page 54: ...7 Maintaining the Machine 52...
Page 62: ...7 Close the rear cover CTT044 8 Troubleshooting 60...
Page 81: ...MEMO 79...
Page 82: ...MEMO 80 EN CN M134 8630...
Page 83: ......
Page 84: ...EN CN M134 8630 2012...
Page 86: ......
Page 92: ...6...
Page 106: ...1 Guide to the Machine 20...
Page 108: ...Bypass Tray 1 sheets 70 g m2 19 lb 2 Loading Paper 22...
Page 130: ...3 Printing Documents 44...
Page 158: ...5 Scanning Originals 72...
Page 184: ...6 Sending and Receiving a Fax 98...
Page 194: ...Do not Auto Print 7 Configuring the Machine Using the Control Panel 108...
Page 208: ...7 Configuring the Machine Using the Control Panel 122...
Page 226: ...8 Configuring the Machine Using Utilities 140...
Page 260: ...10 Troubleshooting 174...
Page 273: ...MEMO 187...
Page 274: ...MEMO 188 EN CN M135 8698...
Page 275: ......
Page 276: ...EN CN M135 8698 2013...
Page 278: ......
Page 288: ...Bypass Tray 1 sheets 70 g m2 19 lb 2 Loading Paper 10...
Page 300: ...3 Printing Documents 22...
Page 316: ...7 Close the rear cover CTT044 6 Troubleshooting 38...
Page 326: ...Printer language DDST 7 Appendix 48...
Page 330: ...MEMO 52 EN CN M133 8620...
Page 331: ......
Page 332: ...EN CN M133 8620 2012...
Page 354: ...19...
Page 355: ...2013 EN CN M133 8699 20...


