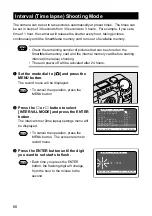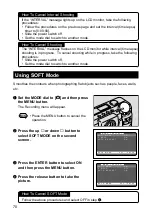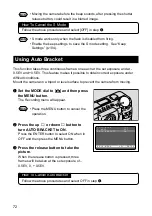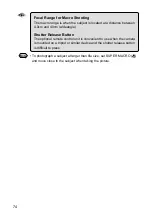
77
Playback/Erasing
4
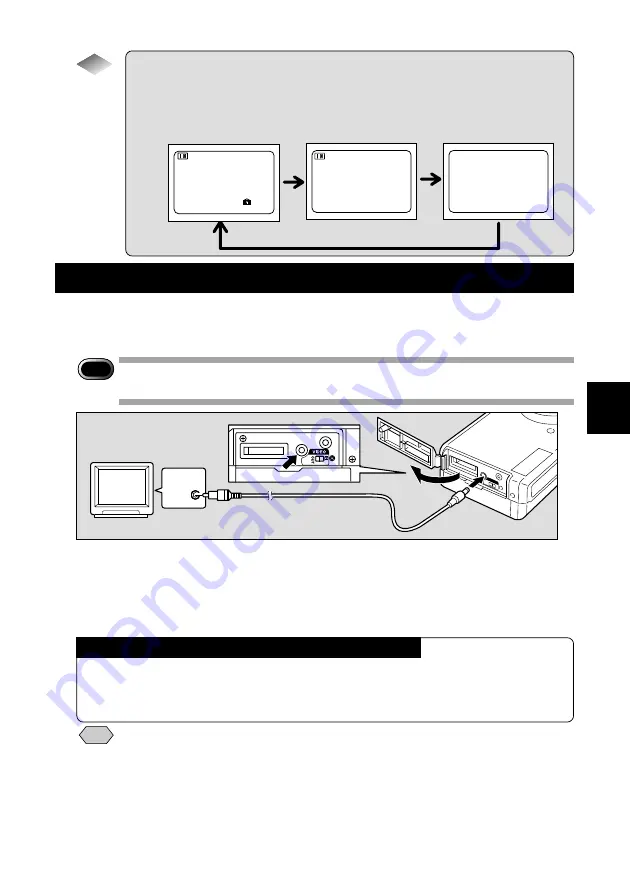
Connecting to a TV
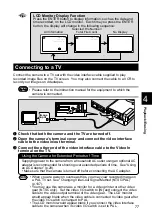
Connect the camera to a TV set with the video interface cable supplied to play
recorded image files on the TV screen. You may also connect the cable to a VCR to
record your images on videotapes.
Important
Note
• Please refer to the instruction manual for the equipment to which the
camera is connected.
q
Check that both the camera and the TV are turned off.
w
Open the camera’s terminal cover and connect the video interface
cable to the video in/out terminal.
e
Connect the other end of the video interface cable to the Video In
terminal on the TV.
Note
• When you are away on overseas trips, you may view recorded image on
a PAL TV set. See “Changing Video-out Signal Method (NTSC/PAL)”
(p.107).
• You may use this camera as a monitor for a video printer or other video
gear (NTSC only). Set the video I/O switch to [IN] and connect the video
cable to the video output terminal of the video gear. The LCD monitor
would appear blank when the video cable is connected to video gear after
the video I/O switch is changed to PAL.
• The LCD monitor would appear blank if you connect the video interface
cable to the camera when its video I/O switch is set to PAL.
Tips
LCD Monitor Display Function
Press the ENTER button to display information, such as the date and
time recorded, on the LCD monitor. Each time you press the ENTER
button, the display will change in the following sequence:
No Display
Selected File Number/
Total File Count
All Information
Using the Camera for Extended Periods of Time
Supplying power to the camera from a household AC outlet using an optional AC
adapter is recommended for shooting over extended periods of time. See “Using
an AC Adapter” (p.29).
• Make sure that the camera is turned off before connecting the AC adapter.
1 0 / 1 2
1 0 0 – 0 0 1 2
1 0 / 1 2
1 0 0 – 0 0 1 2
1 8 0 0 x 1 2 0 0 N
1 9 9 9 / 5 / 1 5 1 0 : 1 2
Image
input


