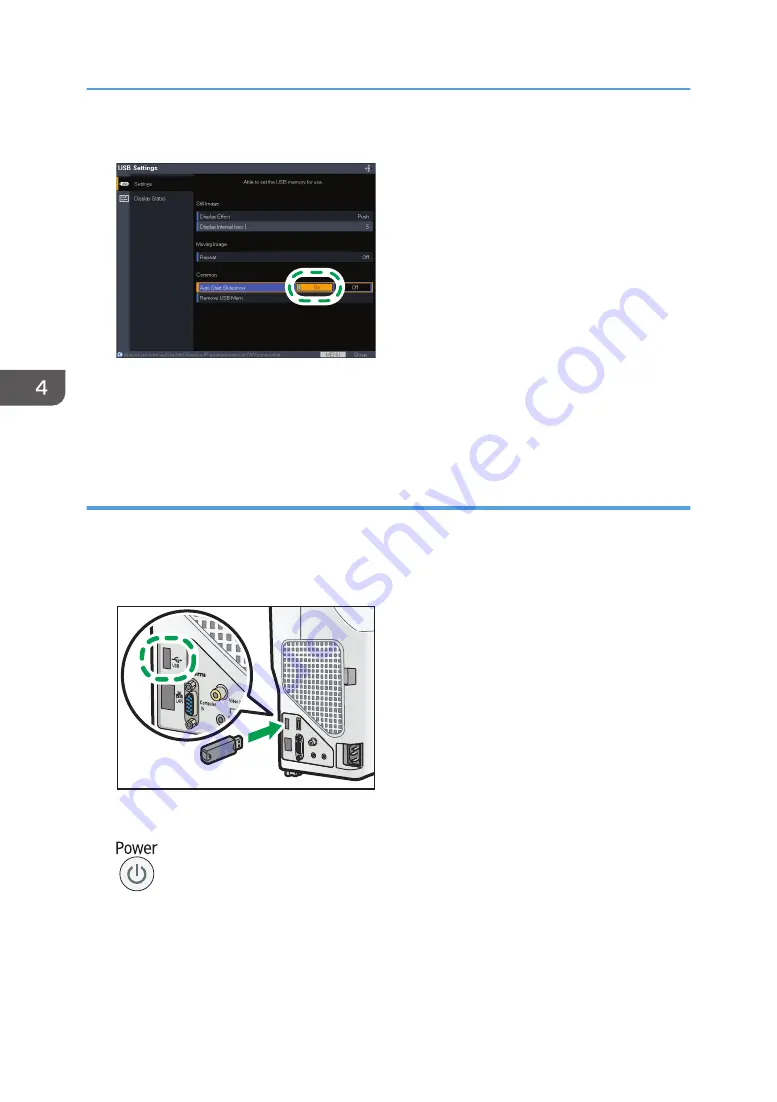
6.
Select [On], and then press the [Enter] button.
CZE160
7.
Press the [Menu] button.
8.
Select [Reflect], and then press the [Enter] button.
9.
Press the [Menu] button to close the menu screen.
Connecting a USB device on which files to be projected are stored
1.
Save the files to be projected in the root directory of the USB device.
2.
Connect the USB device to the USB port on the projector.
Check the port orientation before connecting.
CZE121
3.
Press the [Power] button.
The confirmation screen appears.
4.
Press the [Power] button.
The projector beeps and enters the standby mode.
4. Useful Functions
58
Summary of Contents for PJ WX4152
Page 2: ......
Page 36: ...1 Preparations for Using the Projector 34 ...
Page 44: ... The image may sometimes be disrupted while it is reduced 2 Projecting an Image 42 ...
Page 104: ...6 Using the Interactive Function RICOH PJ WX4152NI only 102 ...
Page 164: ... The lamp usage time can be verified using Lamp Time in Display Status 9 Maintenance 162 ...
Page 176: ...9 Maintenance 174 ...
Page 195: ... 2015 Ricoh Co Ltd ...
Page 196: ...Y0A1 7522 AU EN US EN GB EN ...


