


Care and Maintenance 4-29
5.
Replace the Drum Unit.
6.
Turn the TH Handle to the LOCK position.
7.
Clean up any spilled Developer using a dry, lint-free cloth or a vacuum.
8.
Close the Front Cover.
Cleaning the Toner Collector Bottle Area
1.
Turn off the power.
2.
Open the Toner Collector Bottle Cover and the Inner Cover.
3.
Remove the Toner Collector Bottle.
4.
Clean the Toner Collector Bottle Cover, Toner Collector Bottle Box, the surface of
the Bottle Shutter, and the Inner Cover by wiping any visible toner away with a
dry, lint-free cloth.
5.
Replace the Toner Collector Bottle.
6.
Close the Inner Cover and the Toner Collector Bottle Cover.
NOTE
:
If the power is not turned off prior to removing the Toner Collector Bottle,
the counter will be reset.
CAUTION
!
Do not clean the Toner Sensor located on the underside of the Bottle
Shutter.
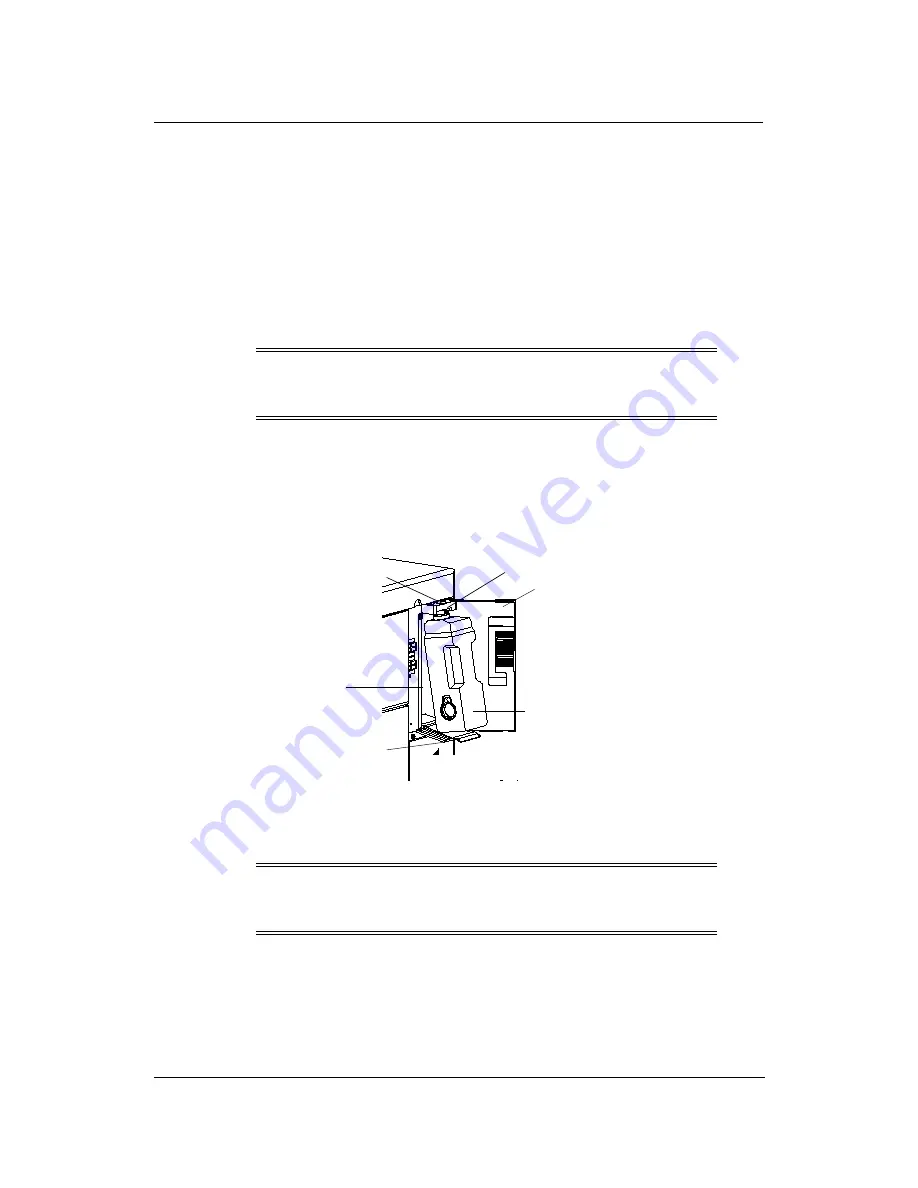
Inner Cover
Toner Bottle
Toner Collector
Bottle Cover
Toner Collector
Bottle Box
Bottle Shutter
Toner Sensor
Summary of Contents for DDP70E-92
Page 46: ...3 10 Paper Handling 3 Push down the paper tray 4 Set the paper onto the tray...
Page 56: ...3 20 Paper Handling...
Page 88: ...4 32 Care and Maintenance...
Page 112: ...A 2 Safety Information...
Page 124: ...B 4 Printer Specifications...
Page 144: ...C 20 Paper Specifications...