5
Connecting Your REX Card to a PC
Before you can synchronize (i.e., transfer or
download) information to your REX card,
you must first connect the REX card to your
computer.
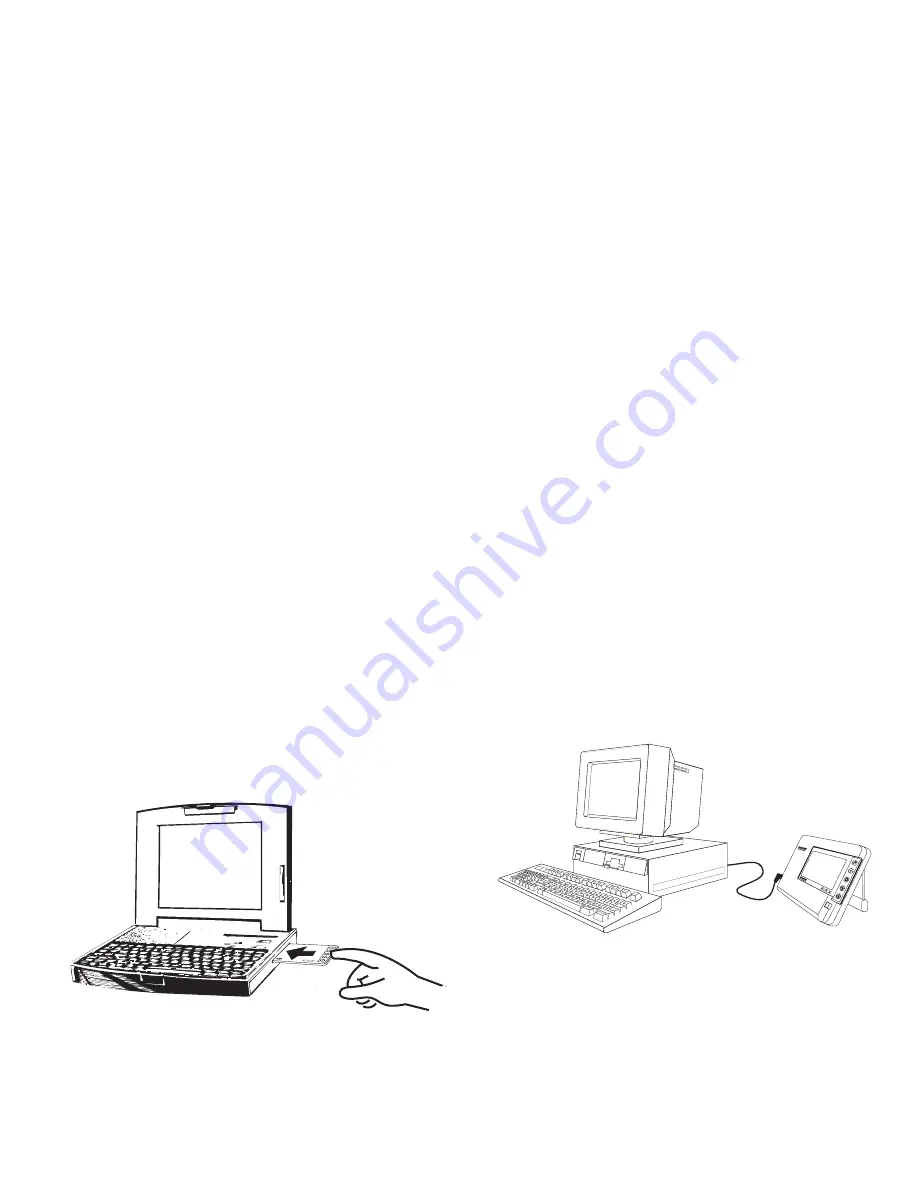
You can connect to a laptop or desktop com-
puter by inserting the REX card into a Type
II PCMCIA card slot or by using the REX
Docking Station. The docking station lets
you connect the REX card to a serial com-
munications (COM) port on your computer.
You cannot use its keypad when the REX
card is connected to a computer.
To Use a PC Card Slot
1. Locate an empty Type II PCMCIA
card slot on your computer.
If your laptop computer does not have a PC
card slot, you may be able use the REX
Docking Station to connect to a serial port.
2. Slide the REX card into the slot until a
connection tone sounds or a PC card
icon appears on the Windows Taskbar.
You can enable or disable the tone and
icon using the PC card item in the Win-
dows Control Panel.
3. To learn how to synchronize information
to the REX card, read “Synchronizing
Your REX Card” on page 6.
4. Remove the REX card from the PC
card slot in your computer.
To Use the REX Docking Station
1. Using the provided serial cable, connect
the REX Docking Station (with its bat-
teries installed) to a serial communica-
tions (COM) port on your computer.
To learn how, read the REX Docking Sta-
tion User’s Guide.
2. With its screen facing you, align your
REX card with the card slot in the
docking station.
3. In one quick, firm motion, slide the REX
card into the slot in the docking station
until the connection tone sounds and
“Ready” appears on the REX screen.
®
4. To learn how to synchronize information
to the REX card, read “Synchronizing
Your REX Card” on page 6.
5. To remove the REX card from the
docking station, press the eject button
beneath the card slot.


