Web Utility
QL-300 User Guide
418
Usage Method
1
Start up the web browser, and then enter “https://<printer IP address>” as the address to
connect.
Printing with IPP
Printing can be performed using IPP.
To enable IPP printing
1
Access the printer web page and log in as an administrator.
2
Select
Admin Setup
.
3
Select the following:
Network Setup > IPP > Setup
.
4
Follow the instructions that appear on the display to configure the setup.
5
Click
Submit
.
To set up the printer as an IPP printer (Windows)
1
Click
Start
and select
Control Panel
in Windows.
2
Select
View devices and printers > Add a printer
.
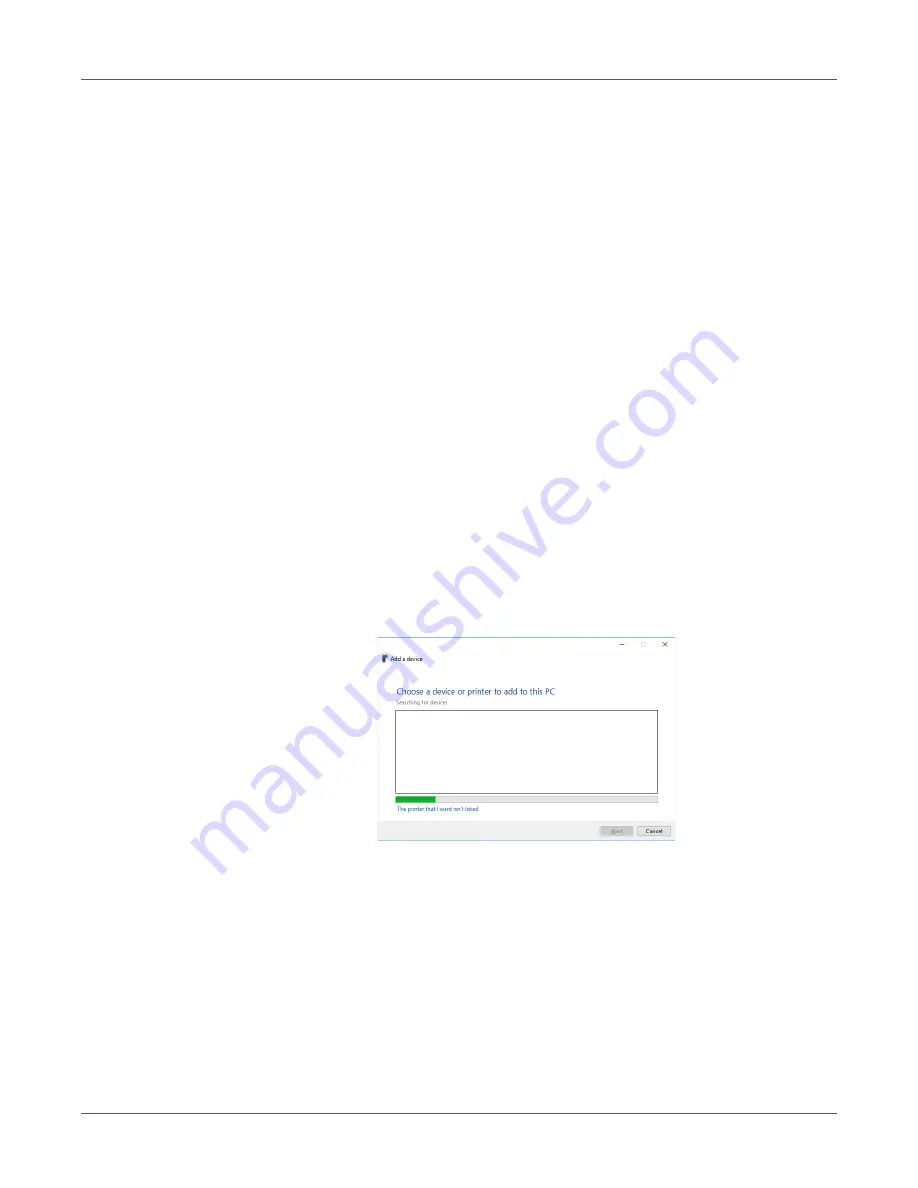
3
On the
Add a device
wizard, select
Add a network, wireless or Bluetooth printer
.
4
From the list of usable printers, select
The printer that I want isn't listed
.
Summary of Contents for QL-300
Page 1: ......
Page 20: ...Installation QL 300 User Guide 20 2 Remove the top layer of packing materials...
Page 28: ...Installation QL 300 User Guide 28 3 Remove the unwinder...
Page 30: ...Installation QL 300 User Guide 30 5 Peel off the tape from two locations...
Page 41: ...Installation QL 300 User Guide 41 Unwinder Black mark Gap sensor...
Page 113: ...Printing QL 300 User Guide 113 Caution Do not touch the belt surface or damage the belt...
Page 274: ...Troubleshooting QL 300 User Guide 274 25 Lift up the fuser and exit unit locking lever...
Page 277: ...Troubleshooting QL 300 User Guide 277 29 Raise the blue lever and install the cutter unit...
Page 359: ...Cleaning QL 300 User Guide 359 2 Press down the flange locking lever 3 Remove the flange...
Page 382: ...Cleaning QL 300 User Guide 382 23 Push down the fuser unit handle and firmly push it inside...
Page 383: ...Cleaning QL 300 User Guide 383 24 Lift up the fuser and exit unit locking lever...
Page 456: ...Safety QL 300 User Guide 456...


