Printing
QL-300 User Guide
131
20
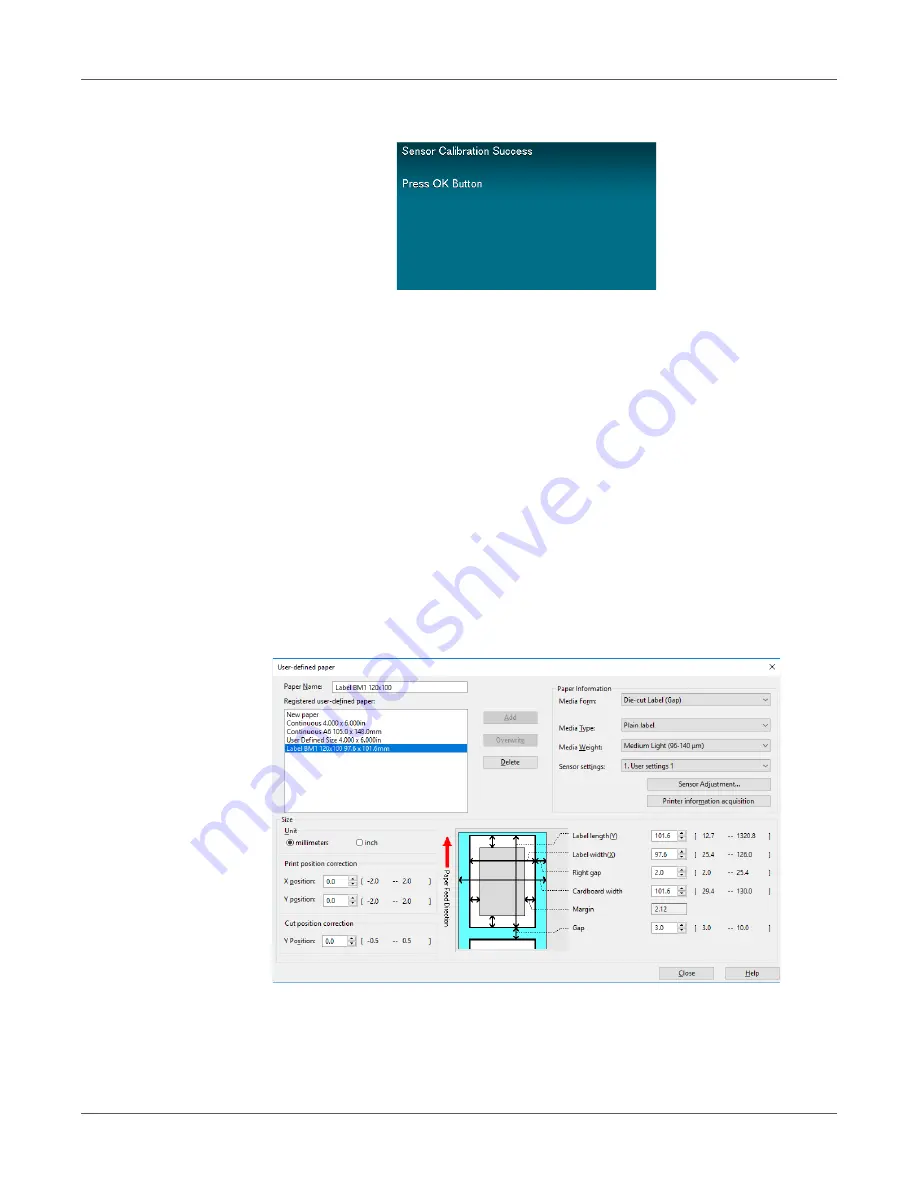
After sensor calibration is complete, press the
OK
button.
Detecting the Interval between Pages
Detecting the Interval between Pages with the Printer Driver
You can use the following procedure, from the printer driver, to register the paper gap and black
mark interval on the device. Registering these settings improves your printing results. However,
it does waste approximately 10 sheets of paper.
1
Click
Start
and select
Control Panel
in Windows.
2
Click
View devices and printers
.
3
Right-click the
QL-300
icon, and then select
Printing preferences
.
4
On the
Setup
tab, click
User-defined paper
.
5
After confirming that the paper name you entered in the “Paper Name” box is shown under
Registered user-defined paper
, click
Close
.
Summary of Contents for QL-300
Page 1: ......
Page 20: ...Installation QL 300 User Guide 20 2 Remove the top layer of packing materials...
Page 28: ...Installation QL 300 User Guide 28 3 Remove the unwinder...
Page 30: ...Installation QL 300 User Guide 30 5 Peel off the tape from two locations...
Page 41: ...Installation QL 300 User Guide 41 Unwinder Black mark Gap sensor...
Page 113: ...Printing QL 300 User Guide 113 Caution Do not touch the belt surface or damage the belt...
Page 274: ...Troubleshooting QL 300 User Guide 274 25 Lift up the fuser and exit unit locking lever...
Page 277: ...Troubleshooting QL 300 User Guide 277 29 Raise the blue lever and install the cutter unit...
Page 359: ...Cleaning QL 300 User Guide 359 2 Press down the flange locking lever 3 Remove the flange...
Page 382: ...Cleaning QL 300 User Guide 382 23 Push down the fuser unit handle and firmly push it inside...
Page 383: ...Cleaning QL 300 User Guide 383 24 Lift up the fuser and exit unit locking lever...
Page 456: ...Safety QL 300 User Guide 456...


