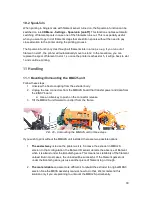
7. Select all remaining parts of the object and click Open.
8. Check the preview window to see whether the object has been imported successfully
and no parts are missing.
In the next step, we’ll set up colors for each part of the object.
Pict. 18 - Multi-part object correctly imported to Slic3r PE
9.2 Setting up colors
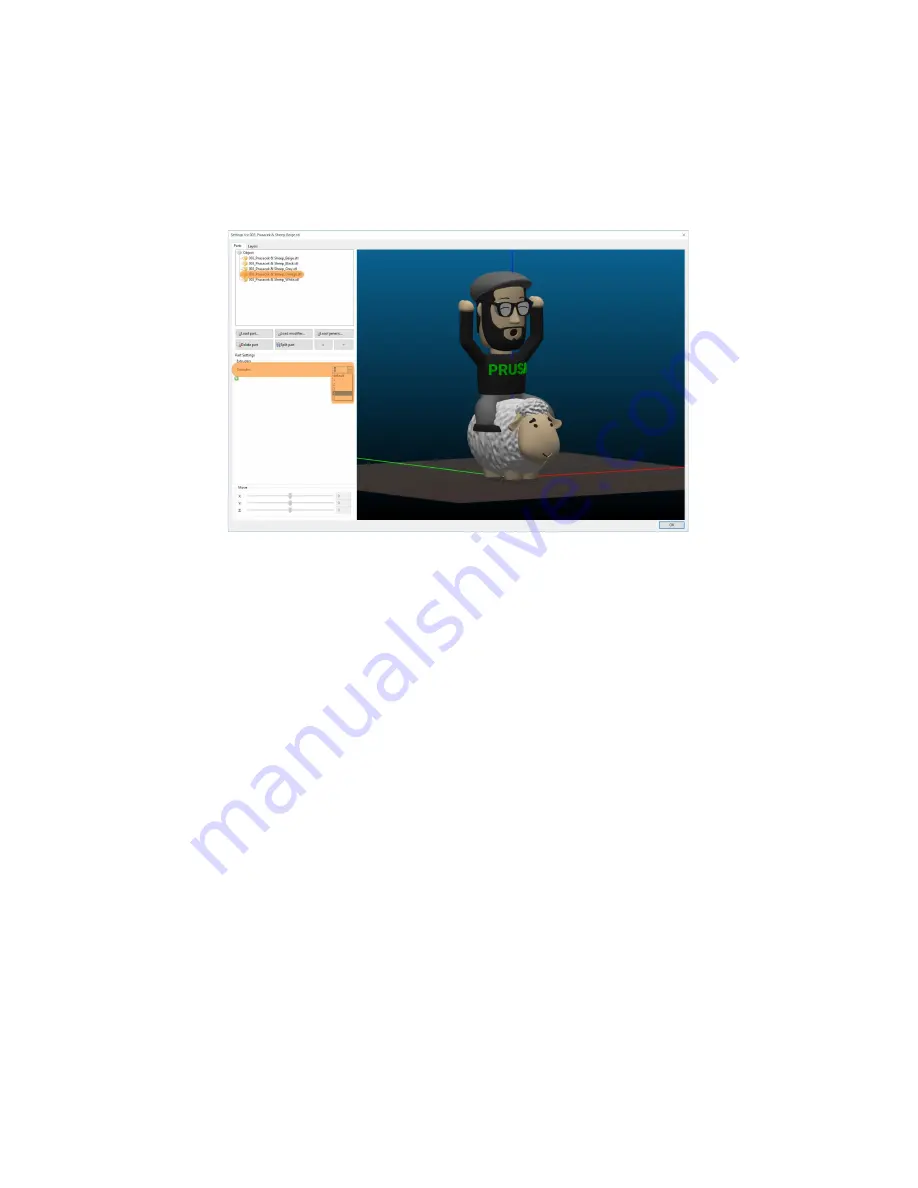
Double-click the imported object to open the Settings window. If you have already imported
all parts, you will see them listed in a tree view.
1. Select a part of the object in the list.
2. In the Object Settings section, choose the corresponding extruder (=filament).
3. Assign an extruder to each part of the object. Assigning the same extruder to two
parts will result in those parts being printed in the same color. Once you’re done,
press OK.
4. Use the Filament menu on the right side of the Slic3r window to change colors for
each part of the object by left-clicking the small red box next to the filament’s name.
Try to match these colors to the colors of your filaments to get a better idea of how
your 3D object will look once it’s printed. Keep in mind the order of filaments!
5. Slice the object as usual. Once you are happy with the result, export the G-code.
21
Summary of Contents for i3 MK2.5S Multi Material Upgrade 2S
Page 1: ...ENG ...

