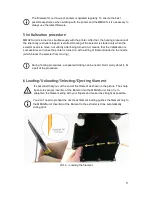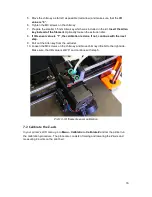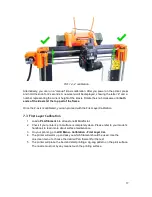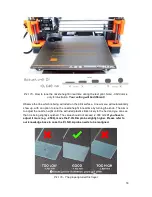
If your printer was working without any issues before adding the MMU2S unit, these two
calibrations should be everything you need to start printing. In case you still have trouble
calibrating the first layer height, please refer to the printer’s handbook or our knowledge
base at
help.prusa3d.com
.
7.4 Individual filament calibration
Information for advanced MMU2 users, who already performed filament
length calibration before: although you can enter the service menu and run
Individual filament calibration procedure, there is no reason to do it anymore.
The length of the filament is automatically controlled thanks to the new IR
filament sensor.
The only reason to run the calibration is in case you have changed the length of the
front PTFE tube between the extruder and the MMU2S unit. With the calibration, the
filament loading will be faster. In that case, please refer to this manual:
https://manual.prusa3d.com/Guide/menu+-+IndFCalibration/
842
8 First Print
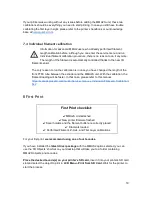
First Print checklist:
✔
MMU2S Unit attached
✔
New printer firmware flashed
✔
Spool holders and the filament buffer are correctly placed
✔
Filaments loaded
✔
Performed Filament, Z-Axis, and First Layer calibrations
For your first print,
we recommend using one of our G-codes.
If you have installed the
latest driver package
with the MMUS2 option selected, you can
use the ‘3D Objects’ shortcut on your desktop that will take you to a folder containing
MMU2S objects and G-codes.
Place the desired G-code(s) on your printer’s SD card,
insert it into your printer’s SD card
slot and select the object to print in
LCD Menu - Print from SD Card.
Wait for the printer to
start the process.
19
Summary of Contents for i3 MK2.5S Multi Material Upgrade 2S
Page 1: ...ENG ...


