INSTALLATION MANUAL: PAA29+ V 1.4 (07/2011)
42
5.
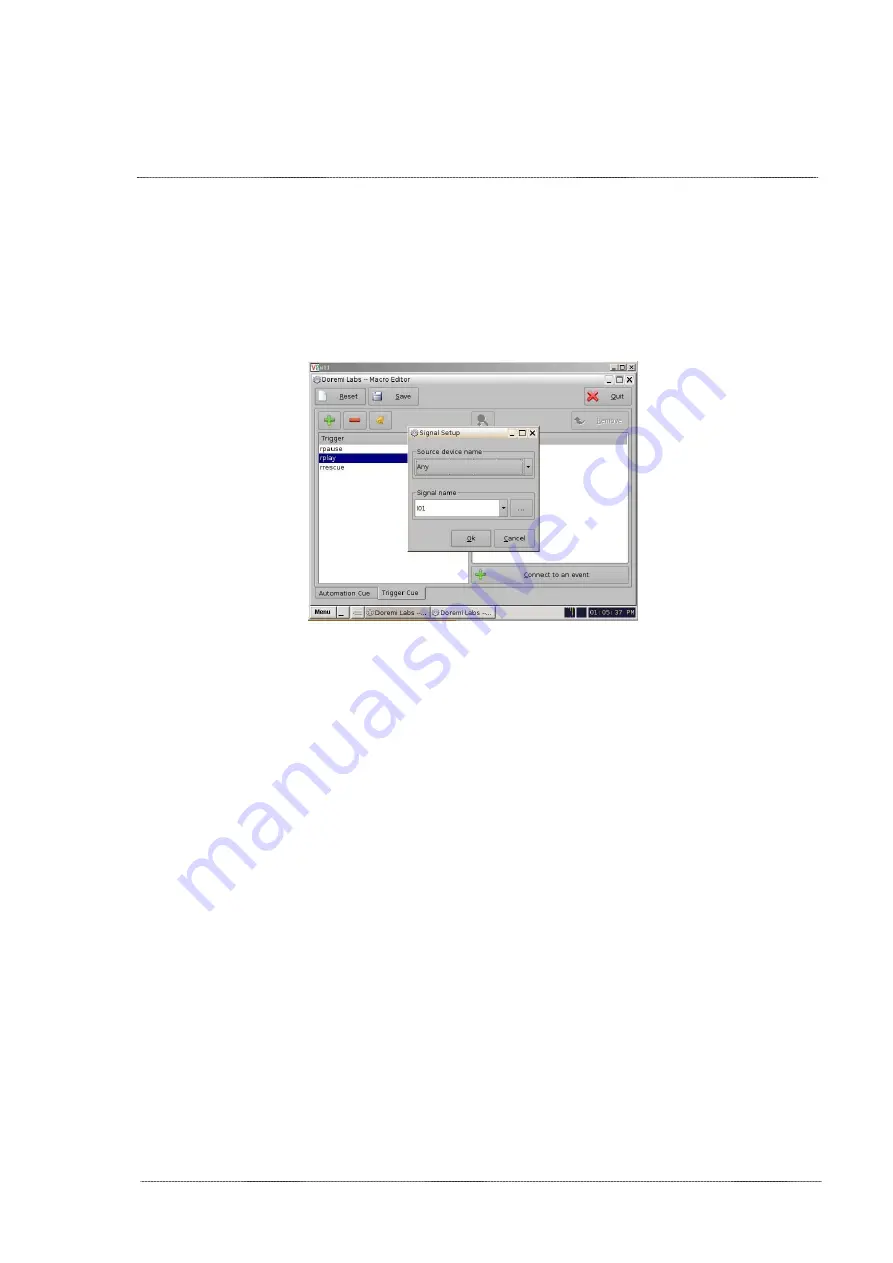
Pressing the Ok button of the “Signal library” window you will come
back to the “Signal Setup” window, but with the “Signal name” filled
with your previous chosen input selection. You can see the example for
the Input 1 in the
figure 8.3.4E
. Click on the Ok button to finish the
creation of the trigger cue.
Figure 8.3.4E
6.
Finally in the Doremi “Macro Editor” main screen you can save the
trigger cues configuration using the “Save” button. If you are not
logged as admin, you will need to be authenticated.
7.
Now, you can use the “trigger cues”, created following the previous
steps, in the “Cinelister” editor to activate macros during the Show
execution.
Summary of Contents for PAA29+
Page 1: ...PAA29 v1 4 07 2011 INSTALLATION MANUAL PAA29...
Page 44: ...INSTALLATION MANUAL PAA29 V 1 4 07 2011 44 9 2 OUTPUT 2 CONNECTOR Figure 9 2A Picture 9 2B...
Page 45: ...INSTALLATION MANUAL PAA29 V 1 4 07 2011 45 9 3 OUTPUT 3 CONNECTOR Figure 9 3A Figure 9 3B...
Page 46: ...INSTALLATION MANUAL PAA29 V 1 4 07 2011 46 9 4 INPUT CONNECTOR Figure 9 4A Picture 9 4B...
Page 48: ...INSTALLATION MANUAL PAA29 V 1 4 07 2011 48 9 5 2 INPUT WITH A POSITIVE COMMON Picture 9 5 2A...


