16
Having edited and applied the changes to your
image, click
next
in the bottom right corner
to continue.
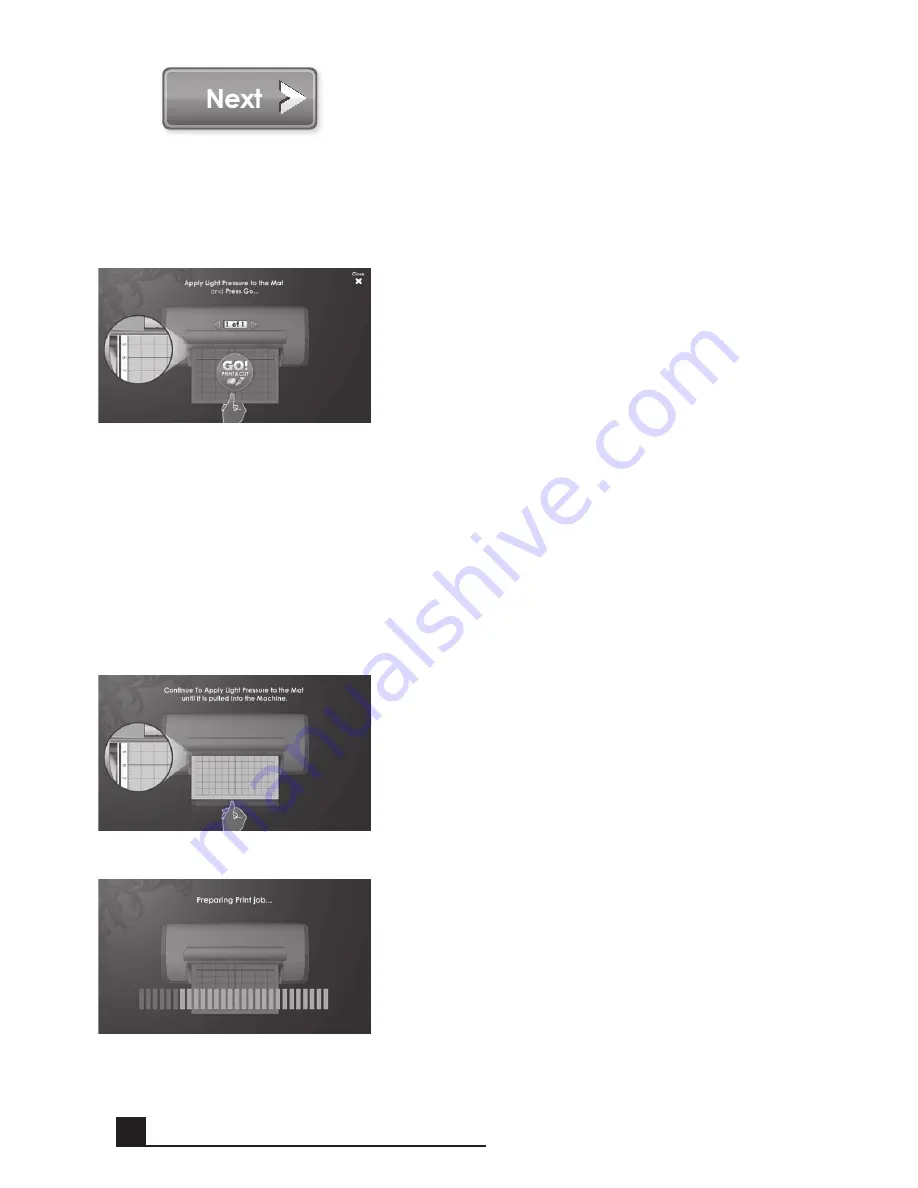
You are now prompted to load the cutting mat
with the paper. Be sure the paper is mounted
correctly according to the previous instruc-
tions. Insert the mat into the Cricut Imagine
™
with the arrow pointing toward the machine.
Insert the mat above the exposed rollers at the
label
Insert MAt Here
. Gently insert the mat
until you feel it hit the back of the print rollers.
tIP:
For best results, center the mat in the
mat guide.
Hold the mat near the machine at the center,
applying gentle pressure to the mat. Click
the
Go!
button on the screen of the Cricut
Imagine
™
, continuing to apply pressure until
the mat is completely loaded.
Your project will begin printing and cutting.
You’re on the way to your fi rst of many exciting
Cricut Imagine
™
creations!
When the operation is complete, the Cricut
Imagine
™
machine will eject the mat out the
front of the machine.
BASIC oPERATIonS
Summary of Contents for Cricut Imagine
Page 1: ......
Page 4: ...4 FRONT DIAGRAM BACK DIAGRAM DIAGRAMS...
Page 38: ...38 DIAGRAMME FRONTAL DIAGRAMME POSTERIEUR DIAGRAMMES...
Page 72: ...72 DIAGRAMA DE FRENTE DIAGRAMA DE LA PARTE POSTERIOR DIAGRAMAS...
Page 106: ...106 SCHAUBILD VORDERSEITE SCHAUBILD HINTERSEITE SCHAUBILDER...
Page 138: ...138...
Page 139: ...139...


