18
CUttInG on LIGHtWeIGHt or HeAvyWeIGHt
MAterIALs
Your Cricut Imagine
™
can cut a variety of materials. For an optimal cut on light-
weight materials such as vellum or heavyweight materials such as thin cardstock,
you may need to adjust the blade depth, speed of the cut, or cut pressure.
Adjusting Blade Depth
Remove the cutting blade assembly from the Cricut Imagine
™
machine to change
the setting on the adjustment knob. However, if the arrow is facing forward, you
can leave the cutting blade assembly attached and simply spin the top of the
adjustment knob to change the setting.
WArnInG!
Always unplug your Cricut Imagine
™
machine before removing the
cutting blade assembly!
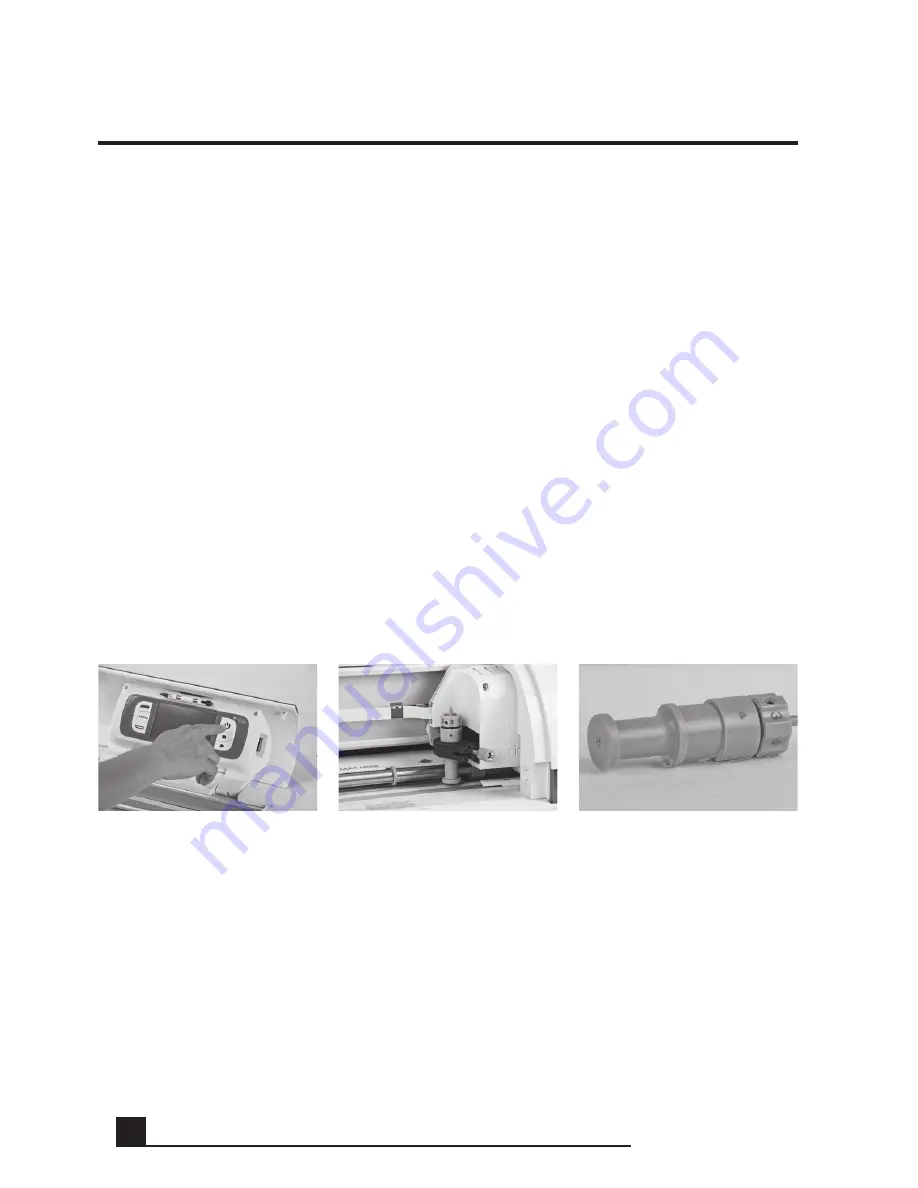
To remove the cutting blade assembly (Figure 1), first turn the Cricut Imagine
™
off.
Then slide the cutting carriage aside to expose the blade clamp screw. Locate the
screw and turn it counterclockwise until it loosens enough that you can swing the
screw to the right (Figure 2). Be careful not to loosen the screw too much, or it will
fall out. Remove the cutting blade assembly from the machine. next, locate the
adjustment knob (Figure 3) on the top of the cutting blade assembly, and turn it to
your desired setting.
The smaller the number on the adjustment knob, the shorter the blade depth will
be. Shorter blade depths are recommended for light weight materials, and longer
blade lengths for heavier materials. Reinstall the cutting blade assembly into the
Cricut Imagine
™
machine by reversing the procedure to remove the cutting blade
assembly. Test the setting on a scrap piece of paper and make adjustments
as necessary.
tIP:
Cutting on cardstock and other heavy materials will reduce the life of your
blade, but it will produce the best cuts.
Figure 3
Figure 2
Figure 1
CUTTInG on LIGHTWEIGHT oR HEAVYWEIGHT MATERIALS
Summary of Contents for Cricut Imagine
Page 1: ......
Page 4: ...4 FRONT DIAGRAM BACK DIAGRAM DIAGRAMS...
Page 38: ...38 DIAGRAMME FRONTAL DIAGRAMME POSTERIEUR DIAGRAMMES...
Page 72: ...72 DIAGRAMA DE FRENTE DIAGRAMA DE LA PARTE POSTERIOR DIAGRAMAS...
Page 106: ...106 SCHAUBILD VORDERSEITE SCHAUBILD HINTERSEITE SCHAUBILDER...
Page 138: ...138...
Page 139: ...139...


