14
Print & Cut
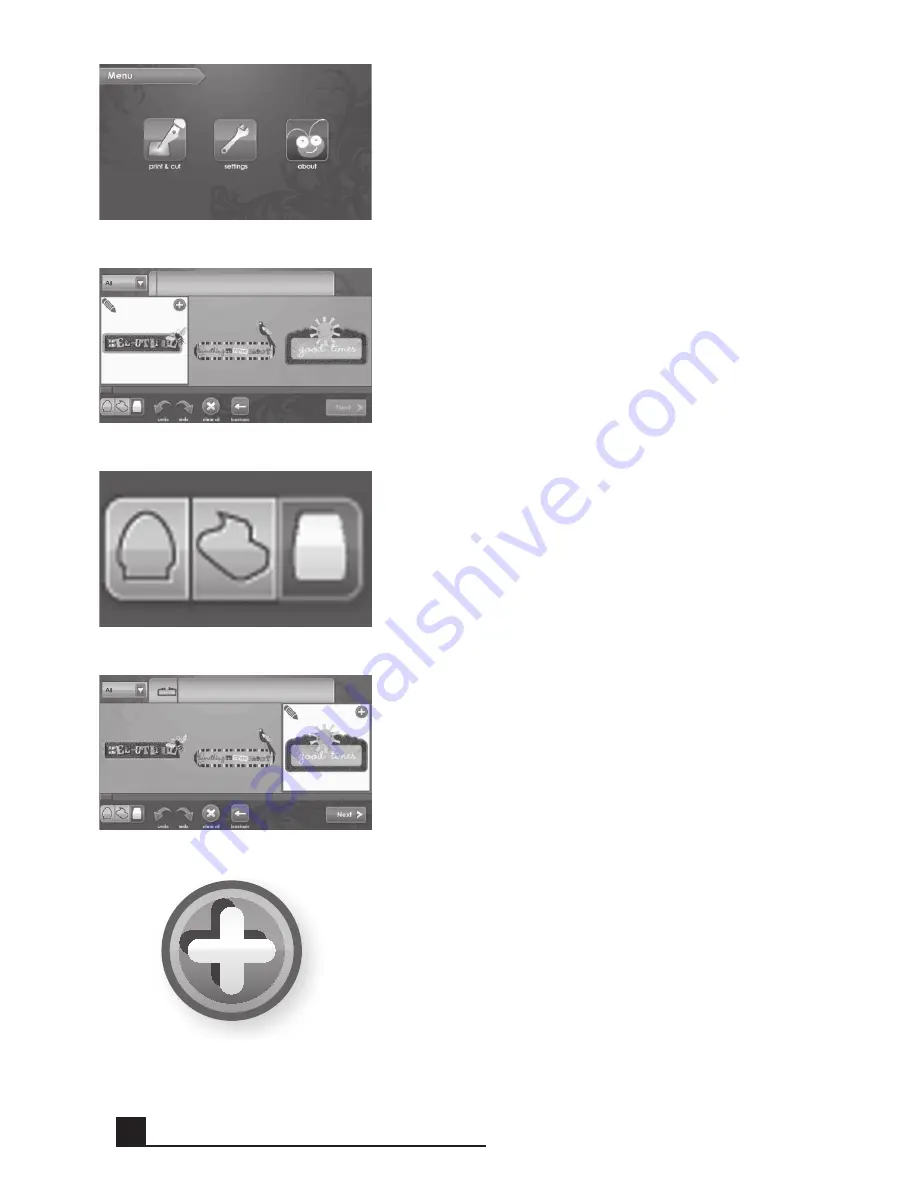
To begin working with an image, click the
Print & Cut
button on the left of the Cricut
Imagine
™
menu screen. You can always return
to the menu screen by pressing the
Menu
but-
ton to the left of the screen.
Choose an image source. This is done by
clicking on one of three content source icons
located at the lower left corner of the display.
The left icon is for original Cricut
®
art, the cen-
ter icon is for art which comes with your Cricut
Imagine
™
, and the right icon is for Cricut
Imagine
™
cartridge art.
You can scroll through the images in the
default
Gallery view
by clicking the screen
and dragging slowly to the left or right. Click
any image you would like to print and cut to
select it. The image that is selected will be
highlighted in white.
Click the green plus sign to add the image to
the Image Queue.
BASIC oPERATIonS
Summary of Contents for Cricut Imagine
Page 1: ......
Page 4: ...4 FRONT DIAGRAM BACK DIAGRAM DIAGRAMS...
Page 38: ...38 DIAGRAMME FRONTAL DIAGRAMME POSTERIEUR DIAGRAMMES...
Page 72: ...72 DIAGRAMA DE FRENTE DIAGRAMA DE LA PARTE POSTERIOR DIAGRAMAS...
Page 106: ...106 SCHAUBILD VORDERSEITE SCHAUBILD HINTERSEITE SCHAUBILDER...
Page 138: ...138...
Page 139: ...139...


