15
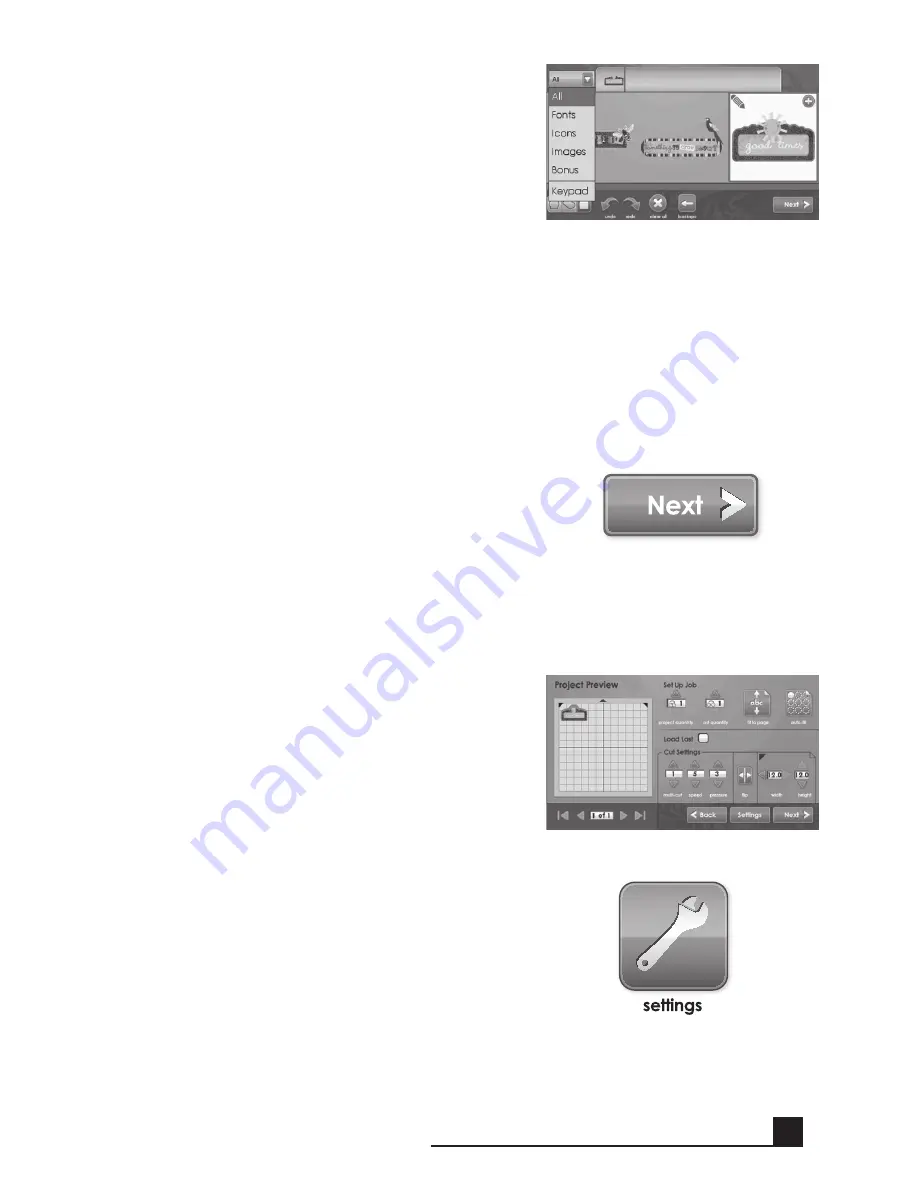
Click the
next
button at the bottom right of
the Image Gallery.
This will show you a preview of your project.
The preview shows you where the images will
be located on the paper.
To the side of the preview, several job options
can be controlled. Additional information on
the controls in the
set Up Job
area can be
found on page 27.
The Settings area, also accessible on the
Menu
screen, contains controls for print quality,
paper type, border preferences, machine
calibrations, as well as system defaults and
information about ink levels. For information
about the Settings area, see page 30.
Another view featuring a
keypad
layout is
available by clicking the drop down list in the
top left corner of the screen. To return to the
Gallery
view, use the same drop down list and
select an option other than
keypad
. For more
details on the two views, see page 23.
note:
Selecting
All
will display all images in
the gallery. Selecting
Icons
will only show
images with a single layer. Selecting
Images
will only show the images that have more than
one layer. Selecting
Bonus
will show the bonus
content included with this cartridge.
original Cricut
®
art will only be visible in
keypad
layout.
BASIC oPERATIonS
Summary of Contents for Cricut Imagine
Page 1: ......
Page 4: ...4 FRONT DIAGRAM BACK DIAGRAM DIAGRAMS...
Page 38: ...38 DIAGRAMME FRONTAL DIAGRAMME POSTERIEUR DIAGRAMMES...
Page 72: ...72 DIAGRAMA DE FRENTE DIAGRAMA DE LA PARTE POSTERIOR DIAGRAMAS...
Page 106: ...106 SCHAUBILD VORDERSEITE SCHAUBILD HINTERSEITE SCHAUBILDER...
Page 138: ...138...
Page 139: ...139...


