P. 18
Installation
Guide
CT-3400 TW
Smart Ignition Locks
This feature can be enabled by connecting the external trigger (the 9
th
pin of the 12-pin harness)
input to a negative door sense wire when the door is open (usually the Dome Light) and by
programming the external trigger input accordingly (Option 4).
When the ignition-controlled door locks are active and the engine is running, whenever the brake
pedal is pressed while a door has been opened and closed again since the last
LOCK
pulse was
sent, the system will relock all doors at once.
Key Sense*
With this option selected, while in passive mode, the starter kill will not rearm if the key is detected
in ignition switch. If secure lock is programmed, it will not generate any lock and ream pulses if the
key is sensed.
When programming this feature, connect the negative external trigger input to key sense on the
ignition switch.
*Ninth pin of the 12-pin harness (external trigger wire).
Caution!
If more than one device is connected to the ground output wire, the devices
must
be diode isolated
one from another. This includes bypass modules plugged into the back of the module.
Other Features of the Module
Fifth Relay Output (2
nd
IGN or 2
nd
fcACC or 2
nd
START)
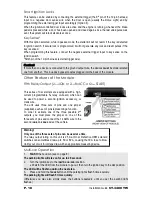
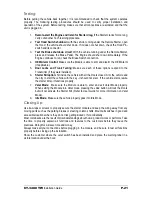
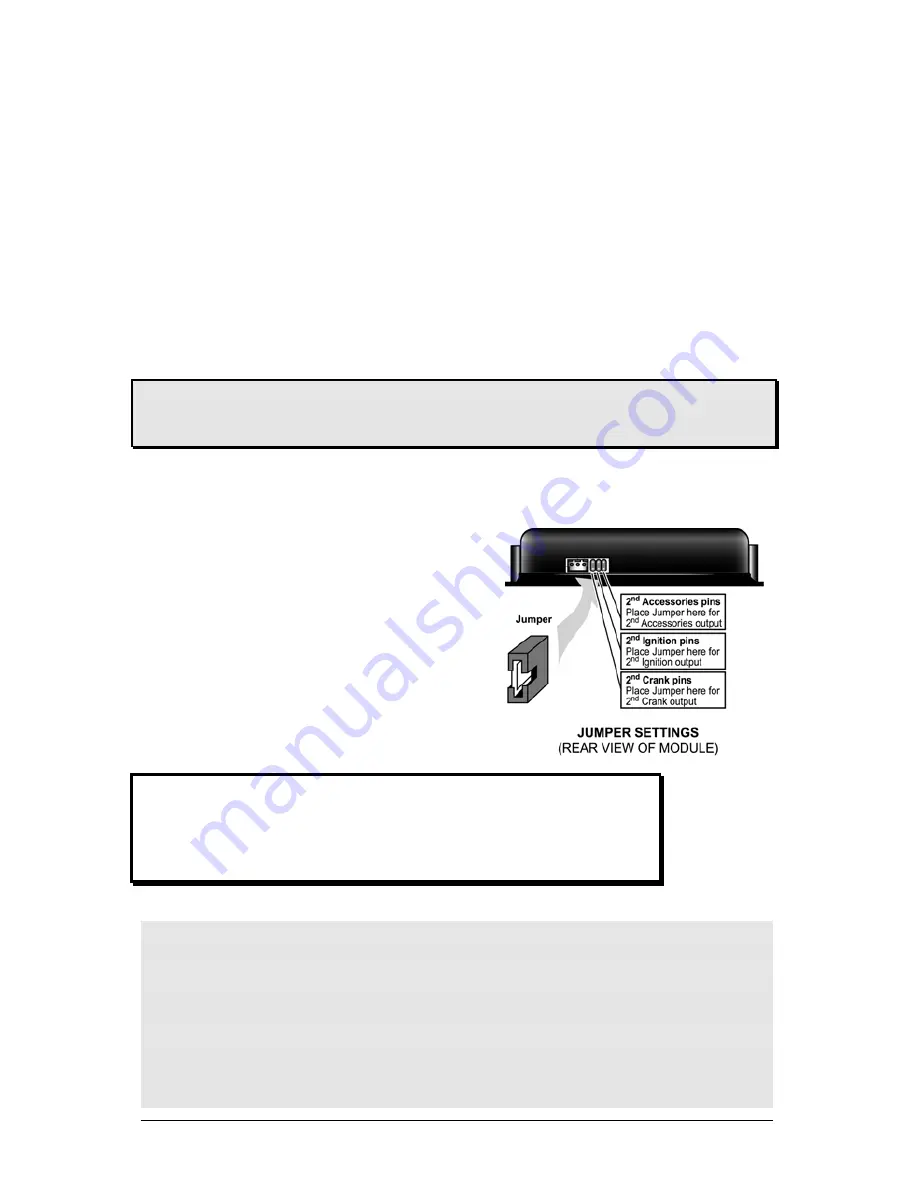
This series of Car starters are equipped with a high-
current programmable 5
th
relay on-board, which can
be used to power a second ignition, accessory, or
crank wire.
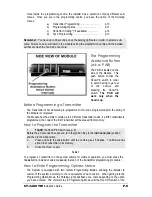
The unit uses three sets of pins and one jumper
(supplied), each set of pins representing a function.
In order to activate one of the three possible 2
nd
outputs, you must place the jumper on one of the
three sets of pins and connect the 14 AWG wire to the
second
IGN./ACC./CRANK
wire of the vehicle.
Warning!
Only one of the three sets of pins can be used at a time.
The relay output rating on this unit is 25 A at most. Defective OEM solenoid
switches can sometimes draw up to 50 or 60 A, causing the 30 A fuse to blow.
Verify your circuit for voltage draw with an appropriate measuring device.
Multi-car Operation
1.
FLASH
the hood pin (see on page 8).
The parking lights will stay on for up to 20 seconds.
2.
Turn the ignition key to the
IGNITION ON (RUN)
position.
•
Wait for the LED from the module to go out, then turn the ignition key to the
OFF
position.
The LED will be flashing during the next step.
3.
Press and hold the
TRUNK
button until the parking lights flash 5 times quickly.
The parking lights will flash 5 times quickly.
(Otherwise you may also simply press the buttons repeatedly, until you get the parking light
flashes.)

