CT-3400 TW
Installation Guide
P.15
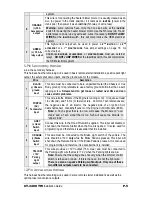
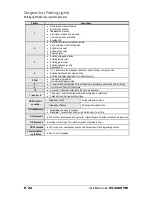
Lock Pulse Duration
Option 1: 7/10-sec.
LOCK
and 7/10-sec.
UNLOCK
pulses by default.
Option 2:
4-sec.
LOCK/UNLOCK
pulses–this is for operating vacuum Door Lock systems.
Option 3: A single 7/10-sec.
LOCK
pulse and
two ¼-secs
UNLOCK
pulses.
Used for double-pulse Disarm/Unlock systems
Option 1: 1/10-sec.
LOCK
and 1/10-sec.
UNLOCK
pulses.
Flashing LED
To gain access to this feature, make sure the Flashing LED option has been enabled at the time of
programming. Once this option is enabled, the user has the choice to toggle the Flashing LED
“ON” and “OFF” at any given moment.
To toggle between the Flashing LED “ON” and “OFF”, press
LOCK
and
UNLOCK
simultaneously on
the Transmitter. The parking lights will flash 1 time slowly to indicate that the LED is active. If you
press
LOCK
and
UNLOCK
once more, the parking lights will flash 3 times quickly to show that the
LED is now disabled.
•
Flashing LED
ON
:
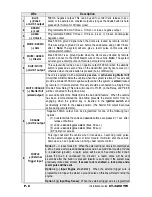
The LED will flash at all times (being passive or active arming) to
denote that the Starter Kill is active.
•
ACTIVE
Arming: the LED flashes normally.
•
PASSIVE Arming:
the LED will flash, during the countdown, at a faster rate
until the Unit is armed, at which time the flashing rate will slow
down.
•
In Valet Mode
, the LED will be on solid.
•
Flashing LED
OFF
:
The LED will not flash when the module is armed (passive or active
arming). However, if the module is in Valet Mode, the LED will remain on solid when
the Ignition is “OFF”.
Engine Type – Gas or Diesel
Set to Gas Mode by default, the unit can be programmed to operate in Diesel Mode. In Diesel
Mode the system will wait for the glow-plug indicator light to go out before cranking the engine.
Note that the run time is automatically extended when Diesel Mode is selected.
Horn Confirmation
AUX 1
can be programmed to trigger the horn every time the
LOCK
button is pressed, or when the
LOCK
button is pressed twice within 3 seconds. When horn confirmation is activated, panic mode is
enabled. If horn confirmation is disabled, panic mode will not be available.
Safe Start
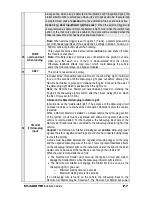
If this feature is enabled, it will require the user to press the
START/STOP
button twice within 3
seconds to start the vehicle. This will eliminate accidental remote starts (for example: if there are
children playing with the transmitter). To stop the vehicle, the user must press
START
/
STOP
once. If
swap start mode is selected, to remote-start your vehicle, press the
‘
F
’
button and then the
LOCK
button. The
AUX 2
output can be activated by pressing the
START/STOP
button.
Idle Mode
When programmed, this option allows the user to engage the remote starter to take over the vehi-
cle while it is already running. This will keep the vehicle running for its programmed run time, or
until it is shut down.
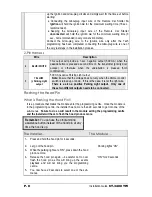
To activate Idle Mode:
1.
While the Engine is running, press
LOCK
,
UNLOCK
or
START/STOP
on the transmitter until the
parking lights come on.
•
Pressing
LOCK
or
UNLOCK
will unlock the doors.
•
Pressing
START/STOP
will leave the doors as they are.

