3. Insert a retaining clip with the angled tips from behind into the upper
insulating panel
4. Insert the insulating panels
4.1. Insert the upper insulating panel
4.2. Insert the left insulating panel
4.3. Insert the right insulating panel
4.4. Clamp the central insulating panel D in the remaining space
5. Bend the projecting retaining clip by hand over the central insulating
panel D
Important
After installation of the burner the burner pipe is flush to the
combustion room insulation.
Danger
Risk to life due to explosion, fire or escaping flue gas. Before
commissioning the boiler, the parts of the system through which
fuel and flue gas flow must be checked for leaks. If there are any
leaks in the pipelines, the seals must be replaced. If there are any
leaks due to defective components, the components in question
must be replaced.
For more information, see
10.3.5 Cleaning the burner pipe
Important
For the burner pipe to be cleaned, the burner must have been
removed first (see section
Removing the burner
).
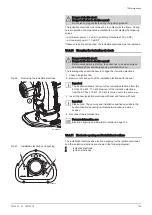
The following steps describe how to clean the burner pipe:
1. Loosen the screws and remove the burner pipe with the burner pipe
seal
2. Clean the burner pipe with compressed air
3. Reinstall the burner pipe with burner pipe seal
Important
Use a new burner pipe seal when installing the burner pipe.
4. Reinstall the burner
Danger
Risk to life due to explosion, fire or escaping flue gas. Before
commissioning the boiler, the parts of the system through which
fuel and flue gas flow must be checked for leaks. If there are any
leaks in the pipelines, the seals must be replaced. If there are any
leaks due to defective components, the components in question
must be replaced.
For more information, see
10.3.6 Cleaning the heat exchanger
Before the heat exchanger can be cleaned, the burner must be removed
(see section
Removing the burner
).
Fig.42
Inserting the combustion room
insulation.
3
4
RA-0000234
4.1
4.2
4.3
5
4.4
Fig.43
Removing the burner pipe
RA-0000235
1
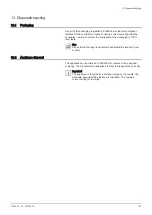
10 Maintenance
140
7703301 - 01 - 16072018


