PROGRAMMING the KB2100
1.
Make a copy of the KB2100 utility software:
-Insert the KB2100 utility software disk into either drive A or B
-Type install.
2. Type
KBM.EXE
and press
Enter
The computer screen displays the Posiflex programming keyboard utility
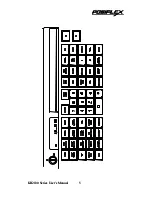
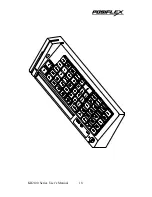
graphics screen. There are 55 keys plus 1 programmable key switch in the
key-layout map to be programmed. The location in the key-layout map are
coded from A1 to L3. The location code in the key-layout map ready to be
programmed will blink. The key-contents of the keys in the same column
with the key ready to be programmed will be displayed at the lower part of
the screen.
3.
Use the arrow keys to move around the key-layout map to select a proper
key to program.
4.
Press ALT+A to enter ASCII Code editing mode or directly type the
programming text. Press ALT+ A again or press Up or Down key to leave
editing mode of that key and move on for programming of another key
until all keys required are programmed. It is not necessary to program all
the keys for the KB2100 to function properly. The maximum number of
characters per key is 255 and the maximum number of characters for all 55
keys is 1856.
5.
Programming locations A1 and B1 are associated with lock key switch.
Usually, the lock key is controlled by management level personnel to
override certain security check out procedures. If the lock key is turned
counter-clockwise to the L1 position, the KB2100 outputs the security
code stored in A1. This acts the same as if a single push-button key is
depressed. Similarly, if the lock key is turned clockwise to the L2 position,
the KB2100 outputs the security code stored in B1.
6.
Type ALT+ W to write the programmed data into the KB2100’s non-
volatile memory. It takes about 7 seconds complete the writing process.
7.
Press F10 followed by Y to terminate the utility program.
8.
To verify if the program was stored correctly, press any programmed key
to display its contents on the monitor.
9.
After all the keys are programmed, identify each key with a precut label.
KB2100 Series User’s Manual
6


