

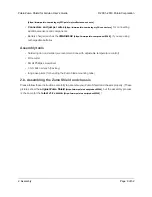


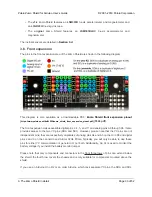


17. Solder the two individual contacts to the shield from the top. Note that if you are using a
battery to hold the contact in place during soldering, the battery might act as a heat sink,
making it more difficult to solder or requiring a higher soldering iron temperature. The battery
terminal slot in the PCB should be completely filled with solder as shown in the picture below.
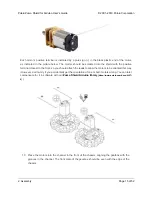
Idler Sprockets and track
18. Place an idler sprocket on each shoulder bolt, followed by a washer. The protruding side of
the sprocket hub should face the same direction as the threaded end of the bolt (in toward
the chassis).
19. Insert the shoulder bolts through the side of the chassis into the nut. Use a 3 mm hex key
(Allen wrench) to tighten the bolts until the washers are snug against the chassis. Be careful
not to overtighten the shoulder bolts as doing so can bend the washers.
Note:
Be careful if
you use threadlocking adhesives like Loctite as these can corrode the chassis. You should
first test any such adhesives on a concealed part of the chassis to ensure they will not
damage it.
Pololu Zumo Shield for Arduino User’s Guide
© 2001–2019 Pololu Corporation
2. Assembly
Page 21 of 52


