92
Before Beginning Adjustment/Setting
5.1 Before Beginning Adjustment
There are three methods for adjusting this display:
• Main control panel
• Remote control
• Personal computer (RS-232C control)
Carefully read and gain a good understanding of this section before beginning adjustment.
Items that apply only when a PDA-5003 or PDA-5004 is installed, are indicated with a ‘
★
’.
5.1.1 Operation Mode
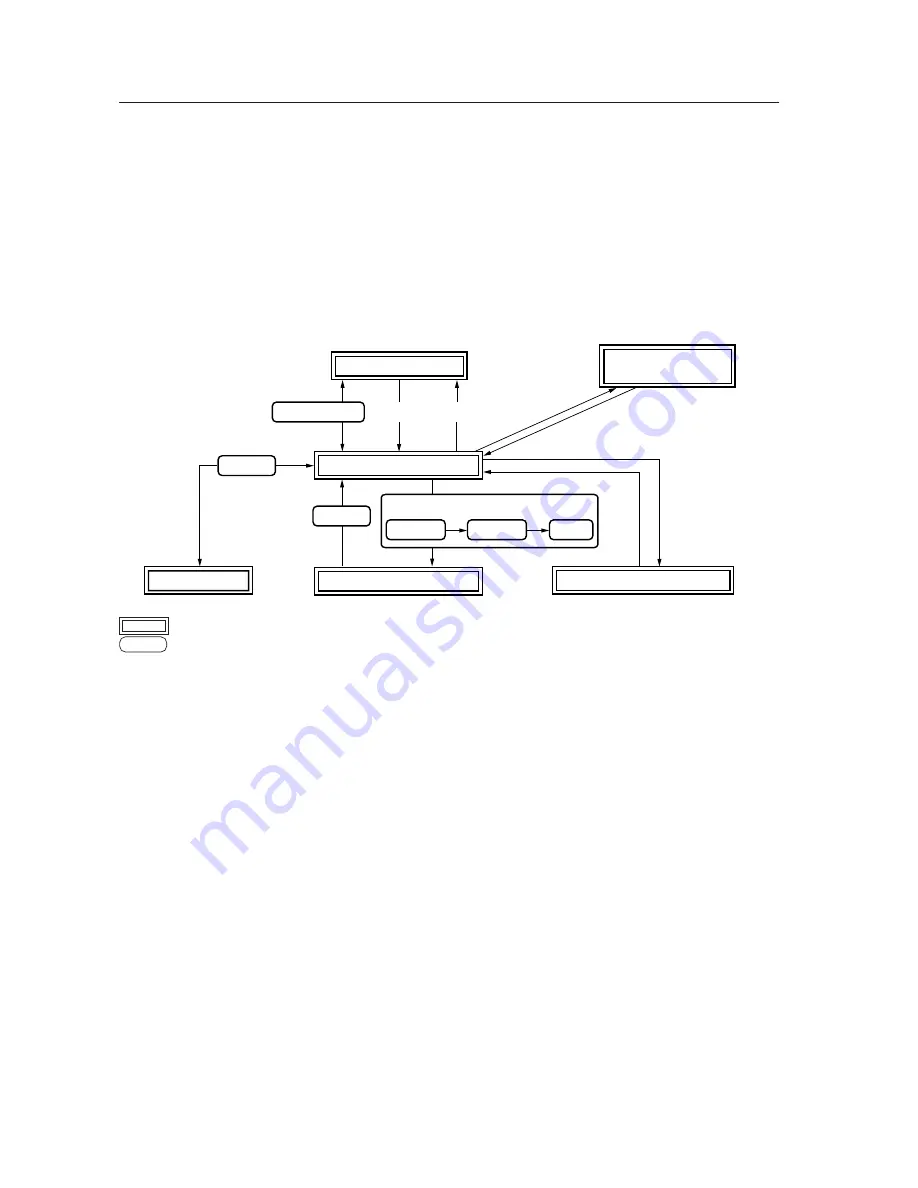
This display is divided into the following four operating modes.
1
<PON>
2
<POF>
STANDBY/ON
MENU
MENU
DISPLAY
DISPLAY
MENU
INPUT1 to 5
3
Integrator Mode
4
RS-232C Adjustment
Menu Mode
Power standby state
(Note 2)
Power management
standby state
ON indicator flashes
No input
Normal operation mode
(Note 1)
Press for 3
seconds or more.
indicates the operation modes and states
indicates button controls on the remote control or main-control panel
<
> indicates controls by RS-232C commands
(Note 1)
Refer to section 5.4.1, “About the Integrator Mode” (pg. 154).
(Note 2)
Power management standby state exists only when power management is set.
1
Normal Operation Mode
This mode is for displaying signals.
In this mode the following basic controls are available:
• Switching to the power standby state
• Switching the input
• Switching the screen
• Adjusting the volume
• Muting the sound (remote control only)
• Setting the AUTO SET UP
• Applying the POINT ZOOM (remote control only)
• Accessing Multi screens (remote control only)
• Activating the menu mode or the integrator mode
In addition, some control via RS-232C commands is possible (Refer to section 5.5.5, “List of RS-232C Commands
Table” (pg. 197)).
2
Menu Mode
This mode is for adjusting the image quality, changing the screen position, and assigning various settings.
For details, refer to section 5.3, “Menu Mode” (pg. 114).
In this mode, it is possible to change adjustment data within a limited range. These adjustments are based on
values set in the integrator mode or RS-232C commands (to be described later).
For details, refer to section 5.3, “Menu Mode” (pg. 114).


