Using other functions
09
62
En
Chapter 9
Using other functions
Making an audio or a video recording
You can make an audio or a video recording from the
built-in tuner, or from an audio or video source
connected to the receiver (such as a CD player or TV).
Keep in mind you can't make a digital recording from an
analog source or vice-versa, so make sure the
components you are recording to/from are hooked up in
the same way (see
Connecting your equipment
on
page 15 for more on connections).
Note that when recording video, you won’t be able to
record sources connected to the component video
inputs. With composite and S-video sources, make sure
they are connected using the same type of video cord as
you used to connect the recorder to the receiver.
For more information about video connections, see
Connecting a VCR or DVD recorder
on page 22 and
Connecting other video sources
on page 23.
1
Select the source you want to record.
Use the
MULTI CONTROL
buttons (or the
MULTI JOG
dial on the front panel).
2
Select the input signal (if necessary).
Press
SIGNAL SEL
to select the input signal
corresponding to the source component (see
Selecting
the input signal type
on page 41 for more on this).
3
Prepare the source you want to record.
Tune to the radio station, load the CD, video, DVD etc.
4
Prepare the recorder.
Insert a blank tape, MD, video etc. into the recording
device and set the recording levels.
Refer to the instructions that came with the recorder if
you are unsure how to do this. Most video recorders set
the audio recording level automatically—check the
component's instruction manual if you're unsure.
5
Start recording, then start playback of the source
component.
Note
• The receiver's volume, tone (bass, treble, Midnight,
Loudness), and surround effects have no effect on
the recorded signal.
• Some digital sources are copy-protected, and can
only be recorded in analog.
• Some video sources are copy-protected. These
cannot be recorded.
Adjusting the delay of a soundtrack
• Default setting:
0.0 frame
Some monitors have a slight delay when showing video,
so the soundtrack will be slightly out of sync with the
picture. By adding a bit of delay, you can adjust the sound
to match the presentation of the video.
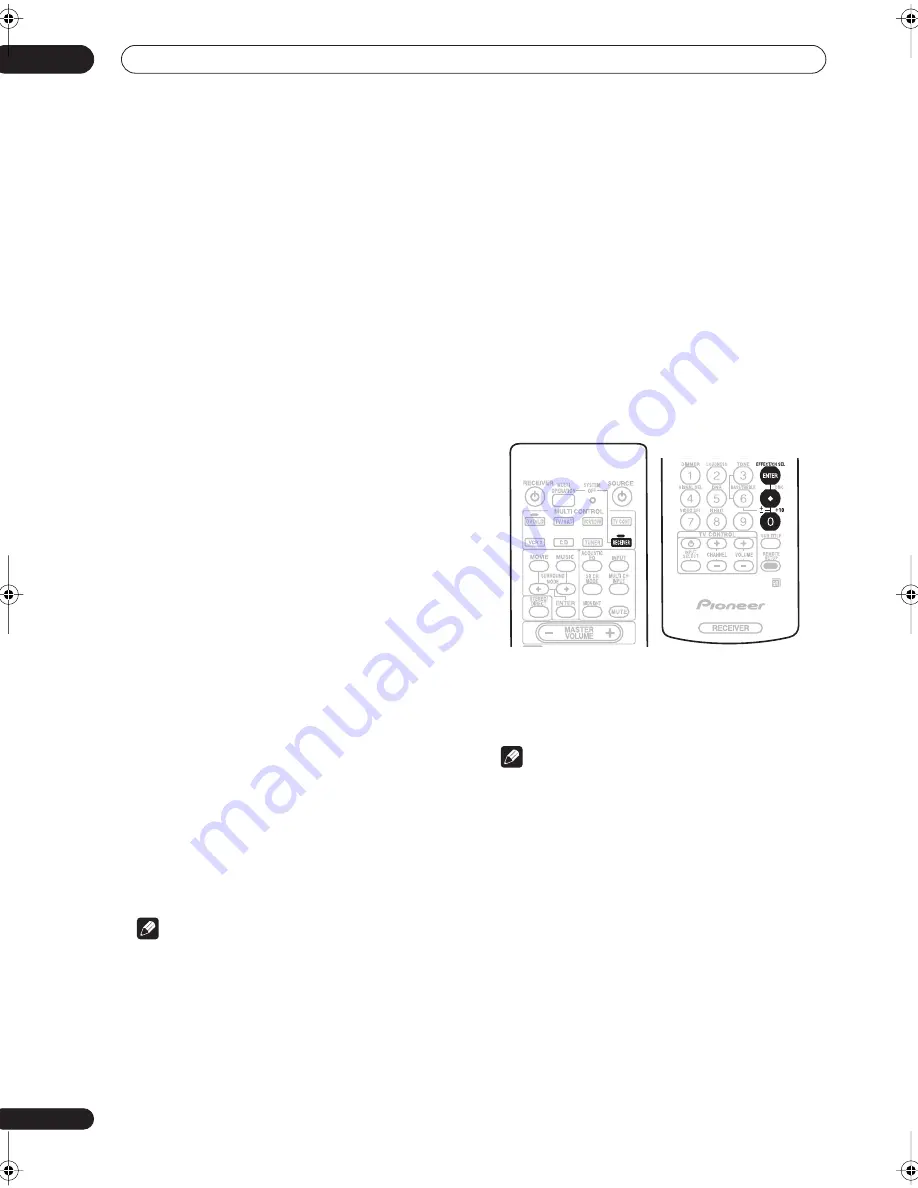
1
Press RECEIVER.
2
Press EFFECT/CH SEL repeatedly until DELAY
shows in the display.
3
Use the +/– buttons to adjust the amount of
delay.
The delay can be adjusted from 0.0–6.0 frames (in 0.1
frame steps).
Note
• One second is equal to 30 frames of NTSC format
video.
• This setting is applied to all video sources.
• You can’t use sound delay when
MULTI CH IN
or
DIRECT
is switched on.
VSX-54TX_0430.book 62 ページ 2004年5月6日 木曜日 午後8時7分


