Recording
06
50
En
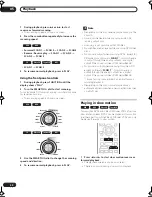
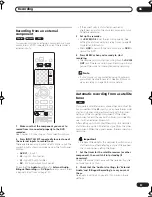
• While the recorder is stopped, you can also use the
number buttons on the remote to select the channel.
(For channel 6, press
6
then
ENTER
; for channel 24,
press
2, 4
then
ENTER
)
• You can also use the front panel controls: Press
FUNCTION
repeatedly until the display shows
CHANNEL
then use the
SMART JOG
dial to select
the channel number.
4
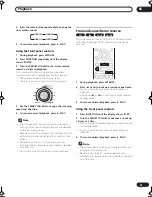
Use the AUDIO button to select the audio
channel to record.
See
Changing audio channels
on page 29 for more on
this.
• When recording in VR mode, if a broadcast is
bilingual, both audio channels are recorded, allowing
you to switch the audio channel on playback. The
only exception to this is when the picture quality is set
to
FINE
/
MN32
, in which case you do need to select
the audio channel before recording.
5
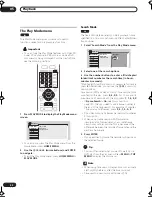
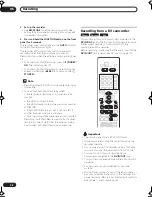
Press
REC to start recording.
If you want to set a recording time, press the
REC
button repeatedly. The recording time increases in 30
minute increments, up to a maximum of 6 hours. You can
see the recording time on-screen and in the front panel
display. When the recording ends, the recorder
automatically switches into standby if no other operation
is being performed.
• To cancel the set recording time, press
REC
.
• If you want to pause recording at any time, press
PAUSE
. Press again to restart the recording. (If
recording to the HDD or in VR mode, a new chapter
is started after recording restarts)
6
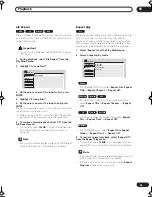
To stop the recording, press
STOP REC.
• If you set the recording time in the previous step, you
can still stop the recording anytime by pressing
STOP REC
.
• Recording will stop automatically when there is no
more space on the HDD/DVD, or after 6 hours of
HDD recording (whichever is sooner).
Tip
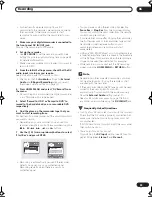
• During recording you can turn on/off the SCART loop
through function. During recording, press
FUNCTION
(front panel only) until the display shows
SCART
, then use the
SMART JOG
dial to select
SCART THRU
(loop through on) or
SCART NORM
(loop through off). Note that you can’t switch loop
through on if recording from the
AV2/(INPUT 1/
DECODER)
or
AV1(RGB)-TV
connectors. Also, loop
through is automatically reset to off after recording
has finished.
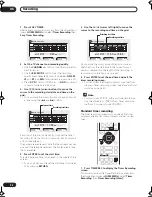
Direct recording from TV
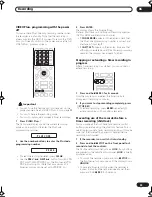
If you connected this recorder to your TV using a SCART
cable, and your TV supports direct recording, you can
record whatever is currently being shown on the TV
without having to worry about what channel preset the
recorder is on. Check the instructions that came with
your TV if you’re not sure whether your TV supports this
feature.
1
If necessary, load a recordable disc.
2
Set the picture quality/recording time using the
REC MODE button.
3
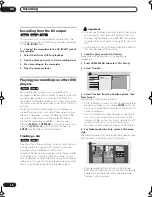
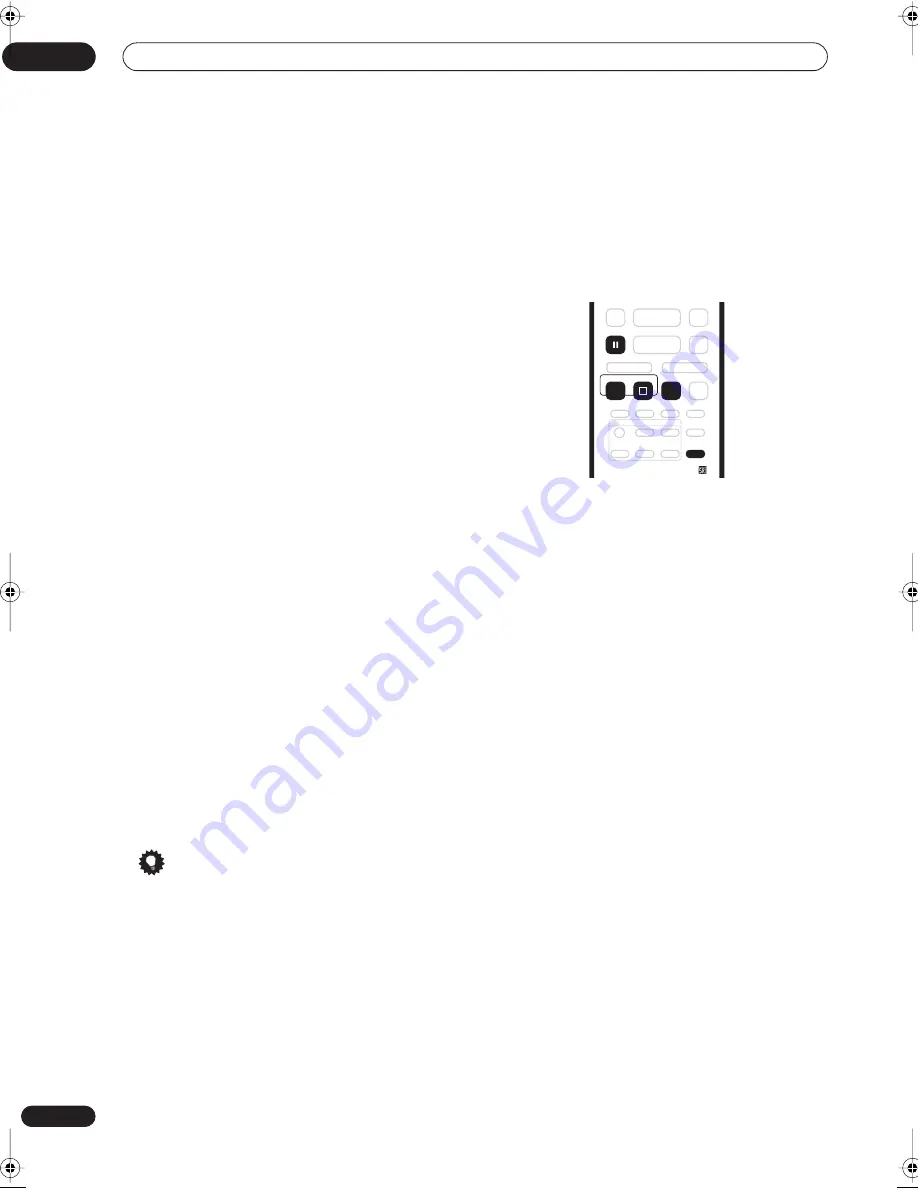
Press TV DIRECT REC to start recording.
If you want to set a recording time, press the
REC
button repeatedly. The recording time increases in 30
minute increments, up to a maximum of 6 hours. You can
see the recording time on-screen and in the front panel
display. When the recording ends, the recorder
automatically switches into standby if no other operation
is being performed.
• To cancel the set recording time, press
REC
.
• If you want to pause recording at any time, press
PAUSE
. Press again to restart the recording. (If
recording to the HDD or in VR mode, a new chapter
is started after recording restarts)
4
To stop the recording, press
STOP REC.
• If you set the recording time in step
3
, you can still
stop the recording anytime by pressing
STOP REC
.
• Recording will stop automatically when there is no
more space on the HDD/DVD, or after 6 hours of
HDD recording (whichever is sooner).
TV DIRECT
REC
REC
PAUSE
STOP REC
REC MODE
DVR-03_HDD_UK.book 50 ページ 2003年9月17日 水曜日 午後8時48分

