38
Selecting the theme colour
A theme colour can be selected from 5 different colours.
1 Display the “
Theme
” screen.
2 Touch [
Theme
].
3 Touch the colour you want.
You can preview the Top menu screen or the AV
operation screen by touching [
Home
] or [
AV
]
respectively.
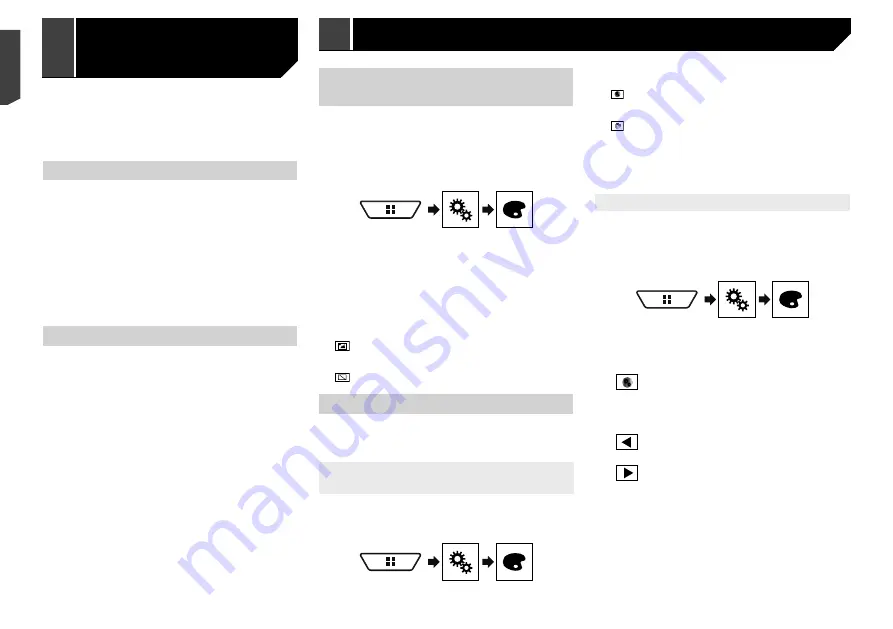
Selecting the clock image
The clock on the AV operation screen and the Top menu screen
can be selected from 3 different images.
1 Display the “
Theme
” screen.
2 Touch [
Clock
].
3 Touch the item.
Preset images: Selects the desired preset clock image.
(off): Hides the clock display.
13 Store the microphone carefully in the glove box
or another safe place.
If the microphone is subjected to direct sunlight for an extended
period, high temperatures may cause distortion, colour change
or malfunction.
Saving the sound settings
You can save to recall the following current sound settings:
bass boost, slope, subwoofer phase, speaker level, Graphic EQ,
HPF/LPF, listening position, crossover, time alignment.
1 Display the “
Audio
” setting screen.
Refer to
Displaying the “
Audio
” setting screen on page 34
2 Touch [
Save Settings
].
3 Touch [
OK
].
All of the current sound settings are saved.
When you touch [
Cancel
], return to the “
Audio
”
setting screen.
Loading the sound settings
1 Display the “
Audio
” setting screen.
Refer to
Displaying the “
Audio
” setting screen on page 34
2 Touch [
Load Settings
].
3 Touch the item.
The following items are available:
AEQ Setting
,
Sound Setting
.
p
“
AEQ Setting
” is available only when you have already
performed Auto EQ measurement.
Refer to
Adjusting the equaliser curve automatically (Auto EQ)
on page 37
p
“
Sound Setting
” is available only when you have already
saved the sound settings.
Refer to
Saving the sound settings
on page 38
Selecting the background
display
The background display can be selected from 9 different preset
displays for the AV operation screen and 6 different preset
displays for the Top menu screen. Furthermore, you can change
the background display to other images imported from an USB
storage device.
1 Display the “
Theme
” screen.
2 Touch [
Background
].
3 Touch [
Home
] or [
AV
] to switch the screen
displays.
The setting contents can be memorised separately for the AV
operation screen and the Top menu screen.
4 Touch the item.
Preset displays: Selects the desired preset background
display.
(custom): Displays the background display image
imported from the USB storage device.
Refer to
Saving the image as the wallpaper
on page 24
(off): Hides the background display.
Setting the illumination colour
The illumination colour can be selected from 7 different colours.
Furthermore, the illumination can be switched between these
7 colours in order.
Selecting the colour from the preset
colours
You can select an illumination colour from the colour list.
1 Display the “
Theme
” screen.
2 Touch [
Illumination
].
3 Touch the colour you want.
Coloured keys: Selects the desired preset colour.
(custom): Displays the screen to customise the illumina-
tion colour.
Refer to
Creating a user-defined colour
on page 38
(rainbow): Shifts gradually between the five default
colours in sequence.
You can preview the Top menu screen or the AV
operation screen by touching [
Home
] or [
AV
]
respectively.
Creating a user-defined colour
You can create a user-defined colour. The created colour is
stored, and you can select the colour when setting the illumina-
tion colour the next time.
1 Display the “
Theme
” screen.
2 Touch [
Illumination
].
3 Touch the following key.
Displays the screen to create a user-defined
colour and store it to memory.
4 Touch the following keys.
Adjusts the brightness and the level of red,
green and blue to create a favourite colour.
You can also adjust the colour tone by dragging
the colour bar.
5 Touch and hold [
Memo
] to store the custom-
ised colour in the memory.
The customised colour is stored in the memory.
The set colour will be recalled from the memory the next time
you touch the same key.
Theme menu
38
< CRB4735-A >
< CRB4735-A >
Audio
adjustments
Theme menu
Theme menu
Summary of Contents for AVH-X1890DVD
Page 59: ...59 59 CRB4735 A ...
Page 60: ...60 60 CRB4735 A ...
Page 61: ...61 61 CRB4735 A ...
Page 62: ...62 62 CRB4735 A ...
Page 63: ...63 63 CRB4735 A ...


