


70
z
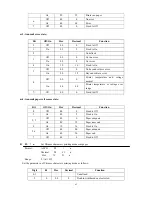
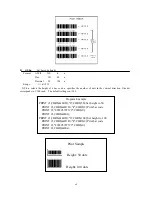
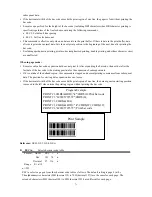
GS k m d1 ... dk NUL GS k m n d1 ... dn
Print bar code
Format:
①
ASCII
GS
k
m d1 ... dk NUL
Hex
1D
6B m d1 ... dk 00
Decimal 29
107 m d1 ... dk 0
②
ASCII
GS
k m n d1 ... dn
Hex
1D
6B m n d1 ... dn
Decimal 29
107 m n d1 ... dn
Range:
①
0
≤
m
≤
6 (k and d depend on the bar code system used)
②
65
≤
m
≤
73 (n and d depend on the bar code system used)
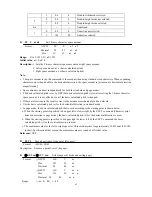
①
GS k m d1 ... dk NUL and
②
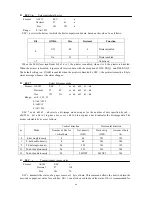
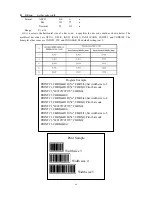
GS k m n d1 ... dn select a bar code system and print the bar code. m specifies a
bar code system as follows:
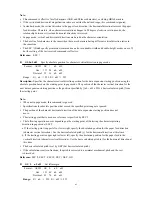
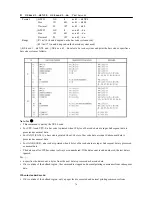
Note: for
①
∗
This command is quit by the NULL code.
∗
For UPC-A and UPC-E, a bar code is printed when 12 bytes of bar code data are input. Subsequent data is
processed as normal data.
∗
For JAN13 (EAN13), a bar code is printed when 13 bytes of bar code data are input. Subsequent data is
processed as normal data.
∗
For JAN8 (EAN8), a bar code is printed when 8 bytes of bar code data are input. Subsequent data is processed
as normal data.
∗
The data count for ITF bar codes is always even numbered. If the data count is odd numbered, the last data is
ignored.
For
②
:
∗
n specifies the data count. n bytes from the next data is processed as bar code data.
∗
If n is outside of the defined region, the command is stopped and normal printing commences from subsequent
data.
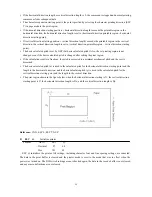
When in standard mode:
∗
If d is outside of the defined region, only a paper feed is executed and normal printing commences from
Summary of Contents for PP7X Series
Page 1: ...PP7X PRINTER OPERATION MANUAL Pinnacle Technology Corp ...
Page 2: ......
Page 17: ...14 Click Finish to finish USB driver installation Click Install ...
Page 18: ...15 Finally click Finish to finish printer driver installation Click Finish ...
Page 20: ...17 Select the connecting port Click it ...
Page 25: ...22 Choose Device Manager Here you can see the connecting port ...
Page 30: ...27 Input the printer IP address Click Next ...
Page 31: ...28 Choose device type we suggest that you choose the standard type Click Next Click Finish ...
Page 32: ...29 Click it ...
Page 39: ...36 Select this item Click Next ...
Page 41: ...38 Installing the BT device automatically Here shows the connecting port is COM3 Click Finish ...
Page 43: ...40 Click Next Click Install ...
Page 44: ...41 Click Finish ...
Page 46: ...43 Double click it to search Double click it ...
Page 47: ...44 Double click it Input the passkey 0000 to create paired relationship ...
Page 76: ...DPP701ENV0 12 ...